How to make a challah artist’s beet-dyed bread
Cheryl Holbert's best tips for stunning loaves.


Cheryl Holbert is a master challah baker and bread artist known for her stunning and intricate designs. Below, she shares why beets are one of her favorite ingredients to create naturally dyed challah, and her best tips to make it.
* * *
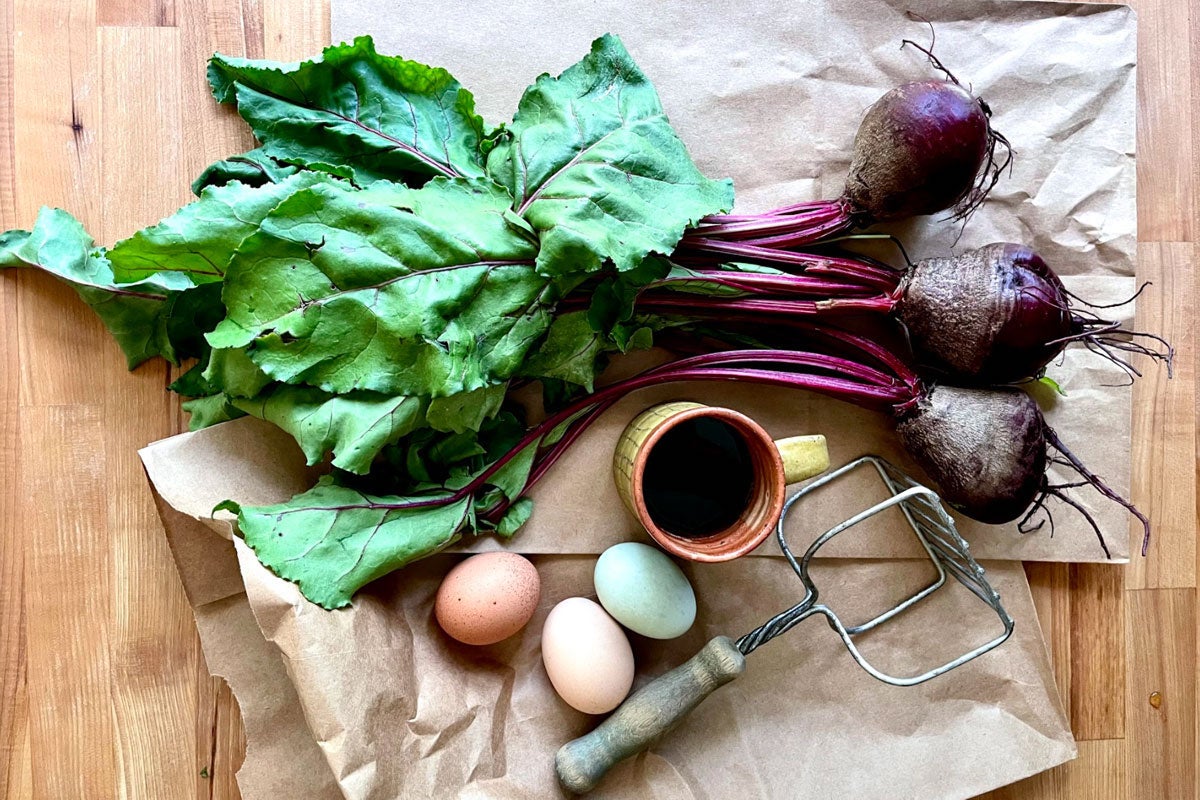
There’s pleasing magic to infusing bread with bold color to feed bakers’ (and eaters’!) imaginations with artistic whimsy; it provides an immediate mood lift and opens a spectrum of creative possibilities for bread designs. While natural food powders like matcha and turmeric are a handy way to add color to bread dough, I reach for the real thing when I want to take all that glorious color and flavor up a serious notch. I turn to the whole food itself: fresh, roasted beets.
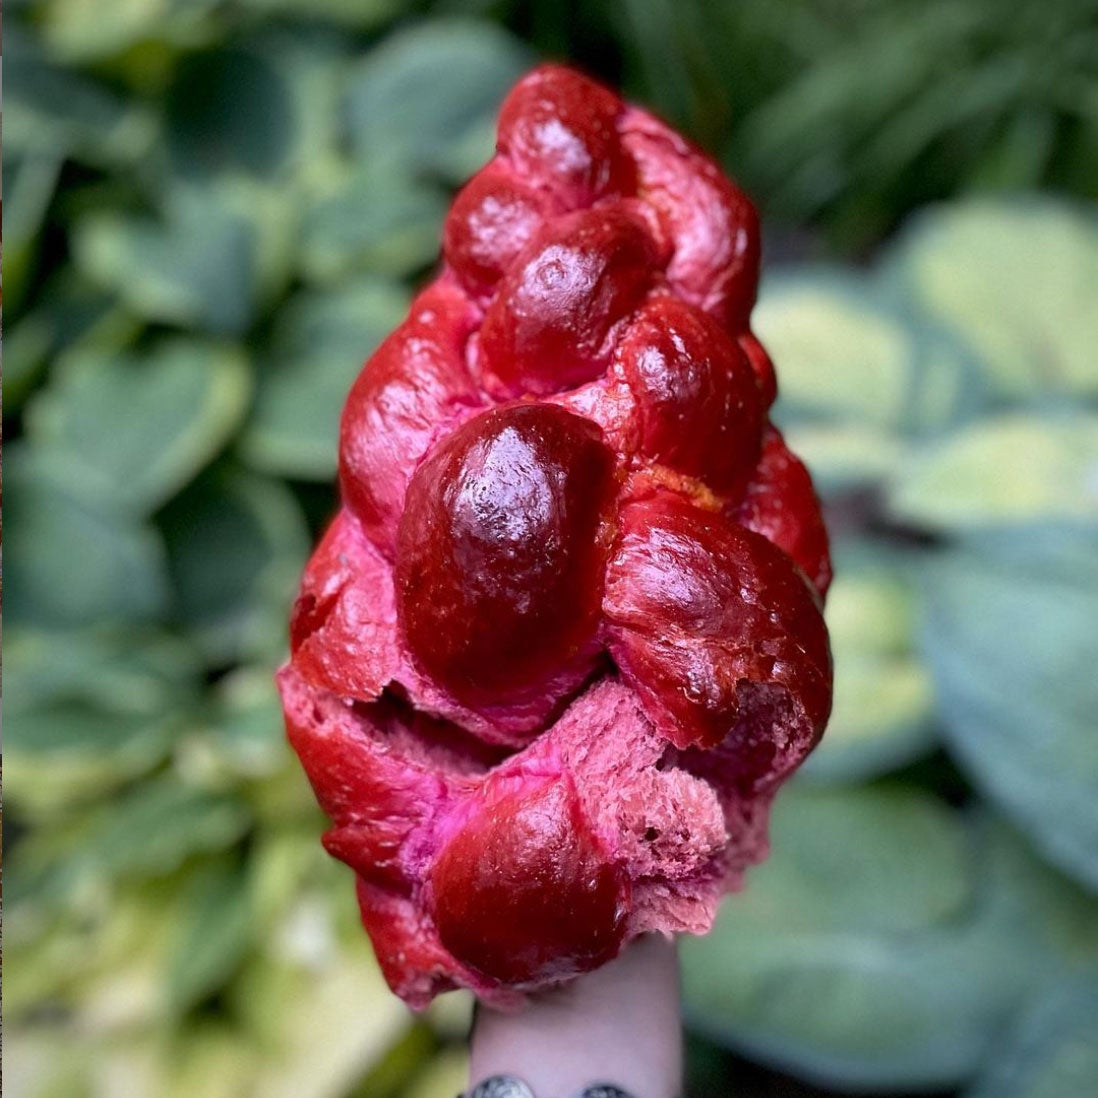
Using roasted beet purée provides several advantages over beetroot powder, a popular dyeing choice: mainly, its stunning color. While powder yields a lovely pink hue, the rich, deep magenta you'll achieve by adding purée to your dough is dazzling. Another plus is cost — beets are cheaper than beetroot powder — plus you can add any leftover beets to a salad or other dish.
Roasted beets also make for an incredibly tender crumb and moist interior thanks to the added hydration of the purée (similar to potato bread!) and a delicate crust, since the natural sugar in the beets creates more caramelization. And ultimately, the beets add a pleasantly earthy, subtly sweet flavor that enhances the challah without overpowering it.
However, simply adding puréed beets to bread can be a bit tricky. The extra hydration makes the dough tackier and the natural beet sugars cause it to rise faster. Which is why I’m here to demystify the process and help you easily master this dough.
The beauty and enhanced flavor of this beet dough work well for any number of shapes, including beautiful round challah for Rosh Hashanah coming up. For the holiday, the bread is twisted or braided and formed into a round shape to symbolize the yearly cycle, as well as a crown honoring "God as king."
Here’s how to use Classic Challah as a springboard for a jewel-toned variation that’s light, feathery, and subtly sweet — not to mention gorgeous.
Before we launch into the recipe, let’s get our beets ready for baking:
Combine all the ingredients. I like to mix the flour and salt in a large bowl and create a well in the center where I can whisk the wet ingredients together, add the yeast, then combine everything to make a dough that’s pliable but firm enough to push back and hold its shape relatively quickly.

Knead by hand, mixer, or bread machine, until you have a soft, smooth, silky dough that’s no longer tacky. If your dough feels wet and sticky, add more flour a tablespoon at a time, until it all comes together into a lovely, workable mass. It’s OK if you see small pieces of the puréed beets making the surface of the dough a little bumpy. The next step will smooth this out.
Refrigerate your dough, tightly covered, overnight or for up to three days. A long, cold proof is my secret to this dough. I find it allows the slightly rough fibers of the beets to break down and yield a much smoother dough that’s easy to work with and braid.
Take your dough out of the refrigerator and knead a few times (about 30 seconds) once or twice per day while refrigerated. You’ll end up with a smooth, extensible dough for plaiting.
On baking day, take the dough out of the refrigerator. Turn it directly out on a lightly floured work surface, then divide and scale it into the number of strands you’d like to work with for your braid. I like 145g each for a four-strand braid and 95g each for a six-strand braid (both pictured), but you can weigh out any sizes you wish.
To create a six-strand braid, see the previous post How to shape braided breads.
To create a four-strand braid, here’s my method (you can also see instructions here):
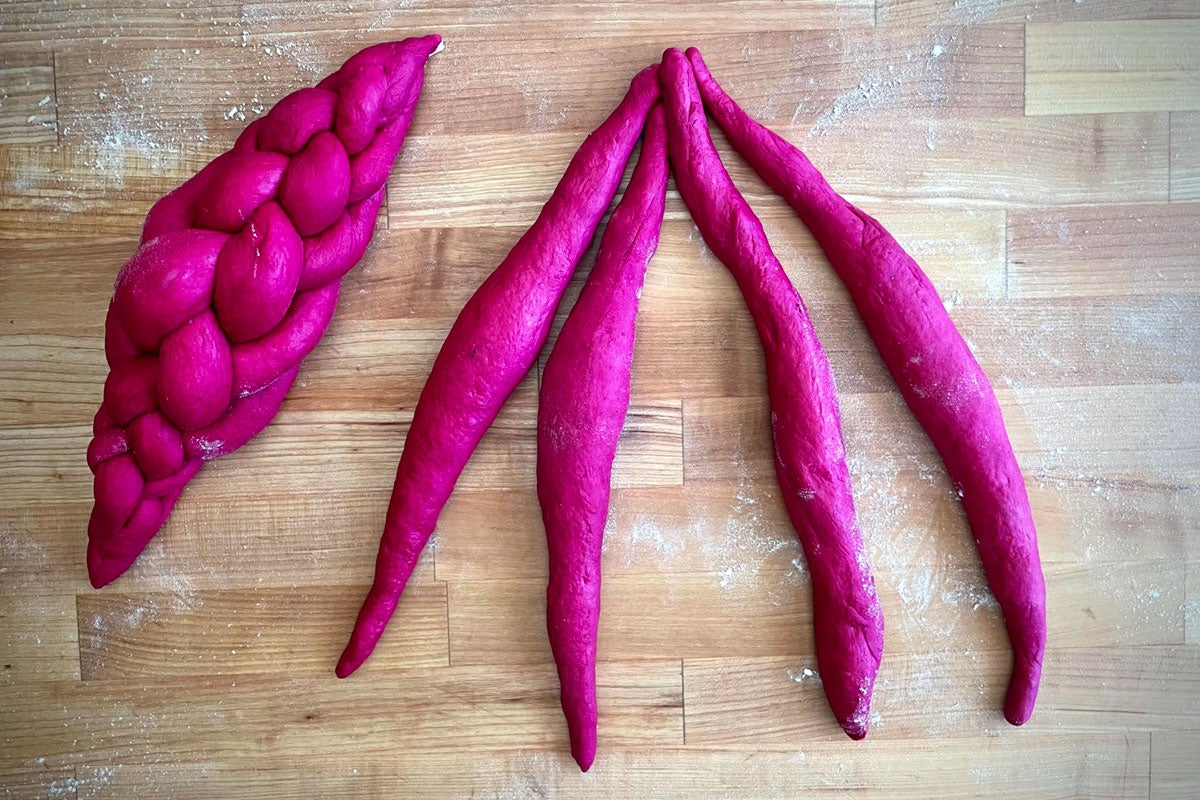
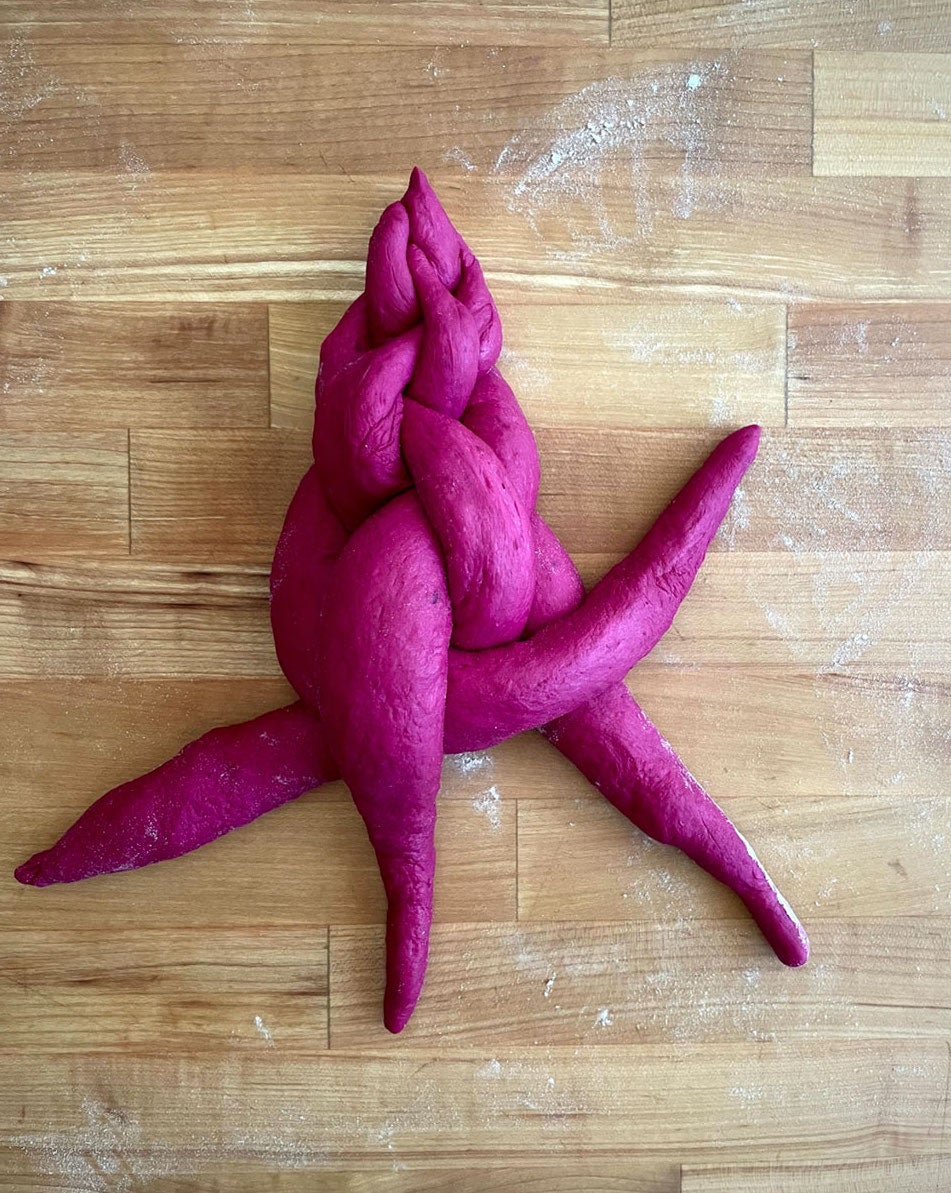
To create a round challah for Rosh Hashanah: Divide the dough into five pieces — two should be about 200g each and three about 60g each. Roll the two larger pieces into two long strands and twist them around each other. Coil this two-strand twist around itself. Then take the three remaining pieces, form a long three-strand brand, and lay the three-strand piece into the larger two-strand round, making sure it all fits together nicely.
Cover the braid with a large food-safe plastic bag, oiled plastic wrap, or reusable cover and let proof for about 30 to 45 minutes at room temperature.
Test your braid by gently placing a finger on the surface of the dough. If the indentation doesn’t bounce back immediately, it’s fully proofed.
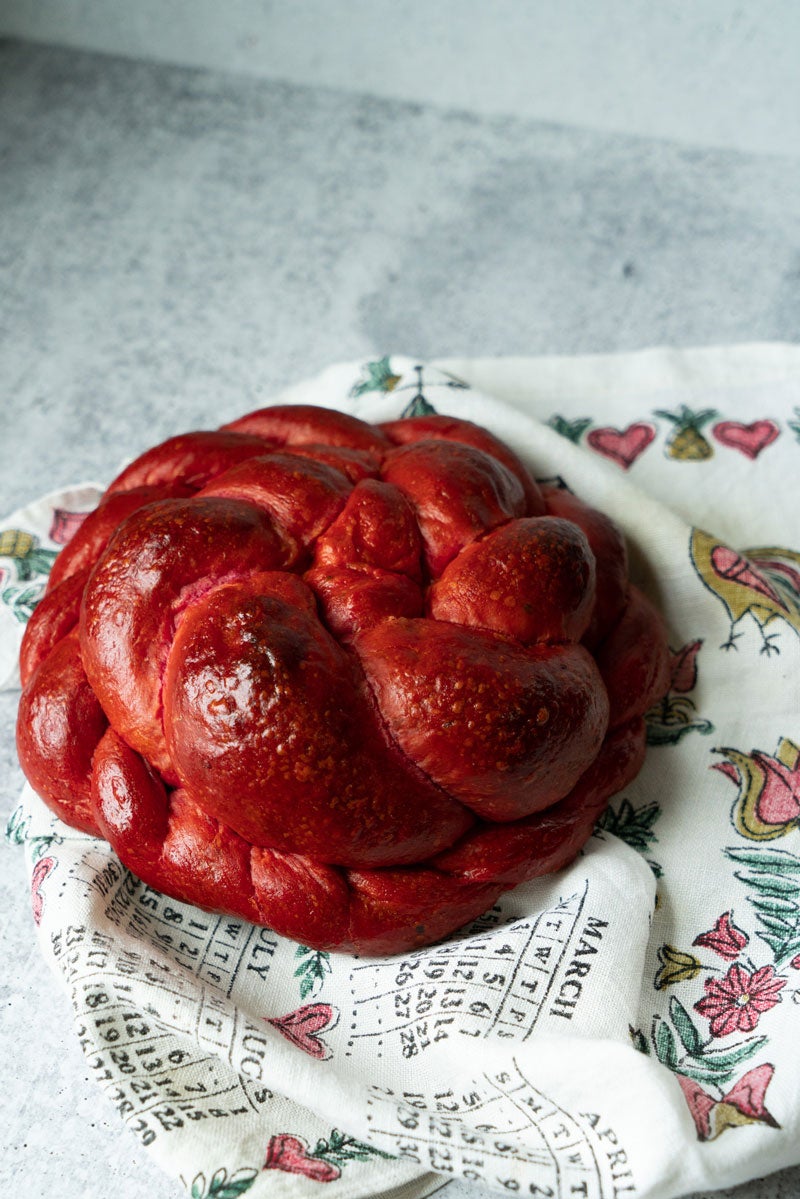
I only use half the yolk in my egg wash so there’s less browning in the crust, which allows more of the bread’s pink color to show. To make, lightly whisk together 1 egg (minus half the yolk) and 1 teaspoon water.
For my Persian twist on egg wash, I sometimes add a bit of saffron for additional color, plus a subtle flavor that complements the mild earthiness of the beets. To make, grind a small pinch of saffron in a mortar and pestle, add 1 teaspoon hot water, and mix well. Add to the egg (minus the half yolk). You can pass either of your egg washes through a strainer to create a smooth, professional-looking exterior on your challah.
Using a pastry brush, apply the egg wash, carefully yet decisively, in the direction of the strands.
Bake in a preheated 350°F oven for 25 minutes or until an internal temperature of 195°F is reached. Let cool on your baking sheet for 5 minutes, then transfer to a cooling rack.
I highly recommend gently tearing into your challah after cooling rather than cutting it … you can slice the rest later. Needless to say, it makes amazing French Toast on day two!
While kneading, pre-shaping, rolling, and braiding stands, add flour to the work surface and your hands as necessary in tiny amounts — think a film of flour coating your work surface and hands. Too much flour will make the dough too stiff to work with and yield a more cake-like rather than delicate crumb.
Work with your cold dough in a timely manner. You don’t need to rush it, but working briskly ensures the dough will remain cool and intact under your hands, including when you roll and braid the strands. The increased hydration from the beet purée makes it a bit trickier to work with the dough, so refrigeration makes it easier to handle.
Be present for the final proof — it’s a bit shorter than traditional challah since the sugar in the beets speeds up fermentation slightly. Use the final proof test (an indentation made with a damp finger doesn’t bounce back immediately).
Cheryl is sharing more of her challah expertise in an Ultimate Challah virtual class at our Baking School on August 19-20. Sign up through our class calendar to learn her best techniques for creating beautiful, delicious, and professional-looking challah.
Cover photo by Jessica Ramos.