We rely on our senses throughout the whole process of baking, and one of the most important elements is using visual clues to determine how a recipe is coming together. Our eyes are our best friend in the kitchen — they can spot if butter and sugar need to be creamed longer to become truly light and fluffy, or whether doughnuts have risen enough to start frying. 

Baking is a multi-sensory experience — keeping an eye out for visual clues throughout the process can help maximize success. 

Usually recipes include descriptions of what to look for as you bake, like the stiffness of peaks in meringue. One common direction that pops up in certain cake recipes is what’s often referred to as the “ribbon stage” — an indication that your batter should “fall in thick ribbons," as many recipes might state. 

So what exactly does this mean?

Stand mixer with whisk trailing thick batter into bowl
See that thick trail of batter falling from the whisk? You might say it looks a bit like a ribbon ...

What is ribbon stage?

Ribbon stage is a necessary step in cake recipes that call for beating eggs and sugar together until a thick, voluminous batter is created, prior to adding the flour and any other ingredients. Cakes that use this mixing method are most frequently sponge cakes, like Tres Leches Cake or Almond Roll, but it's also used in hot milk cakes like Classic Birthday Cake (our 2019 Recipe of the Year!). 

In these recipes, whole eggs and sugar are beaten together, or the eggs are separated — the egg yolks and sugar are beaten to ribbon stage, while the egg whites are reserved, whipped to stiff peaks, then folded into the batter for additional lightness and volume.

In some cases the sugar isn't added until after the eggs have been beaten, and occasionally the eggs alone will be beaten to ribbon stage. Regardless of how a recipe gets there, however, the visual clues remain the same. 

Sliced almond roll, with plated slices showing the cake swirls
To make this Almond Roll, you'll need to beat 9 egg yolks with brown sugar "until the mixture is very light and falls in thick ribbons from the beater" before folding in dry ingredients and whipped egg whites. 

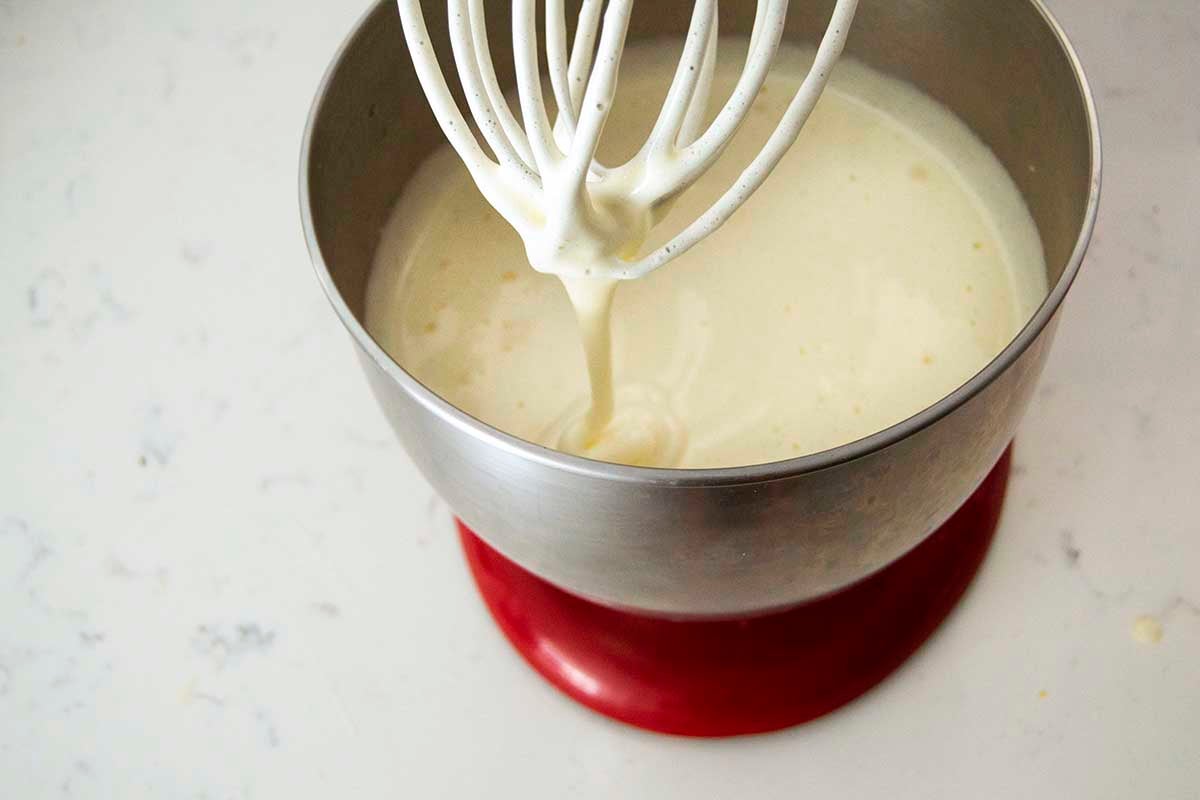
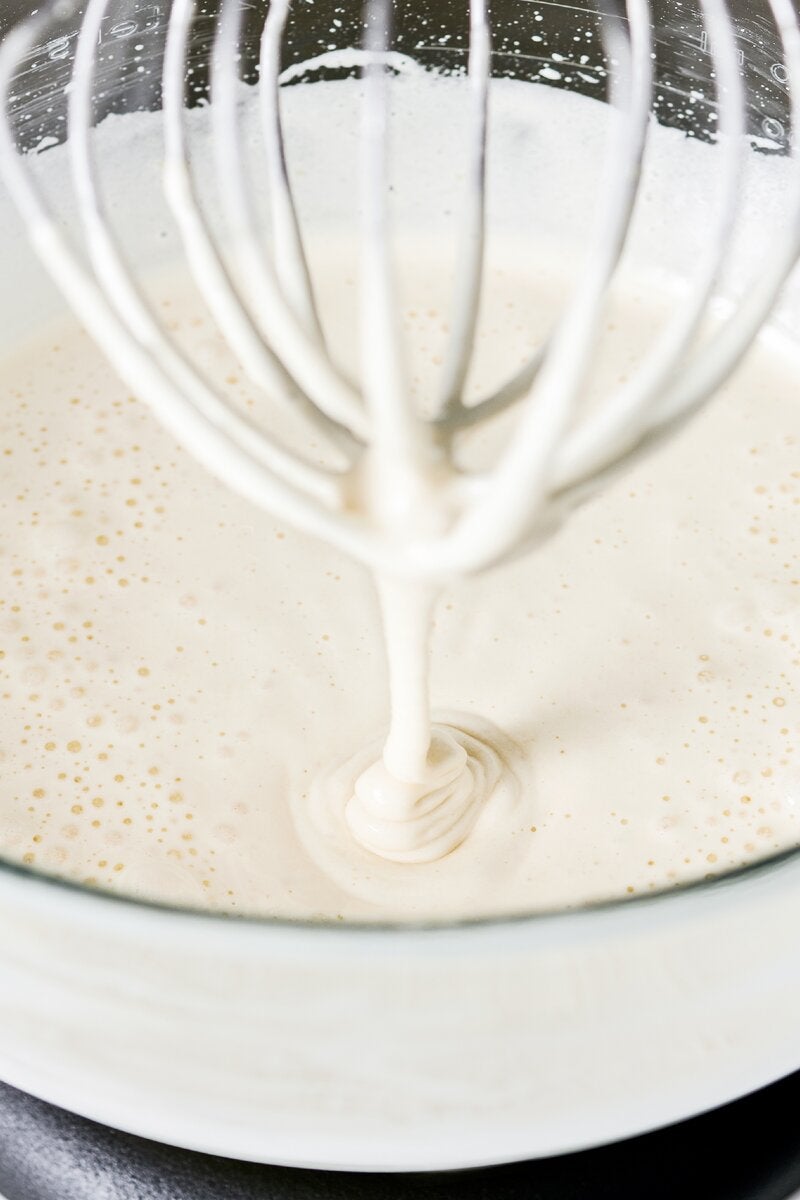
The ribbon stage specifically refers to the thick, pale, foam-like batter created when eggs and sugar are beaten together. To ensure the batter is properly whipped, directions will tell you it should fall in ribbons.

How to tell if ribbon stage has been reached

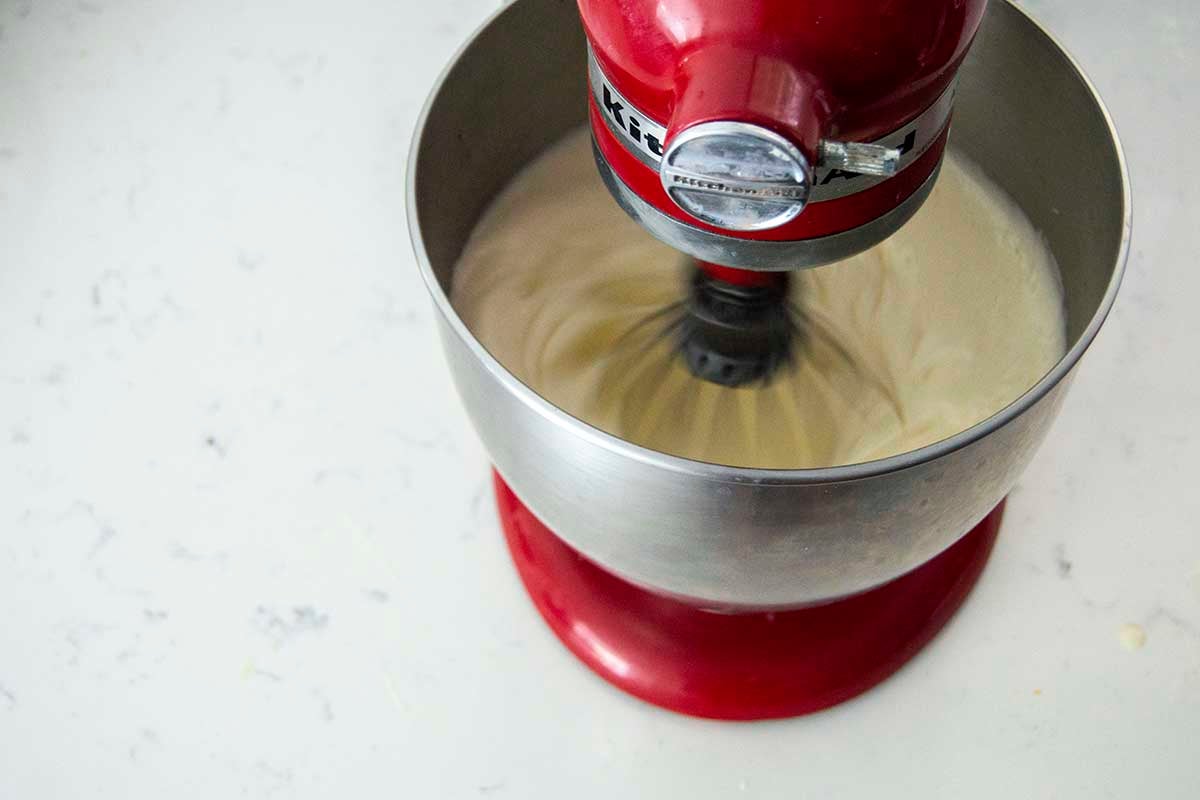
Usually it takes anywhere from 3 to 5 minutes of beating eggs and sugar using an electric mixer to reach ribbon stage. But don't rely on time. Instead, use some key visual clues to recognize when you’ve succeeded: 

  • Texture: The mixture should have thickened significantly, becoming almost foam-like. This is where the “ribbon” part comes in: when you lift the mixer attachment or whisk from the mixture, the batter should fall back in thick trails. The ribbon lines will stay suspended on top of the batter, remaining clearly visible on the surface for a few moments before slowly disappearing. 
  • Color: The mixture should also have become considerably lighter and be a very pale yellow. 
  • Volume: The eggs and sugar will have noticeably expanded, increasing the volume of the batter (often triple the original size). This is because of all the (super-important) air that’s been added to the mixture from beating. 
Batter falling into the bowl in ribbons
An excellent example of batter that's reached ribbon stage on the way to making Classic Birthday Cake.

Why does it matter?

The goal in beating eggs and sugar is to incorporate plenty of air into the mixture for a light and fluffy cake. Because these cakes rely on eggs for structure and lift, properly aerating the mixture is crucial. In other words, ribbon stage is key to the texture and height of your final baked cake. 

Tips for successful execution 

  • Pay attention to your tools. Using an electric mixer makes ribbon stage quicker and easier to achieve. If beating in a stand mixer, use the whisk attachment to incorporate more air into the batter. If an electric mixer isn't an option, it’s still possible to achieve with a hand whisk and some elbow grease. (Count it as a fitness workout!) Just make sure to use visual clues to determine when your mixture is ready, and plan for it to take longer than the typical 3 to 5 minutes. 

Bowl of un-cracked eggs on the counter

  • Temperature matters. It’s also best to start with room-temperature eggs. If a recipe calls for such, don’t ignore it! While beating, the protein in the eggs traps air bubbles. These bubbles expand in the hot oven, which is how you wind up with a light and airy cake. Room-temperature eggs trap air better than those that are cold, meaning you’ll wind up with more volume in your batter and fluffier texture in your baked cake. 

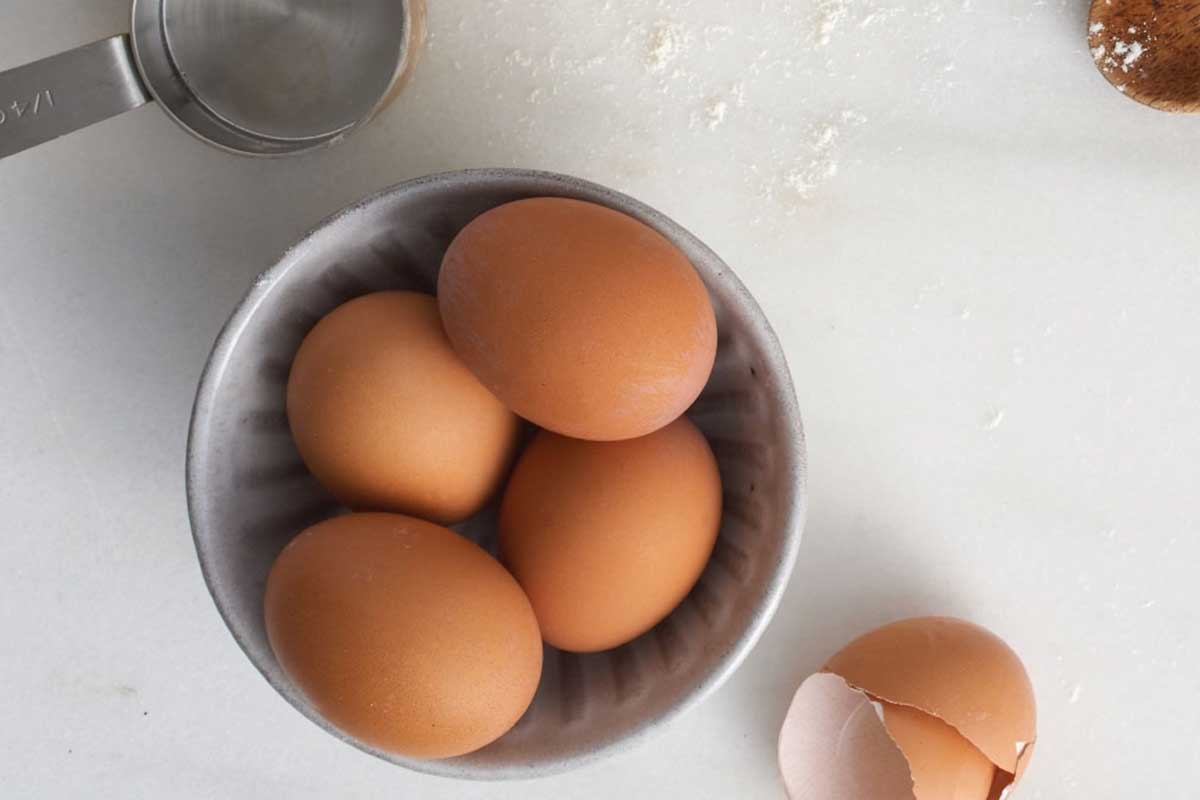
Baker’s tip: If you need to bring your eggs to room temperature in a jiffy, my fellow blogger Kye has you covered. She advises placing cold eggs in a bowl of very hot water for about 5 minutes while you measure out the rest of your ingredients. Your eggs will be at room temperature in no time. 

Stand mixer with whisk beating thick batter in bowl
Notice those telltale streaks being left in the batter? They're an indicator your batter will fall from the whisk in thick, luxurious ribbons when you raise it from the mixture — exactly what you're looking for. 
  • Be gentle. And finally, once you’ve put in all the effort to beat your eggs and sugar to thick, gorgeous ribbons, don’t waste it! When you move on to the next step of the recipe and add the remaining ingredients, make sure to do so as carefully and delicately as possible so you don’t deflate all the air you’ve just beaten in. This way, you’ll ensure you end up with light, fluffy cake layers. 
Two plain unfrosted sponge cake layers on the counter
Because you're beating so much air into your eggs and sugar mixture, the ribbon stage is key for fluffy cake. Make sure to start with room-temperature eggs and carefully add the additional ingredients to keep the batter airy. 

Baking is a truly sensory experience — our eyes, ears, nose, hands, and mouth all play a role from start to finish. Keeping an eye out for key hallmarks like a beautiful formed ribbon of batter is just one of the ways to improve your technique and take pleasure in the process along the way. 

For a deeper dive into cake mixing techniques, read our blog post on cake mixing methods for insight on everything from blended to foam cakes.  

Jump to Comments
Tagged:
Filed Under: Tips and Techniques
Rossi crimping pie crust
The Author

About Rossi Anastopoulo

Rossi Anastopoulo grew up in Charleston, South Carolina, which is how she fell in love with biscuits. She didn’t have any bakers in her household (with the exception of her grandmother’s perfect koulourakia), so she learned at a young age that the best way to satisfy her sweet tooth was to make dess...
View all by Rossi Anastopoulo