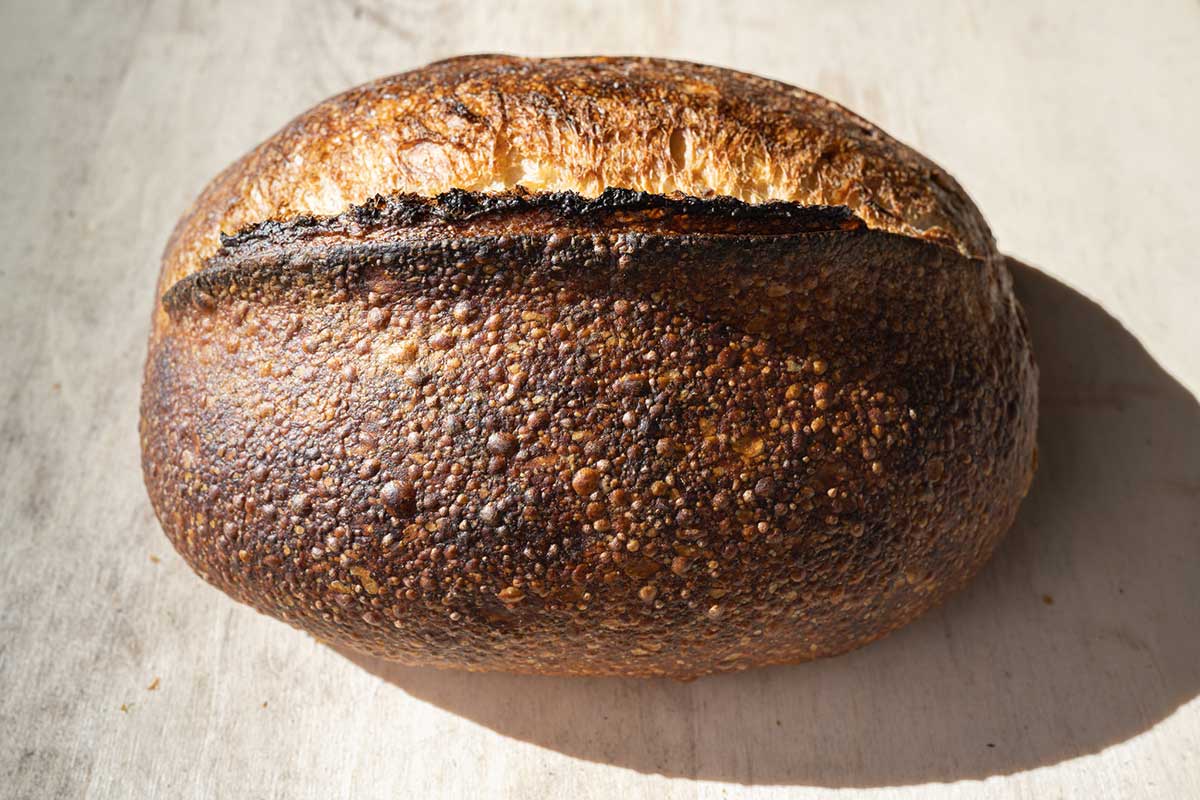
While I always see flavor as the most important quality in a loaf of sourdough bread, close on its heels is definitely texture and overall eating quality. There's a lot that goes into what makes a loaf "eat well" (i.e., makes it a loaf of bread you want to eat!), and everyone has a personal preference. But for me, an even and open interior is high on that list.
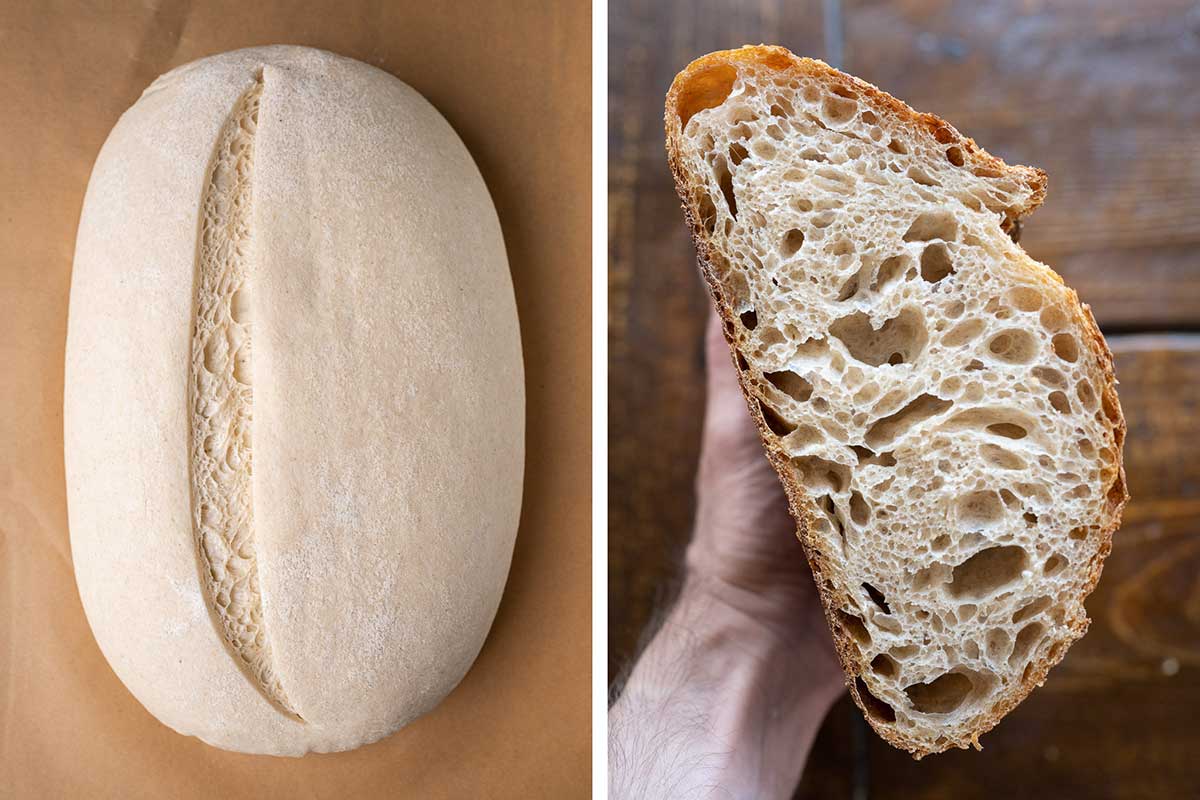
When I talk about a loaf with an open crumb, I mean a loaf that's light in hand and evenly (and appropriately) open in the interior — one whose light texture contributes to the overall eating experience. The ideal loaf doesn't have scattered, excessively large holes and dense spots, but rather clear, defined holes consistently dispersed throughout. Overall, an even interior is evidence of a baker’s skillful touch in balancing all the inputs that go into making a wonderful loaf of bread.
An appropriately open crumb is evidence of ample and robust fermentation, sufficient dough strength, and proper dough handling.
There are many ways to bake bread with an even, open crumb, and I don’t think there are many hard and fast rules to get you there. Rather, there are steps and techniques you can employ throughout the entire bread-making process.
It’s possible to achieve an open crumb by mixing with your hands or a mechanical mixer; you can have a light loaf of bread with a stiff preferment or a liquid version; and you can choose to proof your dough at room temperature or in the fridge overnight. And because there are many ways to the same end, this is precisely what makes bread baking so exciting: you evolve your baking toolkit and discover your preferences over time through experimentation and experience.
Below, I’ll discuss some of the methods I use to open up my bread's interior. Specifically, I’ll discuss those methods as applied to Naturally Leavened Sourdough, which results in a light and wonderfully crunchy loaf of bread.
Let’s first look at flour, perhaps the most essential ingredient.
First and foremost, your flour must have a sufficient protein percentage and be suitable for baking bread. Using King Arthur Unbleached All-Purpose Flour and King Arthur Unbleached Bread Flour will always check both of those boxes. I typically use flour in the 11% to 13% protein range, and usually at the lower end of that spectrum (for reference, King Arthur all-purpose has 11.7% protein). But I find that using King Arthur bread flour, with its higher protein percentage of 12.7%, makes it easier to open up the interior. All-purpose flour has all the necessary characteristics to get there as well; but if you're struggling, try modifying your formula to use a little more bread flour in your next test.
Note that the higher the percentage of whole wheat flour, the more challenging it will be to achieve an open crumb. The sharper bran and germ particles present in whole wheat results in a more closed interior due to their “cutting effect” on the dough’s gluten. But what you lose in openness, you certainly gain in flavor and nutrition. So there’s a balance: you can increase the whole wheat flour in your loaf to bring additional flavor and nutrition, but you’ll have to modify your expectations on how open, tall, and lofty your loaf will be.
The takeaway: Choose white flour, rather than whole wheat, and try using a little more bread flour for its higher protein content.
When baking sourdough bread, it’s essential to have vigorous fermentation in your dough — and healthy fermentation begins with your sourdough starter. To get the most out of your starter, feed it with flour and water on a timely schedule. I find my starter is healthiest if I keep it warm, around 74°F to 78°F, and feed it at least once every day — I typically refresh mine every 12 hours, once in the morning and once in the evening.
That said, if you have a schedule that results in a healthy and active starter, stick with it! Every sourdough starter and environment is different, and what works best for me might be different for you — and that’s OK. A big part of baking sourdough bread is learning to read your sourdough starter and feed it when necessary to keep it active and ready to bake with. See this starter maintenance guide for more tips on refreshments, flour choices, and more.
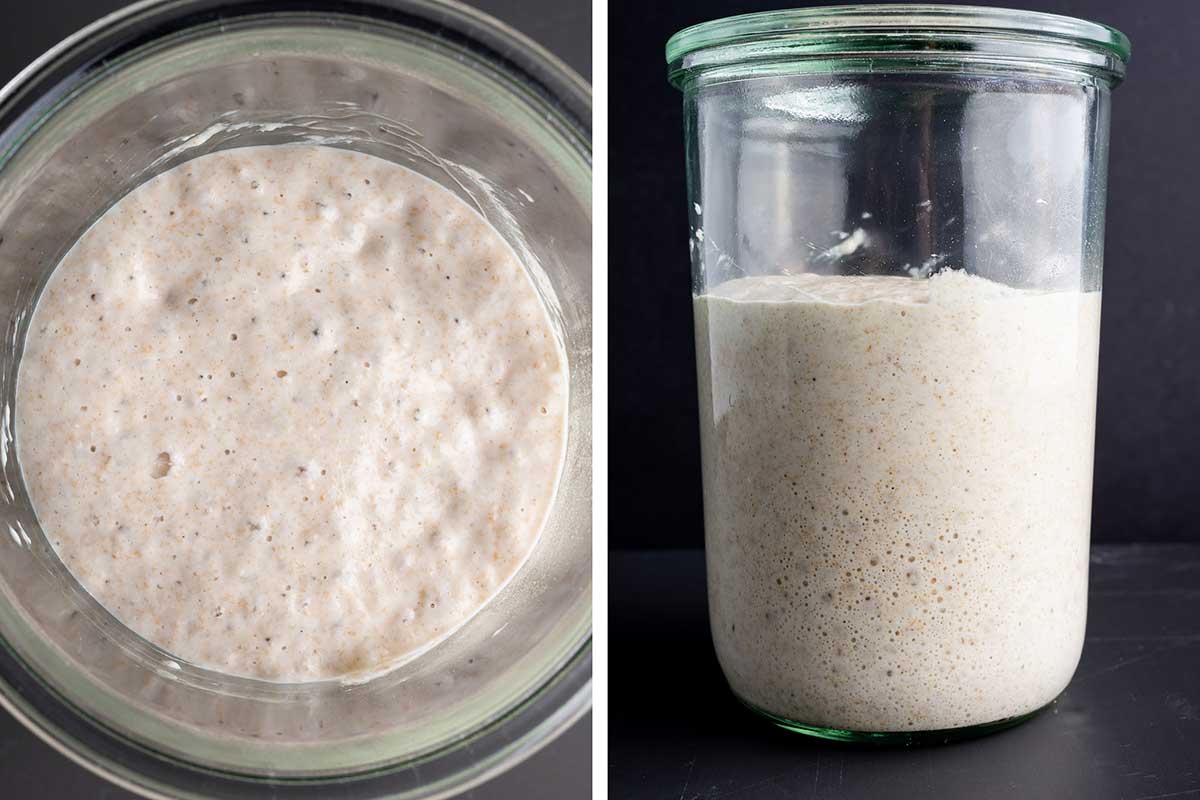
I find I get loaves with an open interior when I use my starter just as it turns ripe. For this recipe, and as you can see above, I look for it to have risen perceptibly in its jar, have scattered bubbles on top and the sides, have a sour (but not too sour) aroma, and have a loosened consistency. I find it helps to use it before it becomes overly sour and broken down, resulting in too much acidity transferred over to the final dough. While this acidity is very flavorful, in my experience it tends to send my bread down the path of a more closed interior — still wonderful bread in all respects, but tighter and less open.
The takeaway: Use sourdough starter when it just turns ripe, rather than waiting for it to continue to ferment and become too acidic.
One common misconception in bread baking is that you have to have a high hydration dough to achieve an open crumb. The hydration percentage of a dough, which is always relative to the flour you’re using, can range from low to high and still result in a light and airy loaf.
For my mostly white doughs, and considering I live in arid New Mexico, I’m typically anywhere from 70% to 80% hydration. Again, the number in and of itself doesn’t mean much other than to give you a rough indication of the dough’s consistency, as it ultimately comes down to the flour you’re using.
I often find a sweet spot with a dough's hydration, a place where there's just enough water to get a soft and tender loaf of bread with an open interior. If too much water is added to a dough, I find it results in a loaf that's almost too soft, and too much mixing is required to ensure an adequate rise in the oven. Again, the more water in the dough, the more strengthening you'll have to do to ensure it traps gasses and retains structure. Sufficiently developing your dough to rise high and trap gasses can be done through physical kneading during mixing, through stretch and folds during bulk fermentation, or a combination of the two.
The takeaway: The hydration of your dough ultimately doesn't matter: you can achieve an open crumb with either high or low hydration.
When working toward an open crumb, I like to be as gentle with the dough as possible. Think of your dough as a blob of many small gas pockets that are continuously squishing, merging, and expanding. These pockets are defined by their membranes' durability, the gluten that you have strengthened through mixing, kneading, and stretch and folds during bulk fermentation. If you’re forceful with the dough, you'll cause these pockets to break into smaller versions of themselves, tightening the dough’s overall structure.
So make sure to be especially gentle during certain crucial points in developing your dough ...
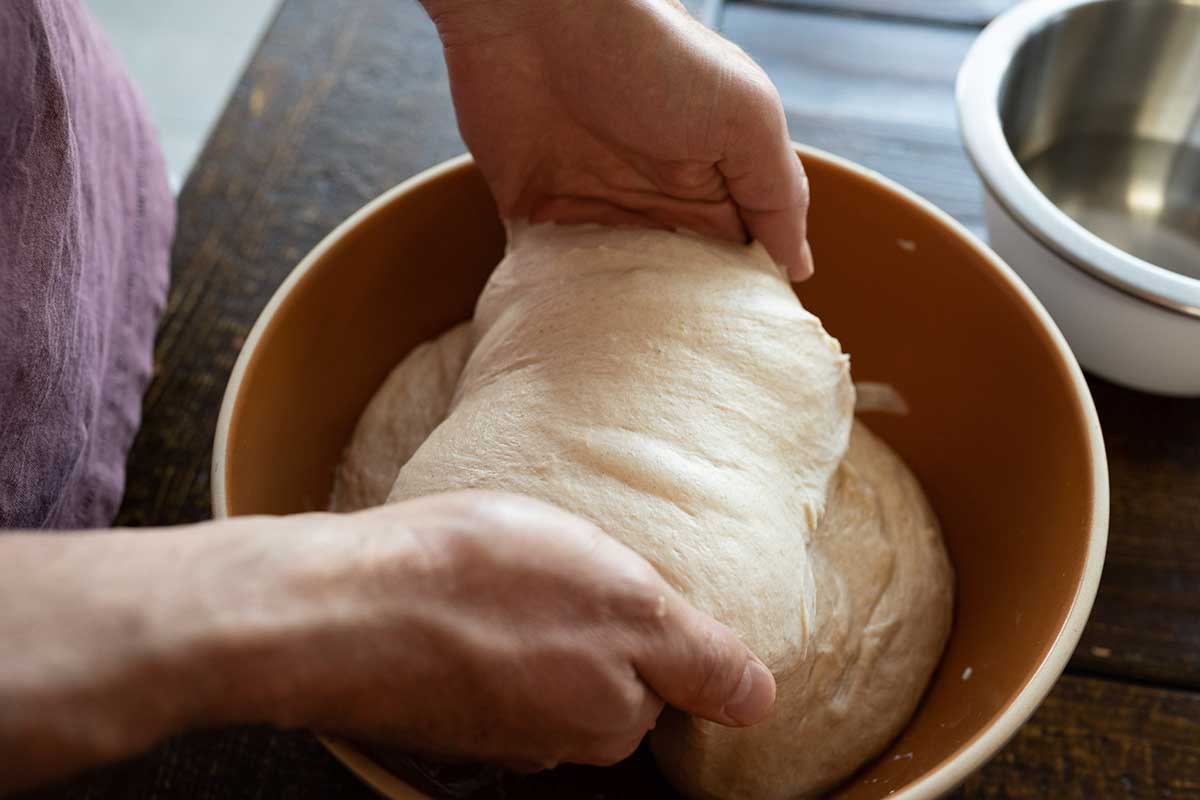
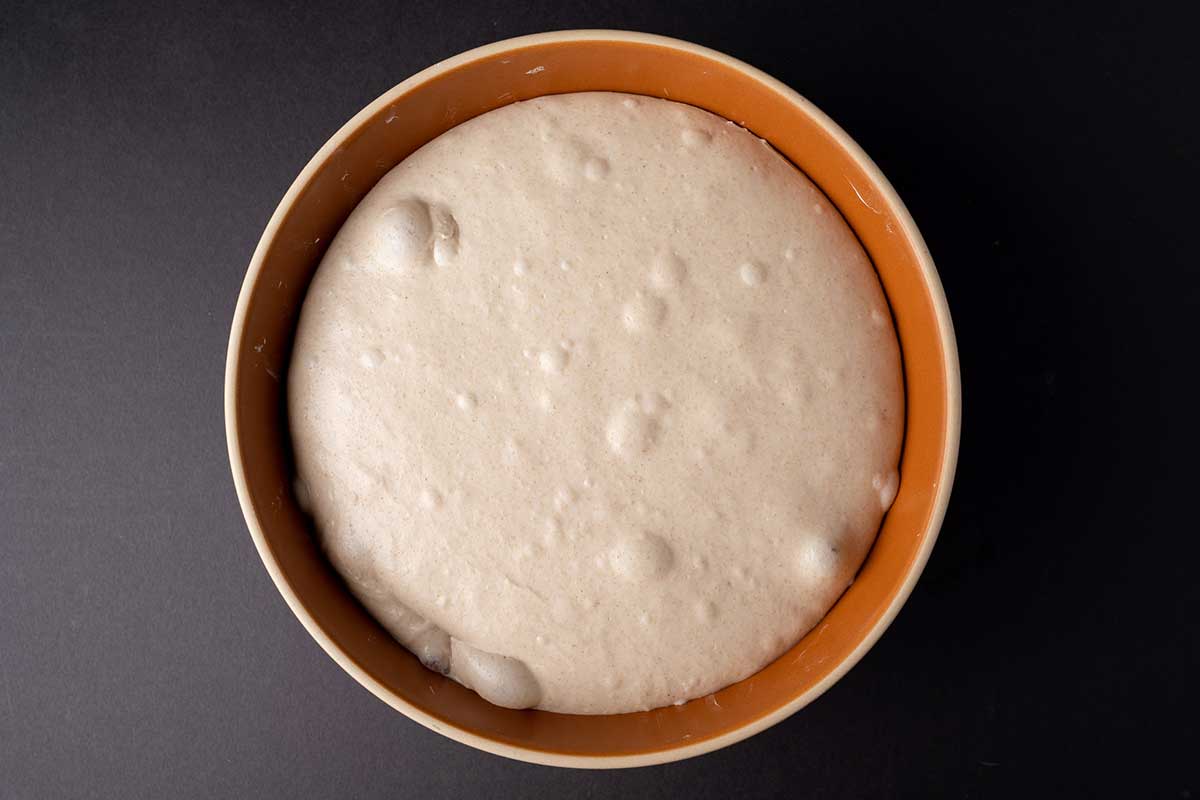
Make gentle folds during bulk fermentation. As seen above, when performing a fold with this recipe, I reach my damp hands down into my bulk fermentation container and very gently lift the dough in the middle and let the top and bottom of the dough fold under itself. Then I rotate the bowl and perform this gentle fold again.
While this may not seem like it would strengthen the dough to any degree, the act of pulling up and stretching is enough to impart just enough additional strength. The important thing is to be mindful of the dough and not to be overly rough with stretching and folding at this point.
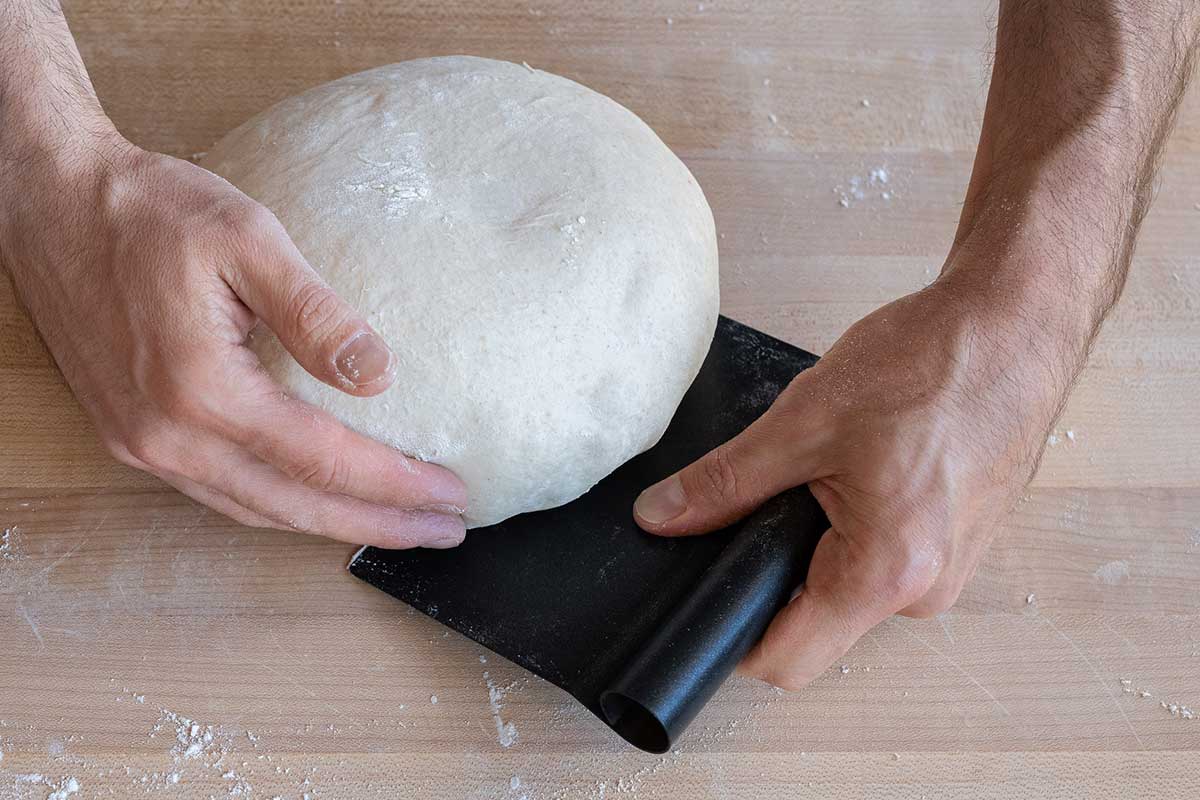
Preshape and shape with a gentle hand. When it comes time to preshape, gently scrape the dough from the bulk fermentation container onto the counter and divide it in half. Preshape it with a light hand, just enough to get it into a round shape. It isn’t necessary to excessively round the dough at this point; you want to get it into a form that will facilitate final shaping but not tighten and degas the dough. For more tips on preshaping, see my preshaping guide.
In my experience, an oval (batard) shape promotes a slightly more open interior compared to a round (boule) shape. Whether it’s the slimmer cross-section of the final form or the fact that I find it possible to shape a batard with less force it’s hard to say, but I think both play a role. I think the thinner, longer shape also allows more of the oven's heat to promote expansion and rise: think about a long, thin baguette versus a thick and large miche. A baguette tends to have an irregular and very open interior, whereas the miche, with its large symmetrical mass, is more closed.
The takeaway: Be as gentle with the dough as possible during shaping and preshaping. Baking in an oval (batard) shape can give you a slightly more open interior than a round (boule) shape.
Finally, as is always true with baking bread, the final proof is a critical time in your dough’s life cycle. It’s when your dough has been strengthened and shaped, and fermentation continues to make it rise and transform from a dense loaf to a light and lofty one.
There’s a sweet spot to find with your proof: the point where your dough has risen about 75% to 80% of its full height, leaving some “energy” left in the dough to finish expanding in the oven. If you push the proof too far, the dough structure begins to degrade as the acidity in the dough builds, weakening the gluten. While proofing for longer results in a delicious loaf, it eventually will result in a more closed interior with less rise overall.
For the final proof, I look for my dough to have risen and be puffy, light, and soft-textured. If you gently poke the dough, it shouldn't feel dense and tight; you're trying to assess how the dough's internal structure is with these pokes. If the interior still feels tight, give it another 30 minutes at room temperature and check again. Conversely, if the dough starts to feel very soft and weak, or you start seeing large bubbles beneath the surface emerge, it's time to get that dough into the oven.
The takeaway: Put your bread in the oven to bake once it's risen about 75% to 80% of its full height during final proof. The dough should be puffy, light, and soft-textured.
In the end, there’s no silver bullet for baking open, lofty loaves of bread. An open loaf is the sum of all parts: great quality flour, sufficient dough hydration, strong fermentation, gentle dough handling, and a full proof.
If you're struggling to get a more open crumb, try focusing on one part of the process at a time, measure your improvements, and then move on to the next. With focus and intentional practice, you'll find your loaves of bread improving every bake — and they're always delicious!
For a full breakdown of sourdough baking, from starter to loaf, check out our comprehensive Sourdough Baking Guide.