I was always one of those kids who played with my food. I didn't mash it up or just push it around my plate; I’d carefully arrange the ingredients as if I were creating a work of art. Imagine salads topped with concentric rings of vegetables organized by color, and French toast reminiscent of a Jackson Pollock painting (only more organized). I loved bringing together the world of art and food as a child — and as a matter of fact, I still do.
Now that I've entered the world of adulthood and playing with my dinner isn't quite as acceptable, I turn to recipes that have the potential to become pieces of art instead.
The perfect canvas for a baker to create a scene that's both delicious and gorgeous? Focaccia!
Focaccia on its own is a delight to eat. It’s pillowy, dimpled with pockets of olive oil and sea salt, and often scattered with fresh herbs. The only way to make it better? Top it with precisely arranged vegetables and other tasty ingredients to create a beautiful garden scene.

This style of "garden focaccia" looks impressive but can also be quite easy to execute if you know the right tips. I'll share a straightforward process for making your own garden focaccia at home, and then send you off with a few tricks to ensure the final bread looks incredible.
Start by finding inspiration for the garden scene you’ll create. This could include looking at photos or paintings, going for a walk outside (if the weather allows), or even browsing the aisles of your local grocery store to see what’s vibrant and in season.
If you’re a planner, grab a piece of paper and sketch out what you want your scene to look like. If you’re a “wing-it” kind of person, skip straight to gathering a plethora of your favorite toppings. You can create based on what you have!
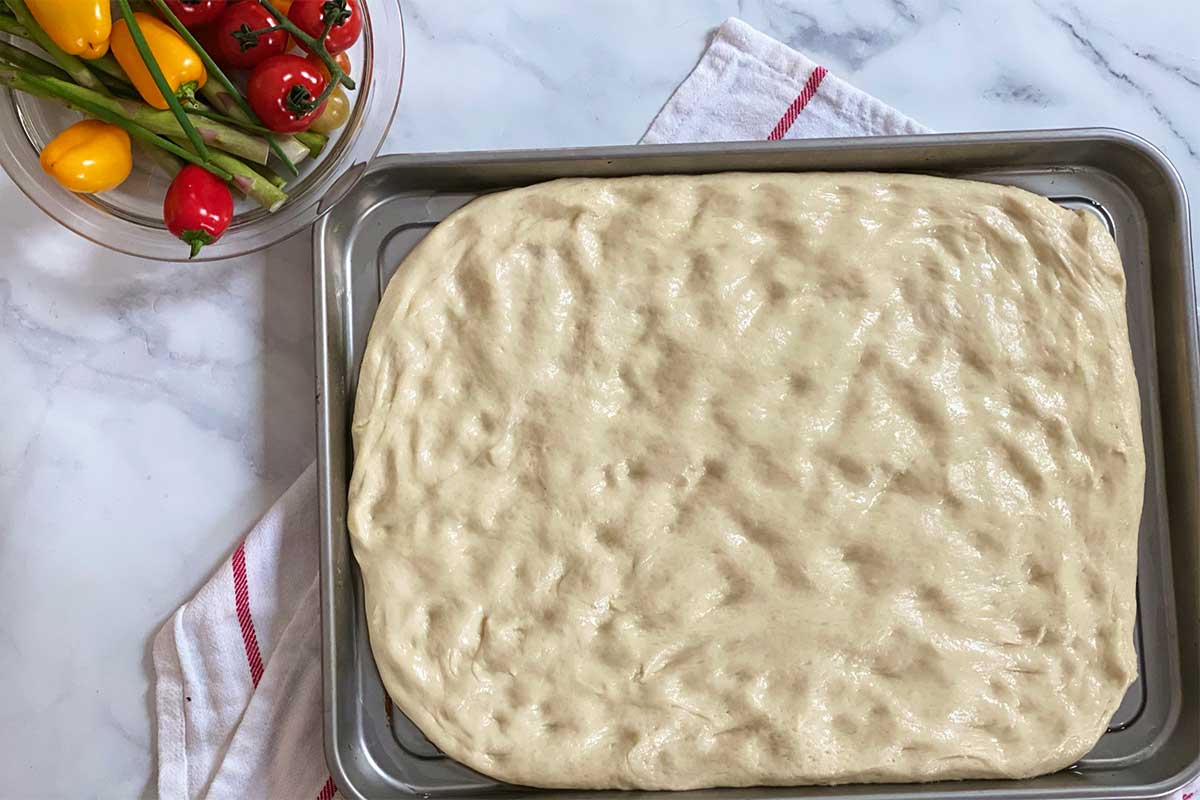
Once you have a plan (or at least inspiration) for your garden focaccia, it’s time to make the dough.
I’m using our Garden Focaccia recipe because of its delightful softness — both in the dough and finished product. It’s tender and moist, plus has a subtle potato-y flavor that's easy to build on without being completely bland.

Most focaccia recipes will work as long as they’re sufficiently large enough to build your garden dreams. Use your favorite recipe or try one of our tasty focaccia variations, if you like. Then it’s time to watch your garden grow!
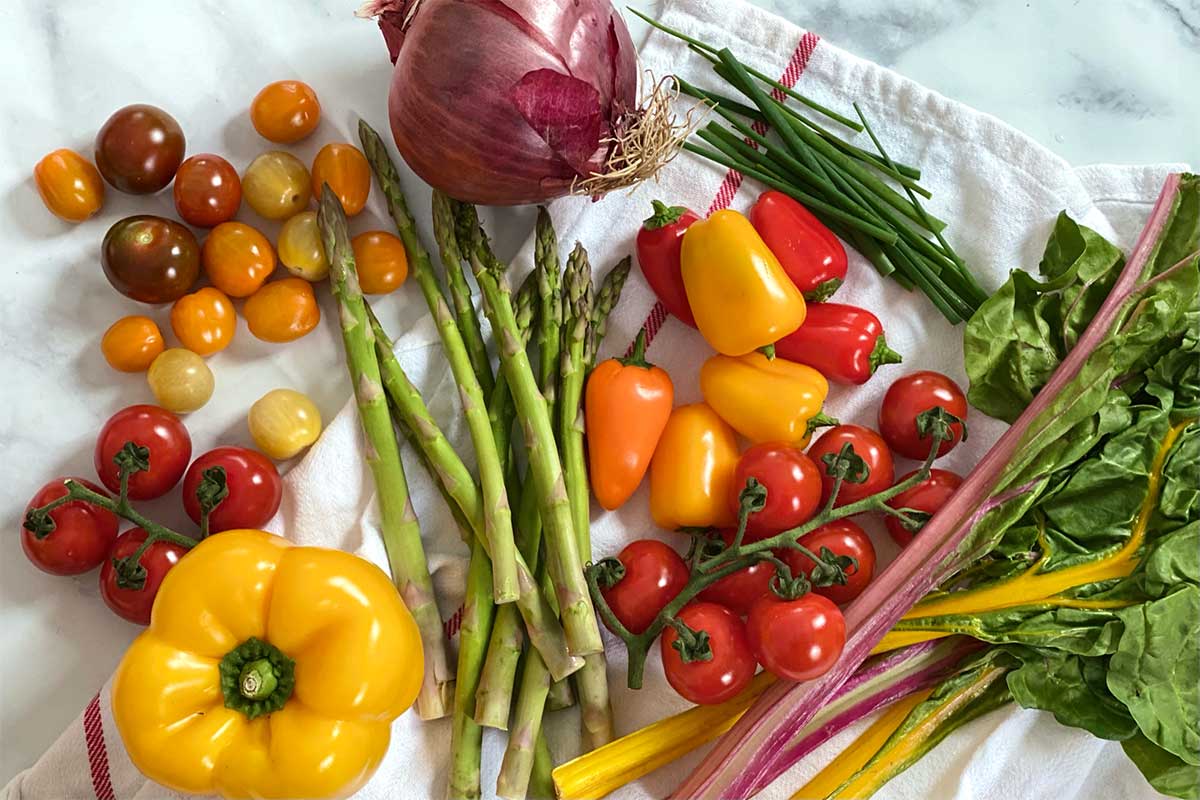
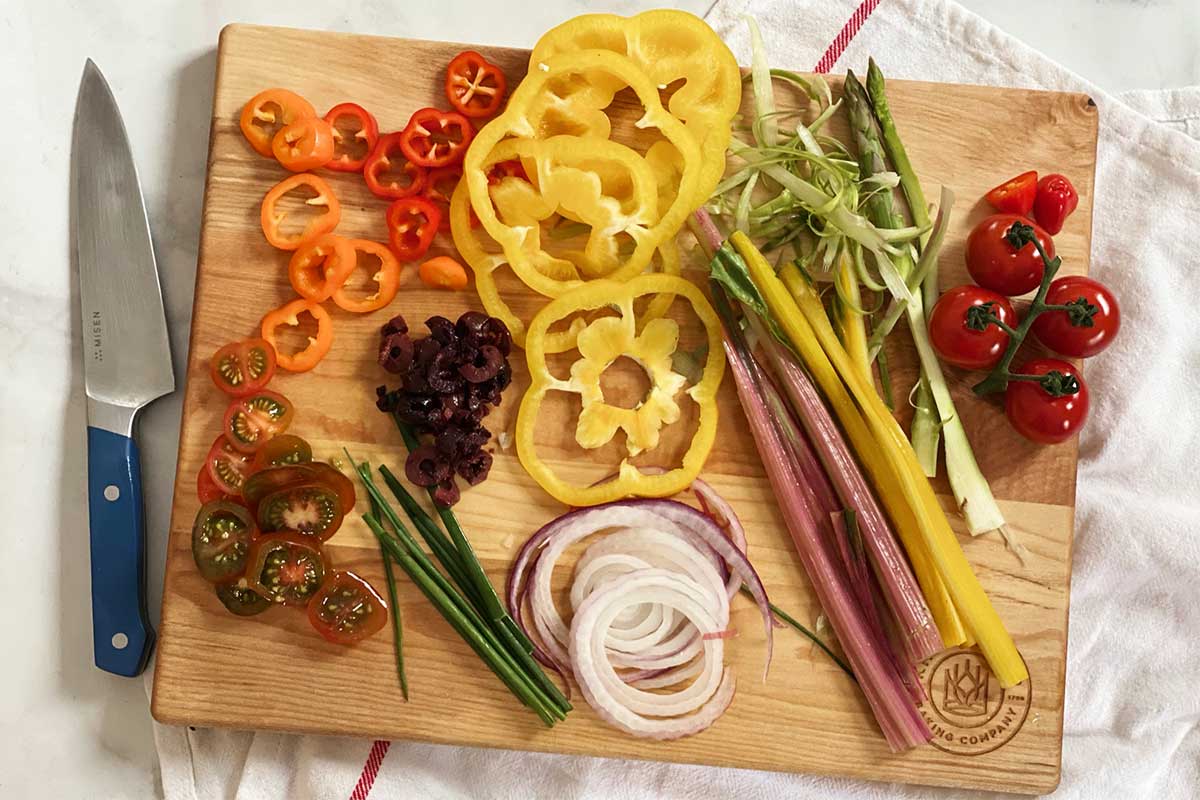
While your dough is rising, prepare your toppings by washing, peeling, slicing, and/or de-seeding your vegetables based on how you want to eat them. It helps to leave some pieces large and others small so you end up with a variety of colors, sizes, and textures.
Since most focaccia recipes call for baking at a high temperature, you don't need to pre-cook any vegetables. They'll roast in olive oil on top of the dough while it's baking. The only exceptions are ingredients like onions that you may want to caramelize.
Otherwise, set yourself up with a palette of fresh vegetables, ready to create your scene.
Now comes the fun part! When the dough is almost finished rising, gently dimple the surface with your fingertips. (Usually the dimples in focaccia are quite prominent, but you to create a relatively flat surface to work on, so go easy on the dough.)
Preheat your oven to the temperature called for in the recipe. Then drizzle olive oil over the dough, using slightly less than the amount called for in your recipe. (Using a modest amount of oil helps prevent the dough and toppings from becoming soggy and also creates a cleaner look.)
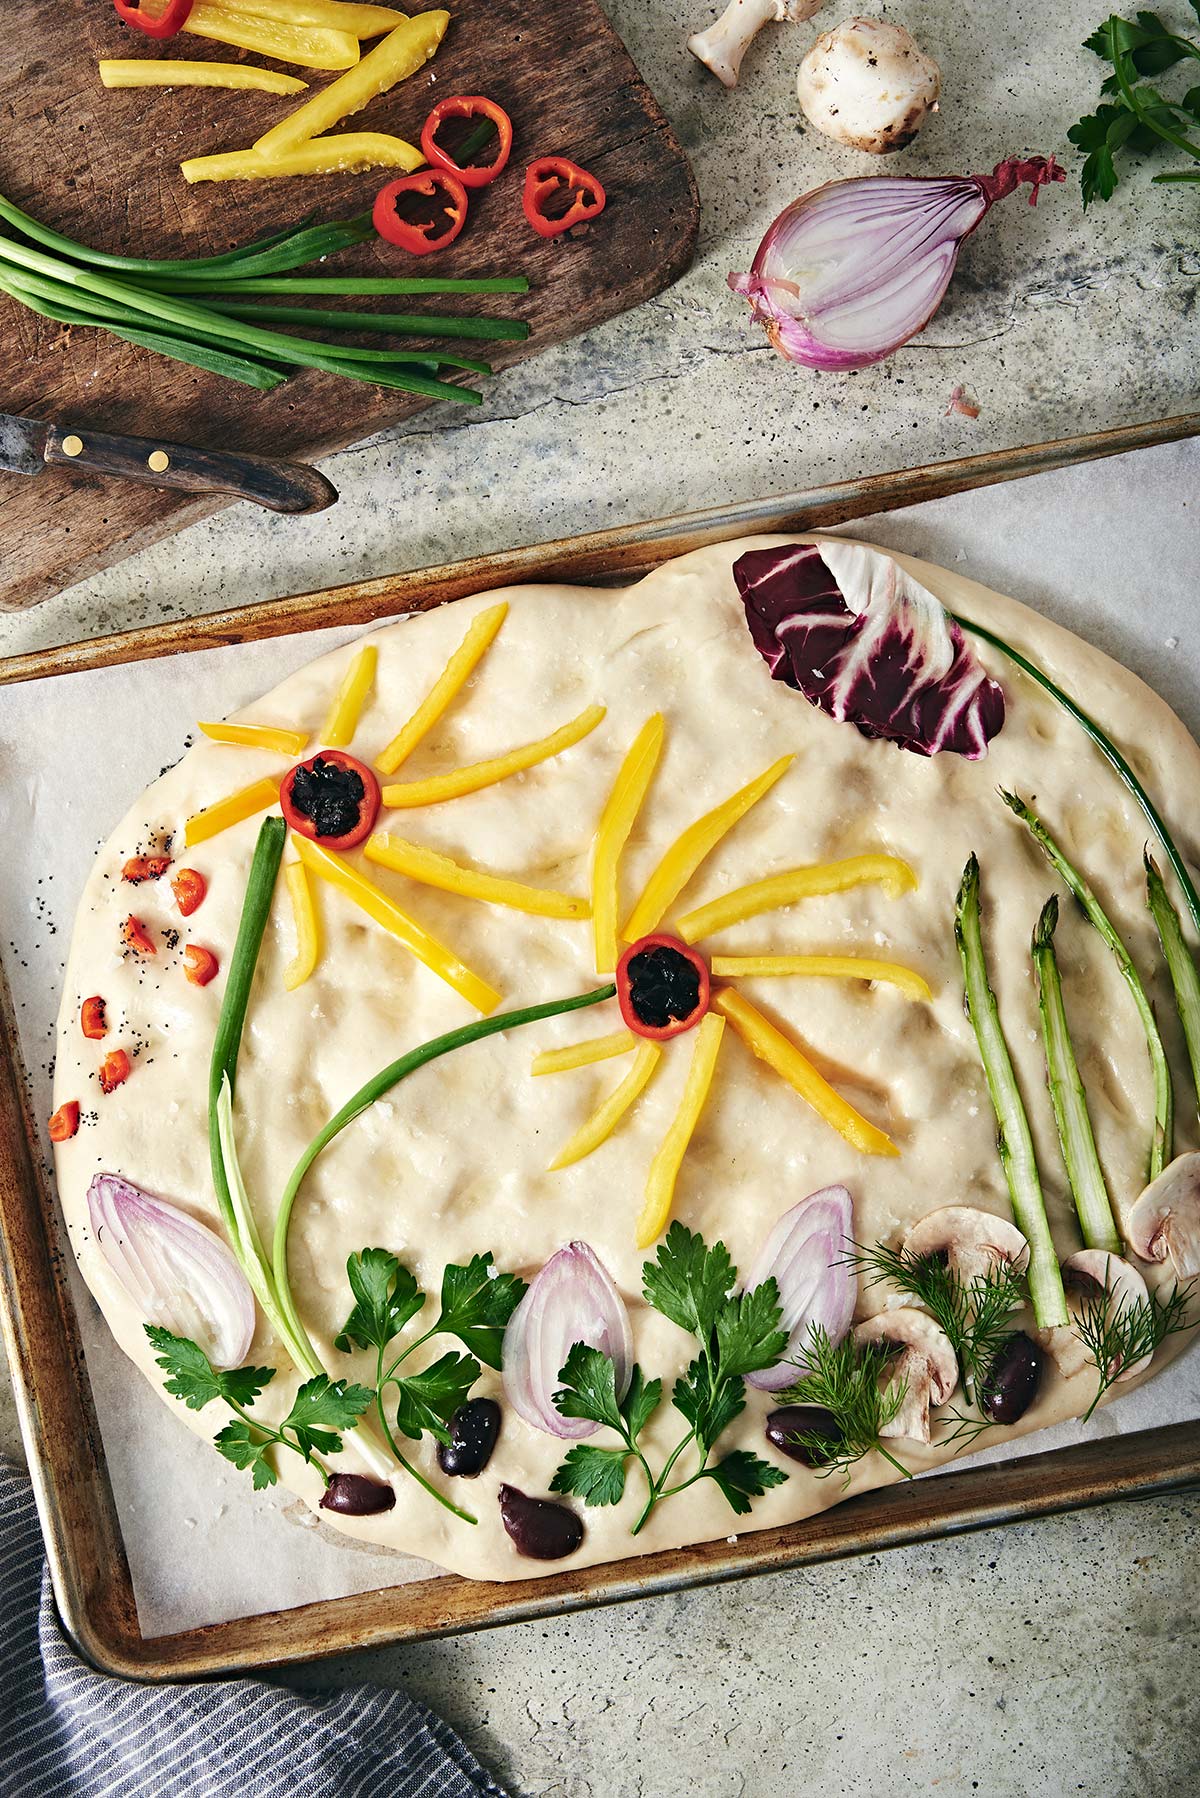
Place your toppings on the surface of the dough, using colors, patterns, textures, and flavors to your advantage. Remember, there's no right way to create art — feel free to be creative.
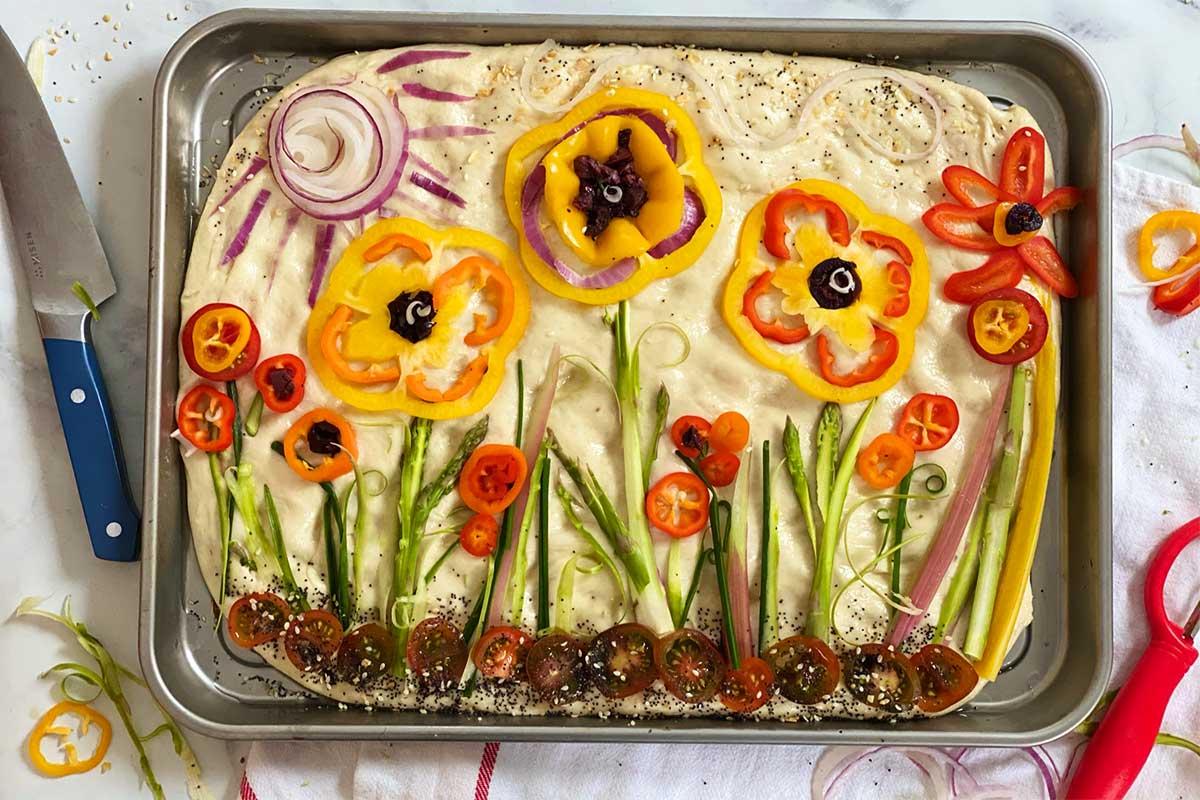
Make the scene as simple or detailed as you like, then take a step back from the focaccia to enjoy your work.
Make sure your oven is fully preheated, then bake your garden focaccia according to the recipe. Keep an eye on it and check for doneness about three-quarters of the way through the baking time, as some of your toppings (like onions) may brown faster than expected.
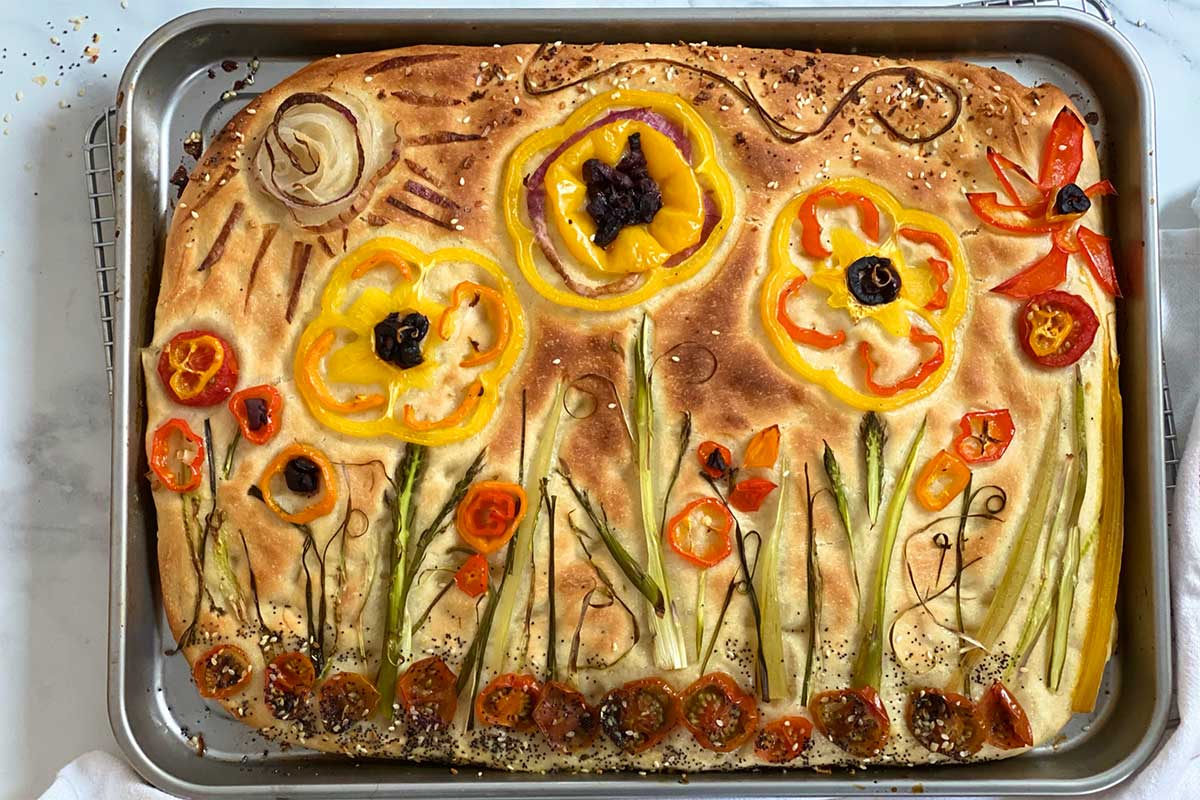
The focaccia should be lightly golden in the bare spots of the dough, between all the toppings. Use a spatula to peek at the bottom when it appears done on top; it should be crispy and have started to brown. A little bit of caramelization delivers lots of flavor, while the inside will stay tender and soft.
Transfer the focaccia to a wire rack to cool, or leave it right in the pan if you want to serve it warm. Make sure you pause and appreciate the work of art you've made before diving in — and feel encouraged to photograph your creation if you wish. Garden focaccias are the definition of Instagram-worthy!
Before you make your next garden focaccia, take note of these tips straight from our test kitchen. They'll help you embrace your inner artist (and baker):
When everything is done, take your garden focaccia outside to enjoy in the fresh air, if you like. Or, if you're somewhere cold and blustery, at least treat yourself to a moment at a window, taking in some natural light along with the smell of your focaccia. Take a bite of your garden focaccia and enjoy the fact that something so beautiful can also taste so satisfying.
For more recipes that you won't be able to resist photographing, check out our collection of Extraordinary Breads. The dozen recipes featured will have you thinking about bread in a whole new way.
Cover photo by Liz Neily