


 Love sourdough, but looking for a bit more flexibility and ease when you bake with a starter? In The Casual Sourdough Baker, PJ shows you just how wonderfully stress-free sourdough baking can be, from simple but richly flavored loaves to countless easy ways to use your discard. If you're just beginning your journey, our Sourdough Baking Guide lays out the basics you need for success — whether you decide to become serious or go casual!
* * *
Thanks to the pandemic, I’ve spent the past year learning to love sourdough baking. Never a huge fan of sourdough’s quirky nature (and the rules with which we humans try to tame it), the specter of a commercial yeast shortage forced me out of my comfort zone — for which I’m eternally grateful.
These days, as I become increasingly comfortable with sourdough, I find myself grabbing my jar of starter just as often as my canister of instant yeast. Have I suddenly embraced sourdough’s complicated world of DDT (desired dough temperature), carefully calibrated feedings, and Instagram competition for the best-looking loaf?
Not at all. In fact, I’ve gone in the opposite direction. I feed my starter when I think of it. I don’t bother to track how long it takes to double. In fact, I very seldom use "ripe" (newly fed) starter at all: I typically just grab my jar of starter from the fridge, scoop out what I need, replace what I've taken with equal parts flour and water, and I'm on my way. Despite this rather cavalier behavior, my recipes turn out fine and my starter thrives.
The first yeast bread I ever baked was English Muffin Toasting Bread, and I love it to this day. The soft dough for this simple white batter bread requires only a minute or so of high-speed beating in my stand mixer. I scoop it into a bread pan, let it rise, bake, and enjoy. No kneading; no shaping; no problem!
So here's the question: Is it possible to combine the ease and simplicity of batter bread with the attributes of sourdough to make a delicious, naturally leavened sandwich loaf?
The answer is an unqualified yes.
With nods to our No-Knead Sourdough Bread and Pain de Campagne recipes, both of which provided me with some “Ah-ha!” moments around technique, I’ve settled on the following process to make what’s become my go-to daily loaf: Easy Everyday Sourdough Bread.
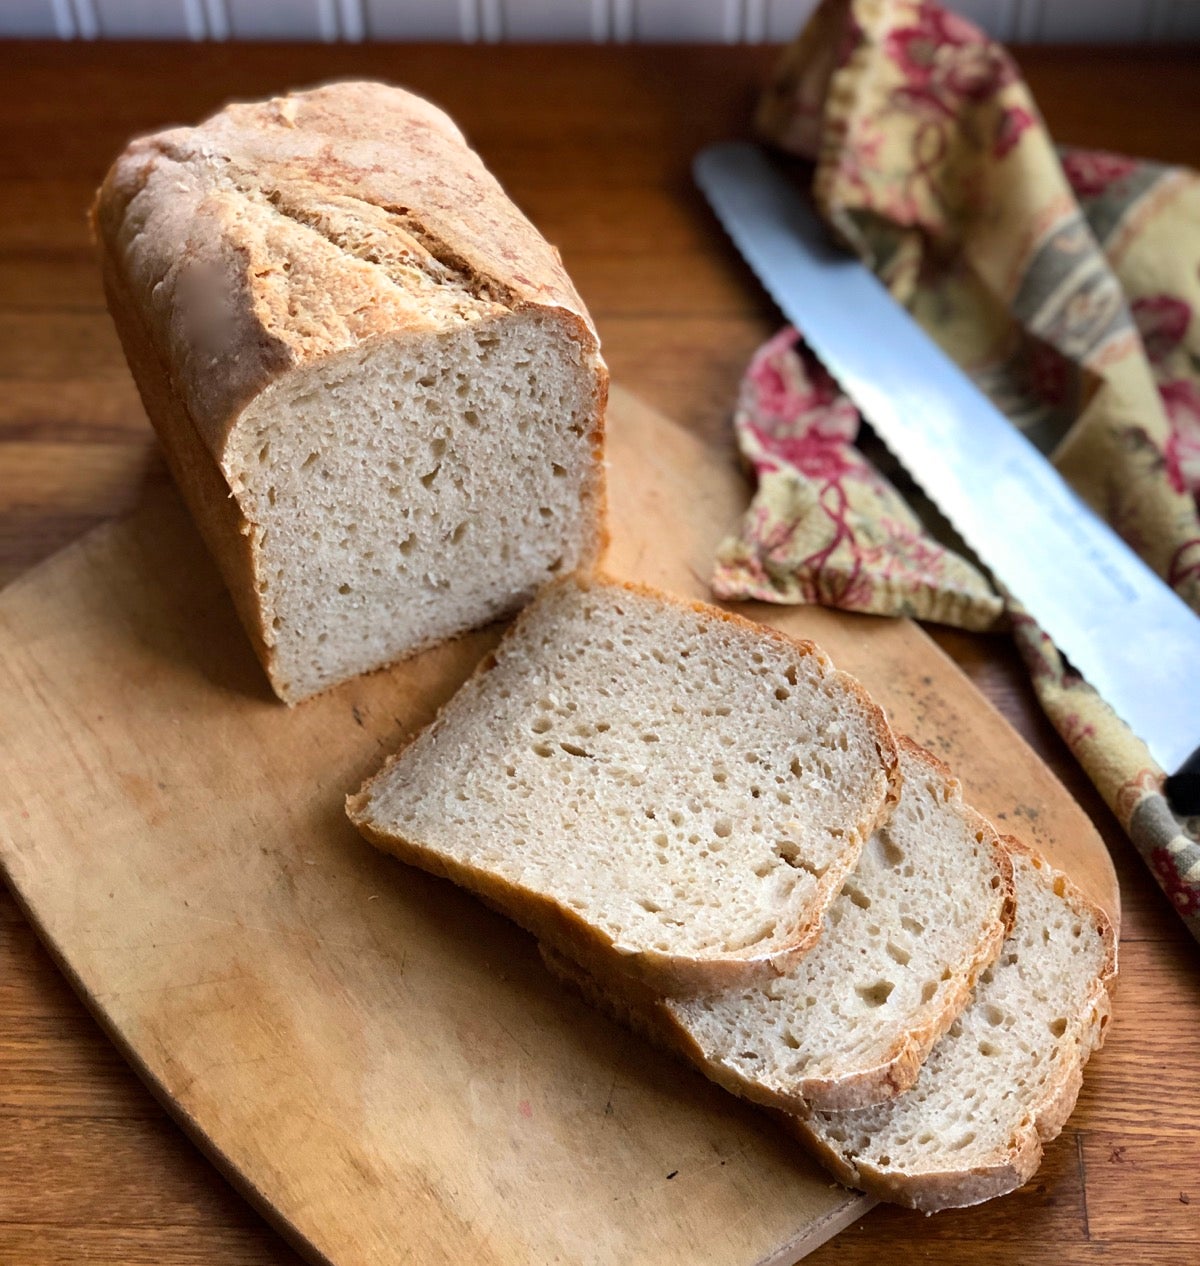
This loaf elevates “ease” to new heights. Once you’ve mixed the dough, it’s just like any other batter bread: no kneading, no folding, no shaping, and no thinking — just a couple of flexible room-temperature rises and 45 minutes in the oven. The result? A nicely moist, chewy loaf perfect for both sandwiches and toast.
The following information is more a method than a recipe (though you can find the full recipe now added to our site). I’d love you to use my experiments and experience to develop your own favorite bread: a reliably delicious loaf you and your family can enjoy every day.
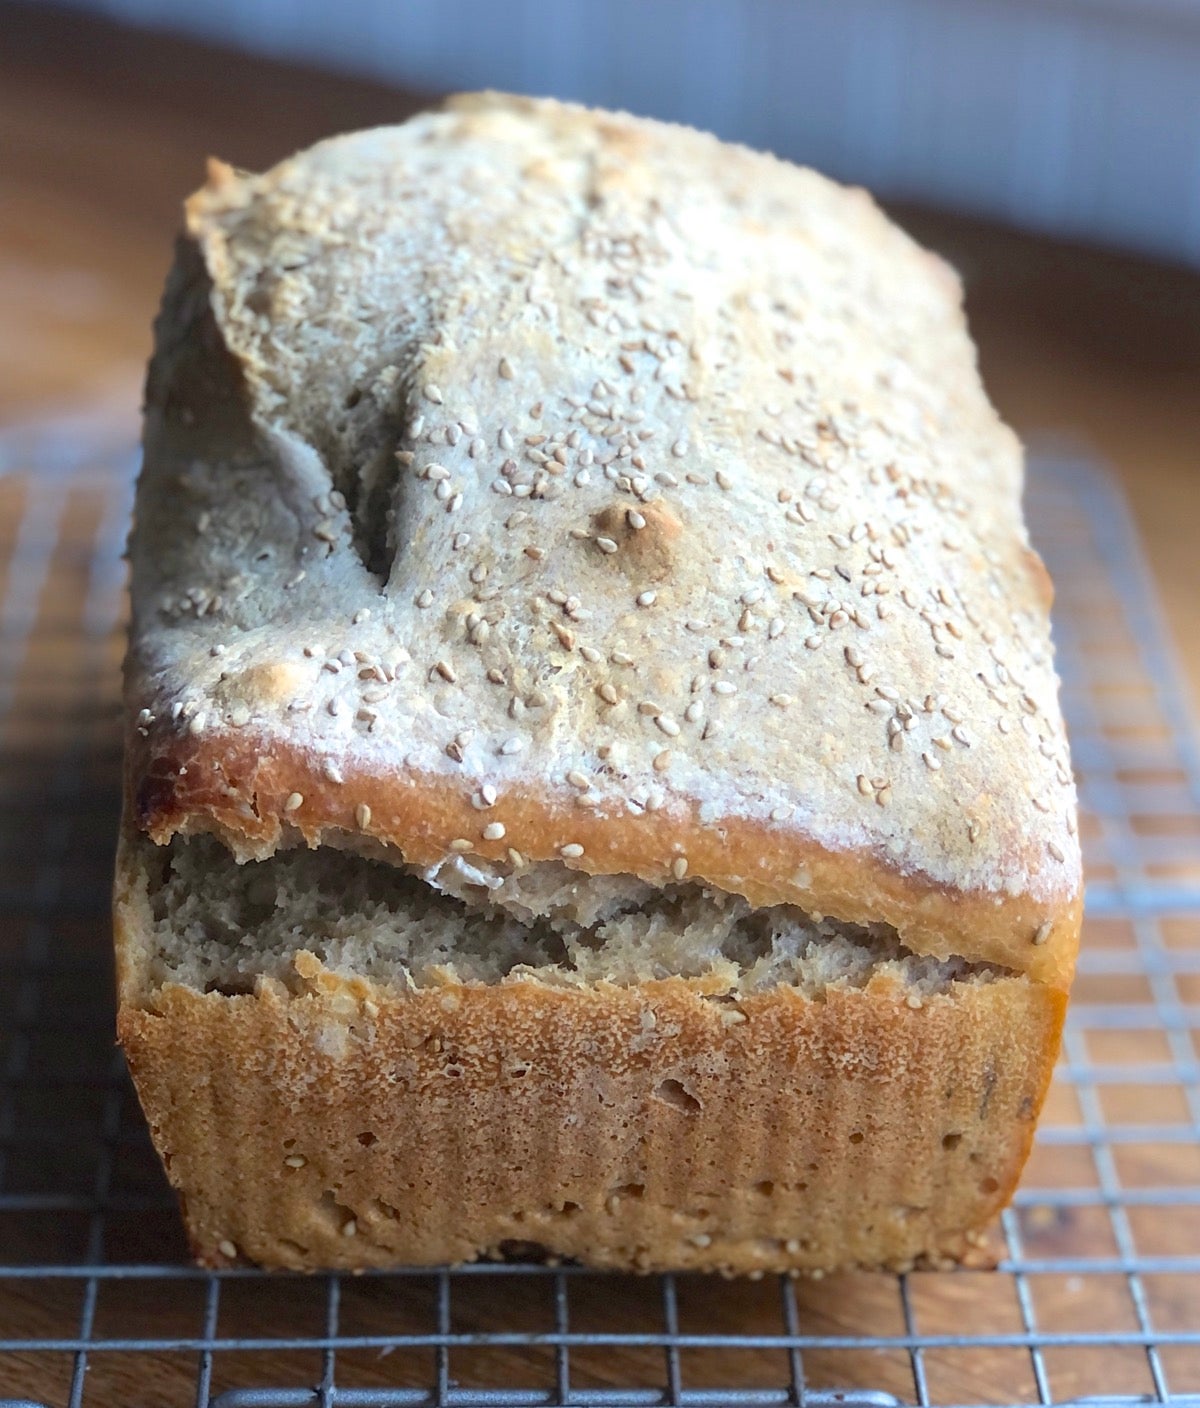
When you're looking at loaf pans for this bread, tall and narrow is the way to go. Our 9” x 4” x 4” pan (a.k.a. “gluten-free loaf pan” or small pain de mie), with its tall, straight sides, provides the support this very soft dough needs as it rises and bakes. Unlike a standard loaf pan, which produces shorter loaves with a "mushroom cap" top, bread from this pan will be beautifully shaped, with a gently rounded crown.
I use my 9” x 4” x 4” pan for every loaf I bake these days, from Whole-Grain Banana Bread to my weekly sourdough. I no longer worry about whether a recipe calls for a quick bread (9” x 5”) or standard loaf (8 1/2”x 4 1/2”) pan; the taller 9” x 4” pan steps in seamlessly for either one. Honestly, if you’re going to go through life with just a single bread pan, the 9” x 4” is your best choice.
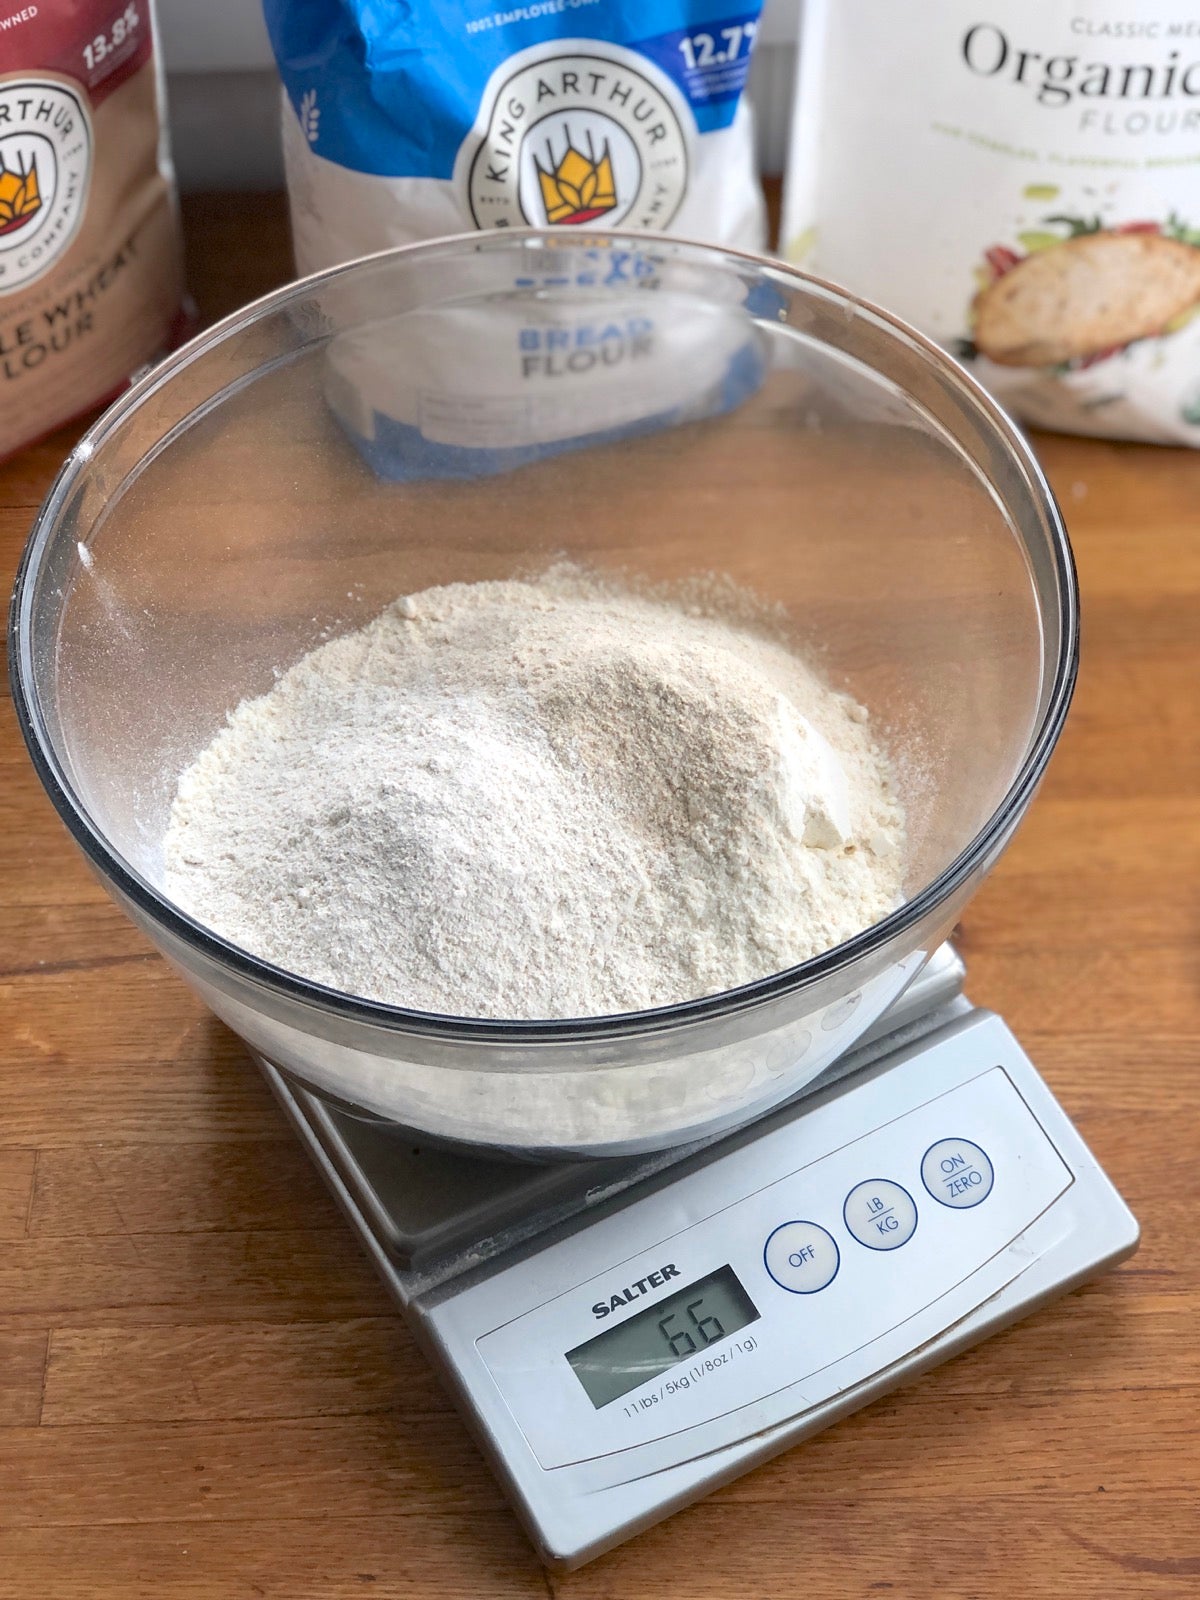
To be a consistently successful bread baker, you’ll want to weigh your ingredients. Why? Because measuring flour with a measuring cup is terribly inexact. If you’re rather heavy handed, you can end up with up to an extra cup of flour in your loaf: resulting in bread that’s dry, squat, and crumbly. But measure with a scale, and your amount of flour will be spot-on every time, resulting in loaves that rise nicely, have beautiful texture, and store well at room temperature.
If you don’t have a scale, I’ll provide some approximate volume measurements for you. But please spring for a scale when you can; once you start weighing your baking ingredients, you’ll never look back.
Let's make Easy Everyday Sourdough Bread.
This is my current favorite mix of ingredients. You'll notice there's no oil or other fats, no commercial yeast, and no add-ins. But nevertheless, this dough becomes bread with unexpectedly bold, complex flavor.
*If you prefer to start with plain white sourdough bread, substitute an additional cup of bread flour for the suggested whole wheat and rye.
Stir together your flours and salt in a large bowl.
Get out your sourdough starter. It doesn’t need to be newly fed but neither should it be moribund from pining in the back of your fridge for months on end. The more recently your starter’s been fed, the faster your dough will rise; the timeframe I’ll guide you through here is based on starter that’s had a feeding within the past 14 days.
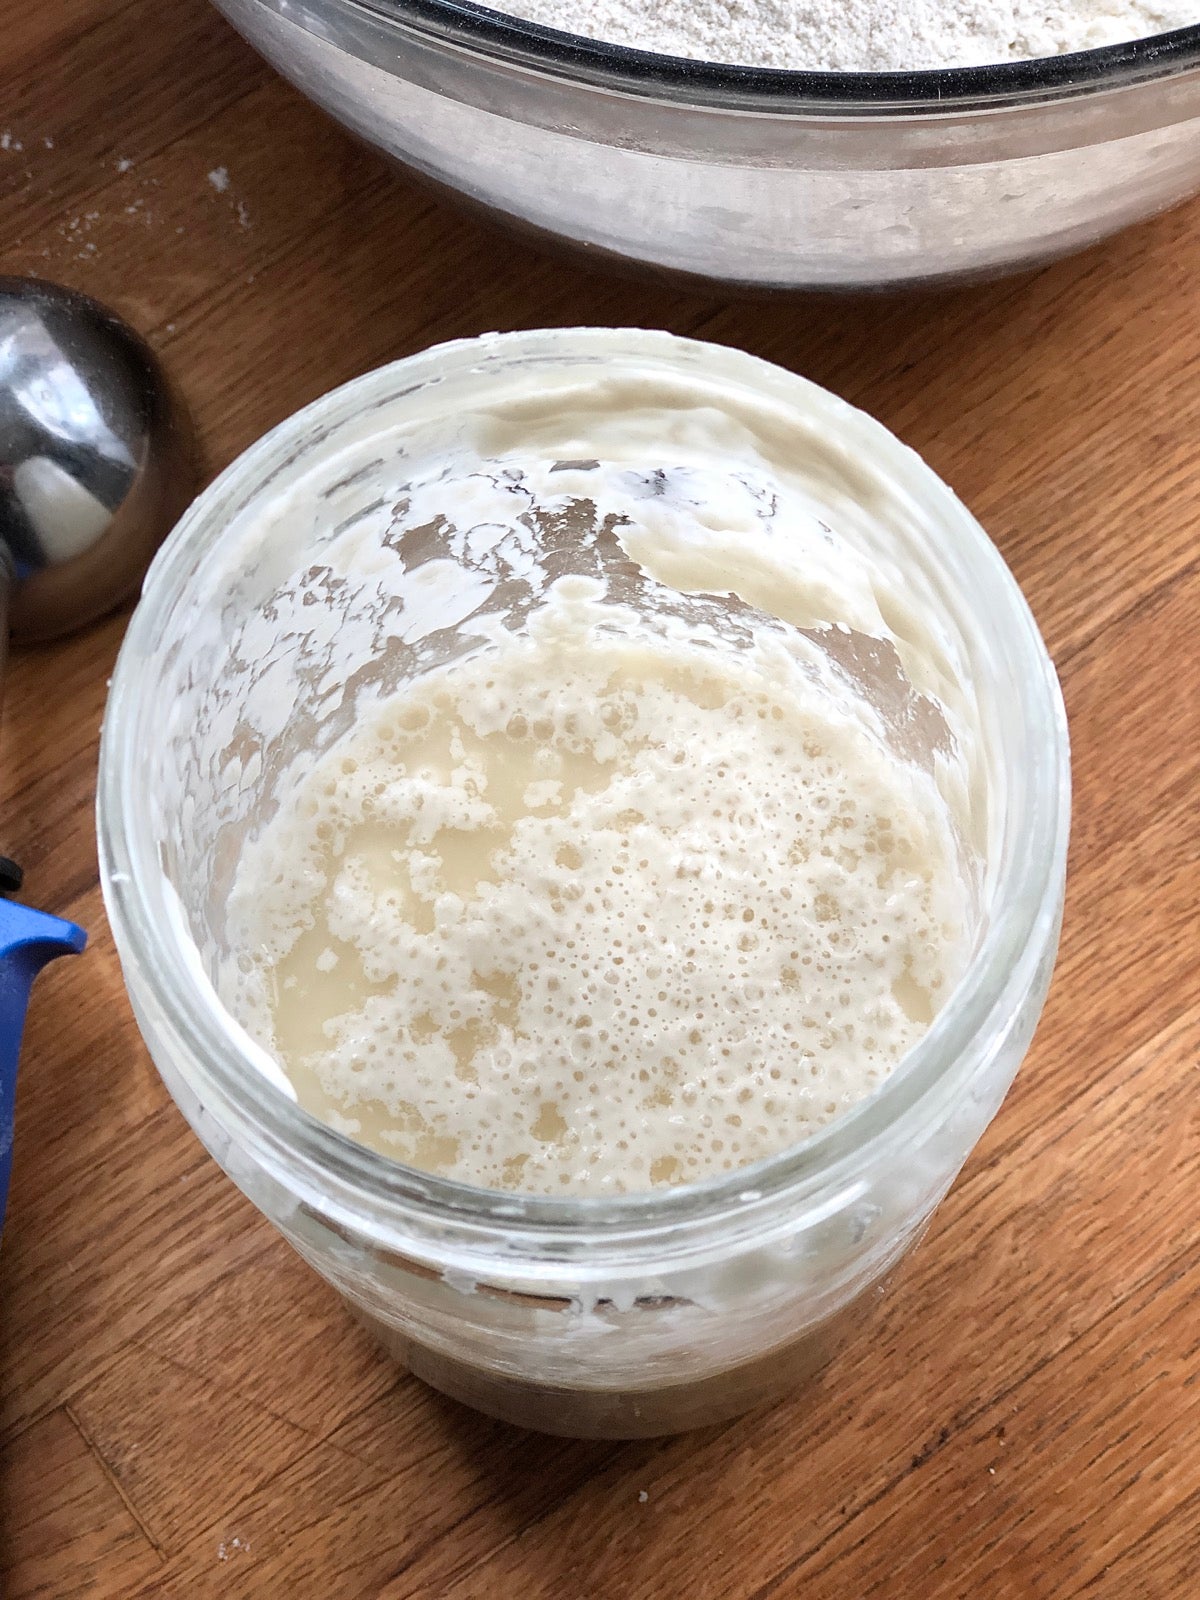
If your starter has been neglected and is covered with dark liquid (or even a wrinkled skin), stir it up and give it a couple of good feeds before you use it in this bread. Since we’re not using any commercial yeast, the starter has to do all the heavy lifting: give it some love before you begin.
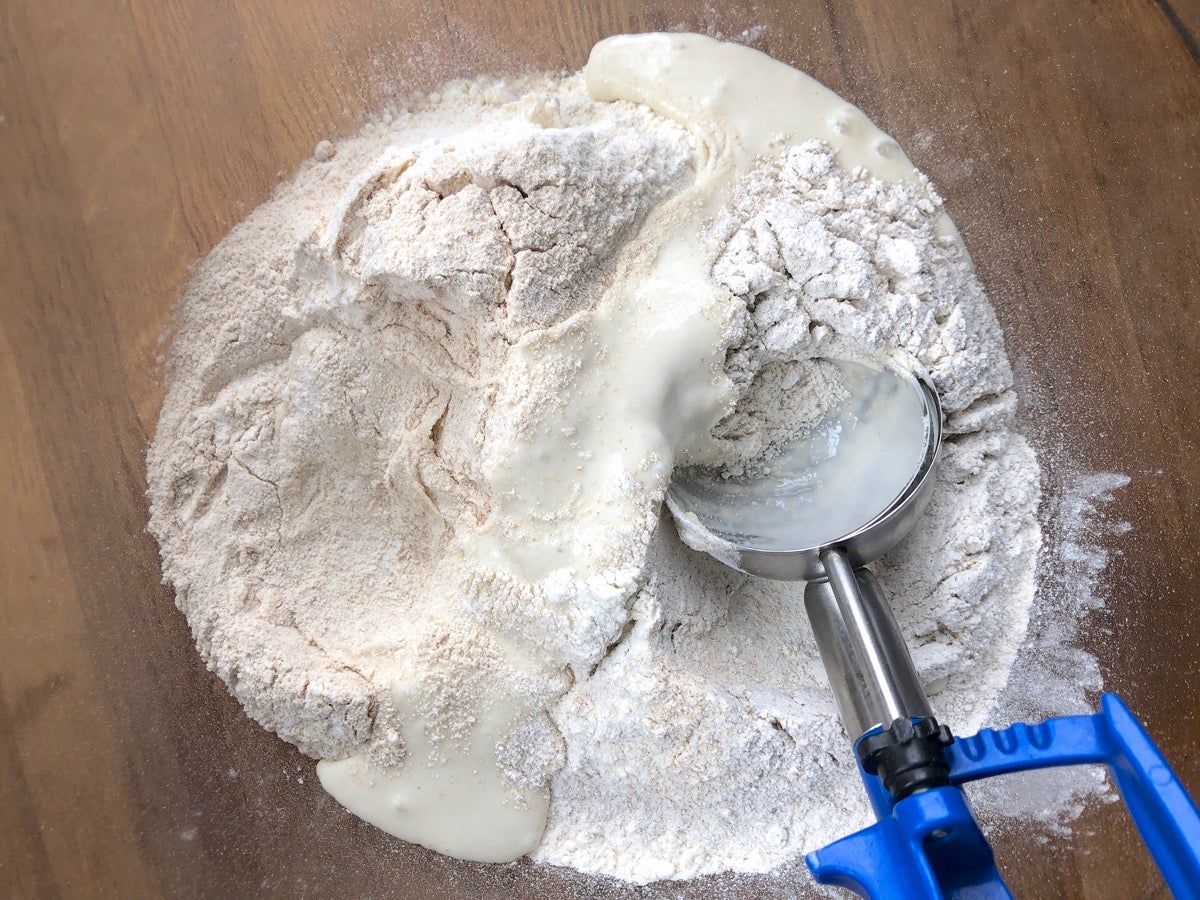
Add your starter to the bowl with the flours. I find a level muffin scoop of starter (about 60g, 1/4 cup) is just the right amount.
Mix in the water. What temperature? Doesn’t really matter, though you want to avoid the extremes: nothing icy cold or scalding hot. Cool to lukewarm tap water is fine. Keep in mind that warmer water will shorten your rise a tiny bit, while cooler water will lengthen it.

Using a spatula, sturdy spoon, or dough whisk, mix everything together.
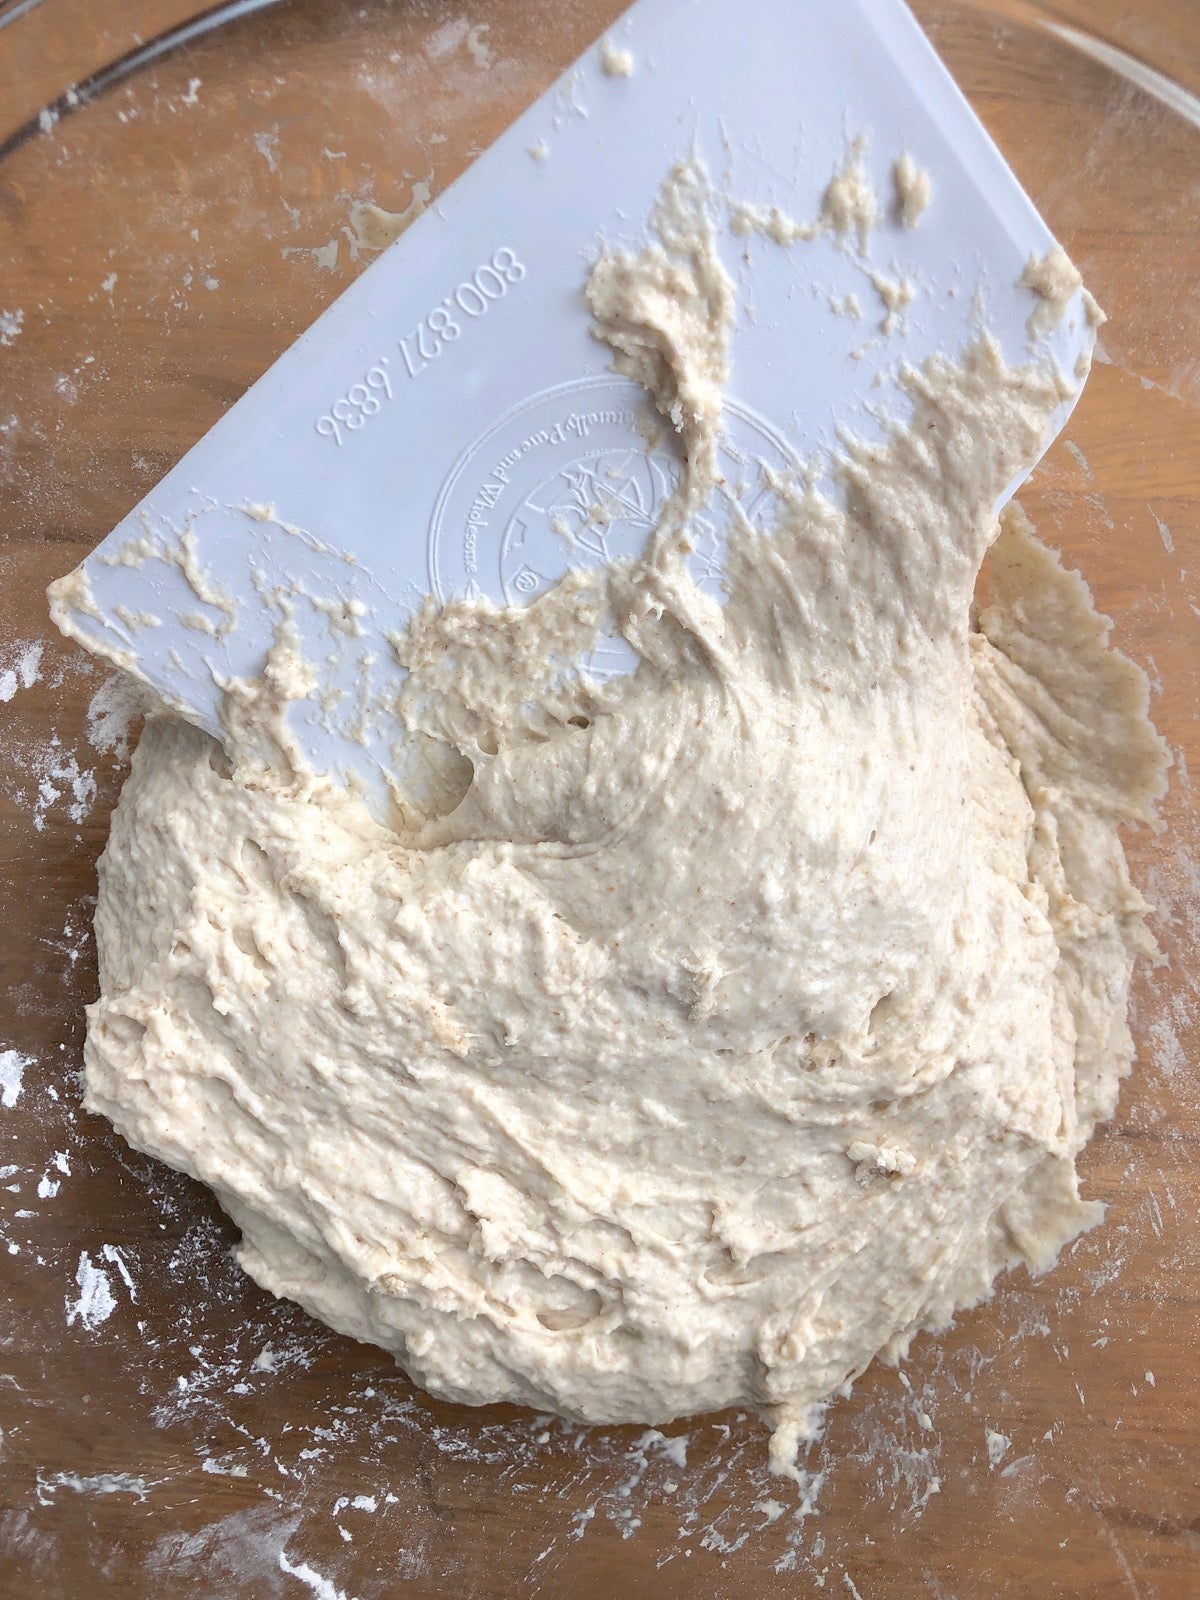
Once the sticky dough comes together and no floury spots remain, switch to a bowl scraper and give the dough a few more brisk turns, mixing until everything is totally combined.
Full disclosure: I don’t actually mix this dough by hand. I throw all the ingredients in my stand mixer and mix on medium-low speed for 45 seconds. That’s it; done.
Use a bowl scraper to scrape any sticky dough from the sides of the bowl into the center. Cover the bowl with plastic, a reusable bowl cover, or anything that will keep the dough from drying out; avoid porous cloth dish towels.
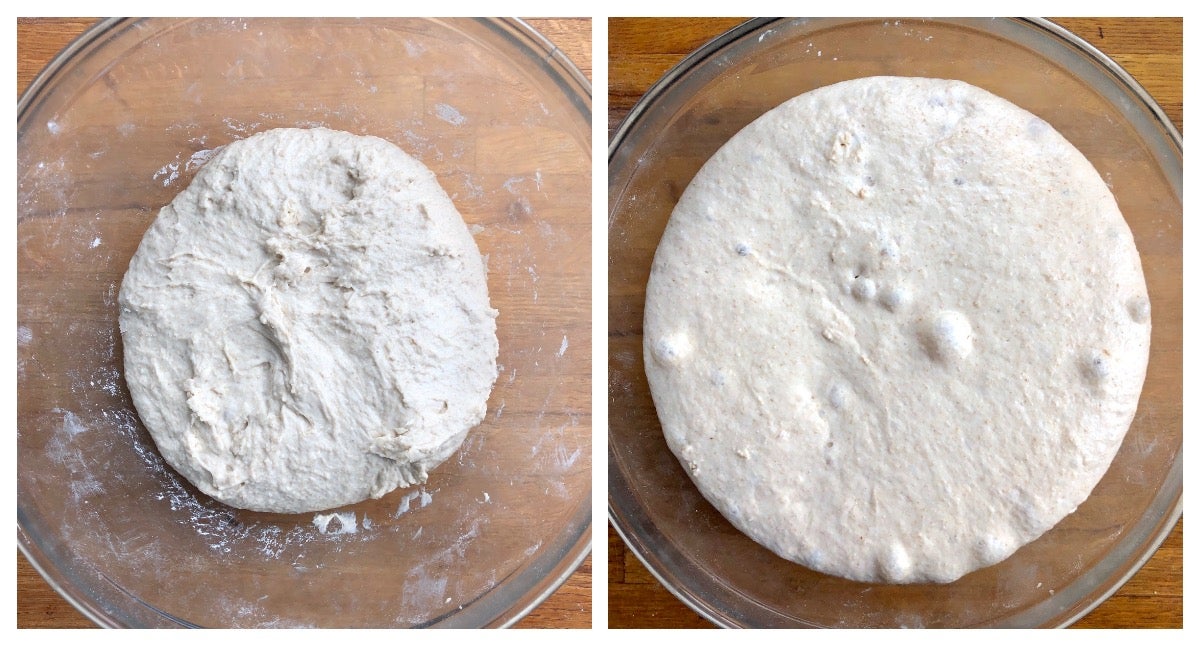
Set the dough aside to rise until about doubled, however long that takes; the duration of the rise is dependent on the vigor of your starter, the temperature of your house, and the mixture of flours you used.
In my house, using my partially whole-grain recipe, I let the dough rise for about 15 to 16 hours in a slightly cool spot, about 65°F. That means I make the dough at 4 p.m. one day and by 8 a.m. the next day it's ready to be transferred to a loaf pan.
There can be slight variations in this timeframe. During the summer the rise is more like 12 hours, due to warmer weather. And if you're making an all-white (no whole grains) version of the bread, the dough may take a bit longer to rise; whole grains provide extra food for the wild yeast in your starter, encouraging it to grow faster.
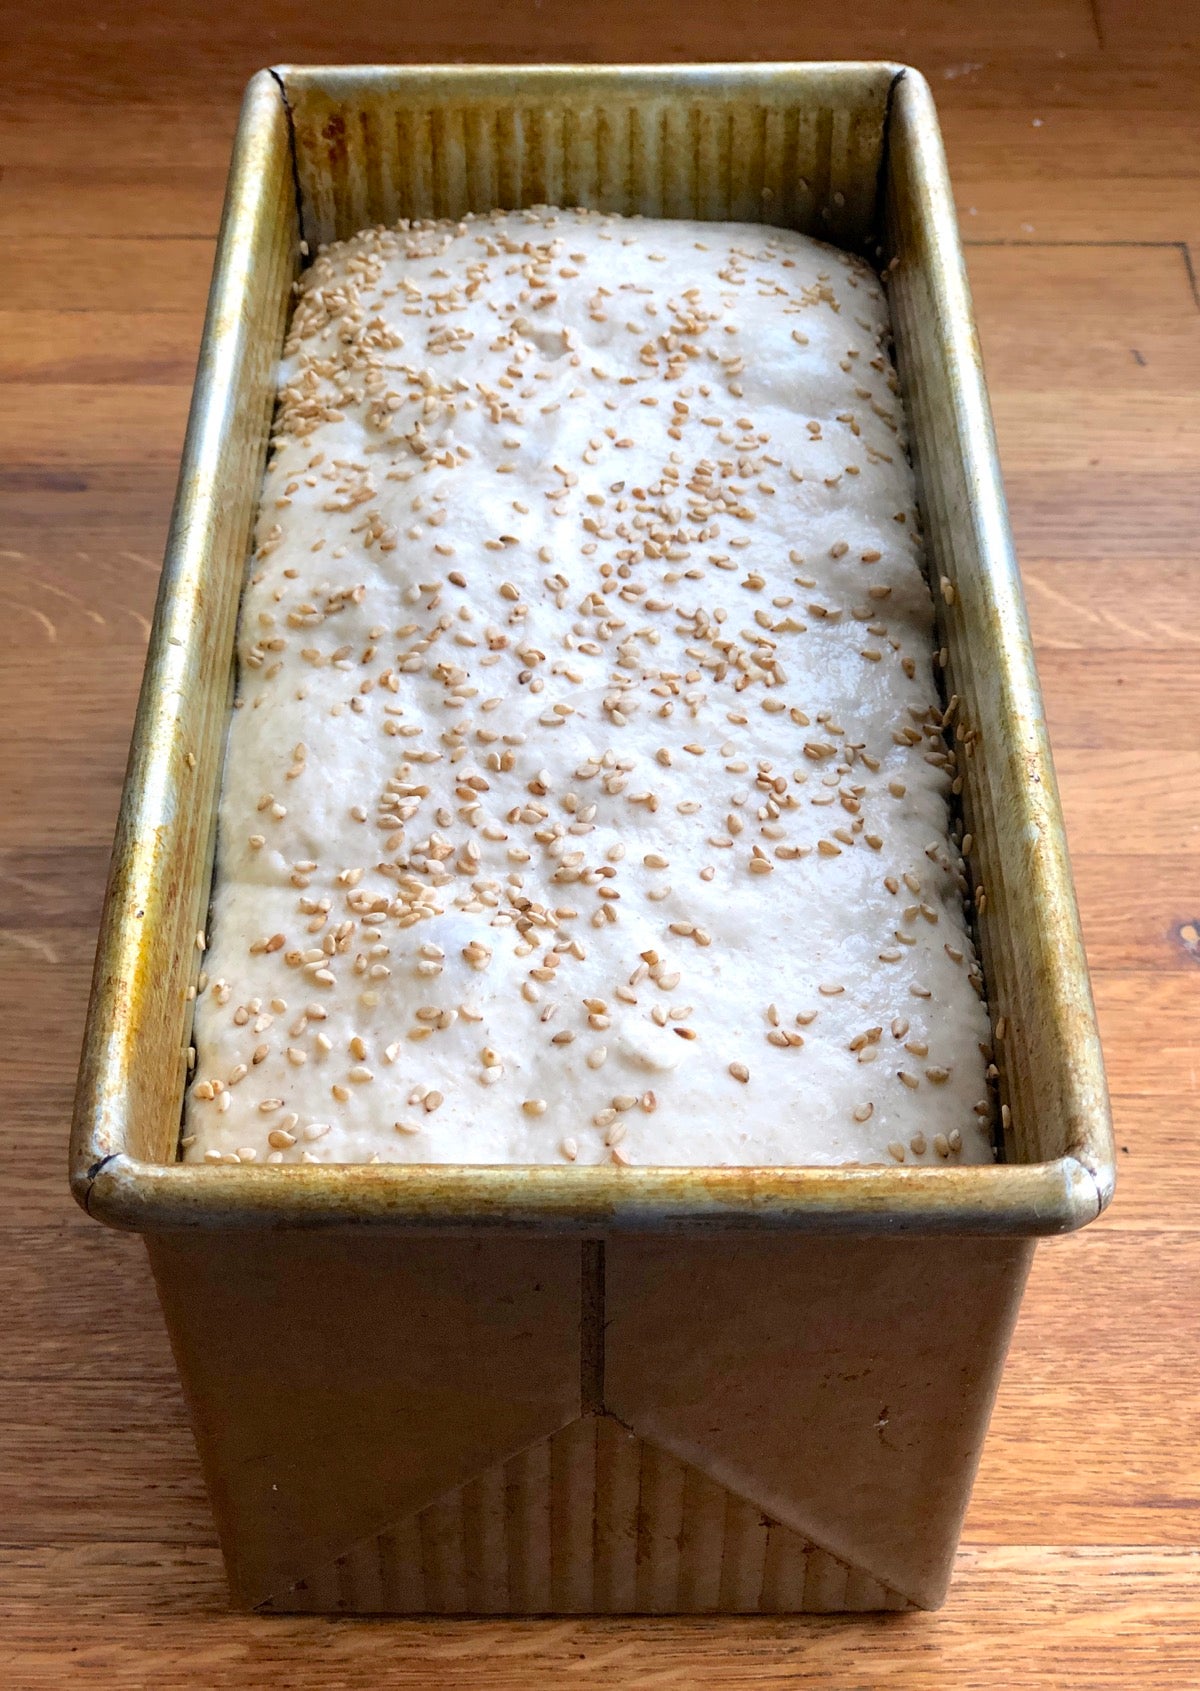
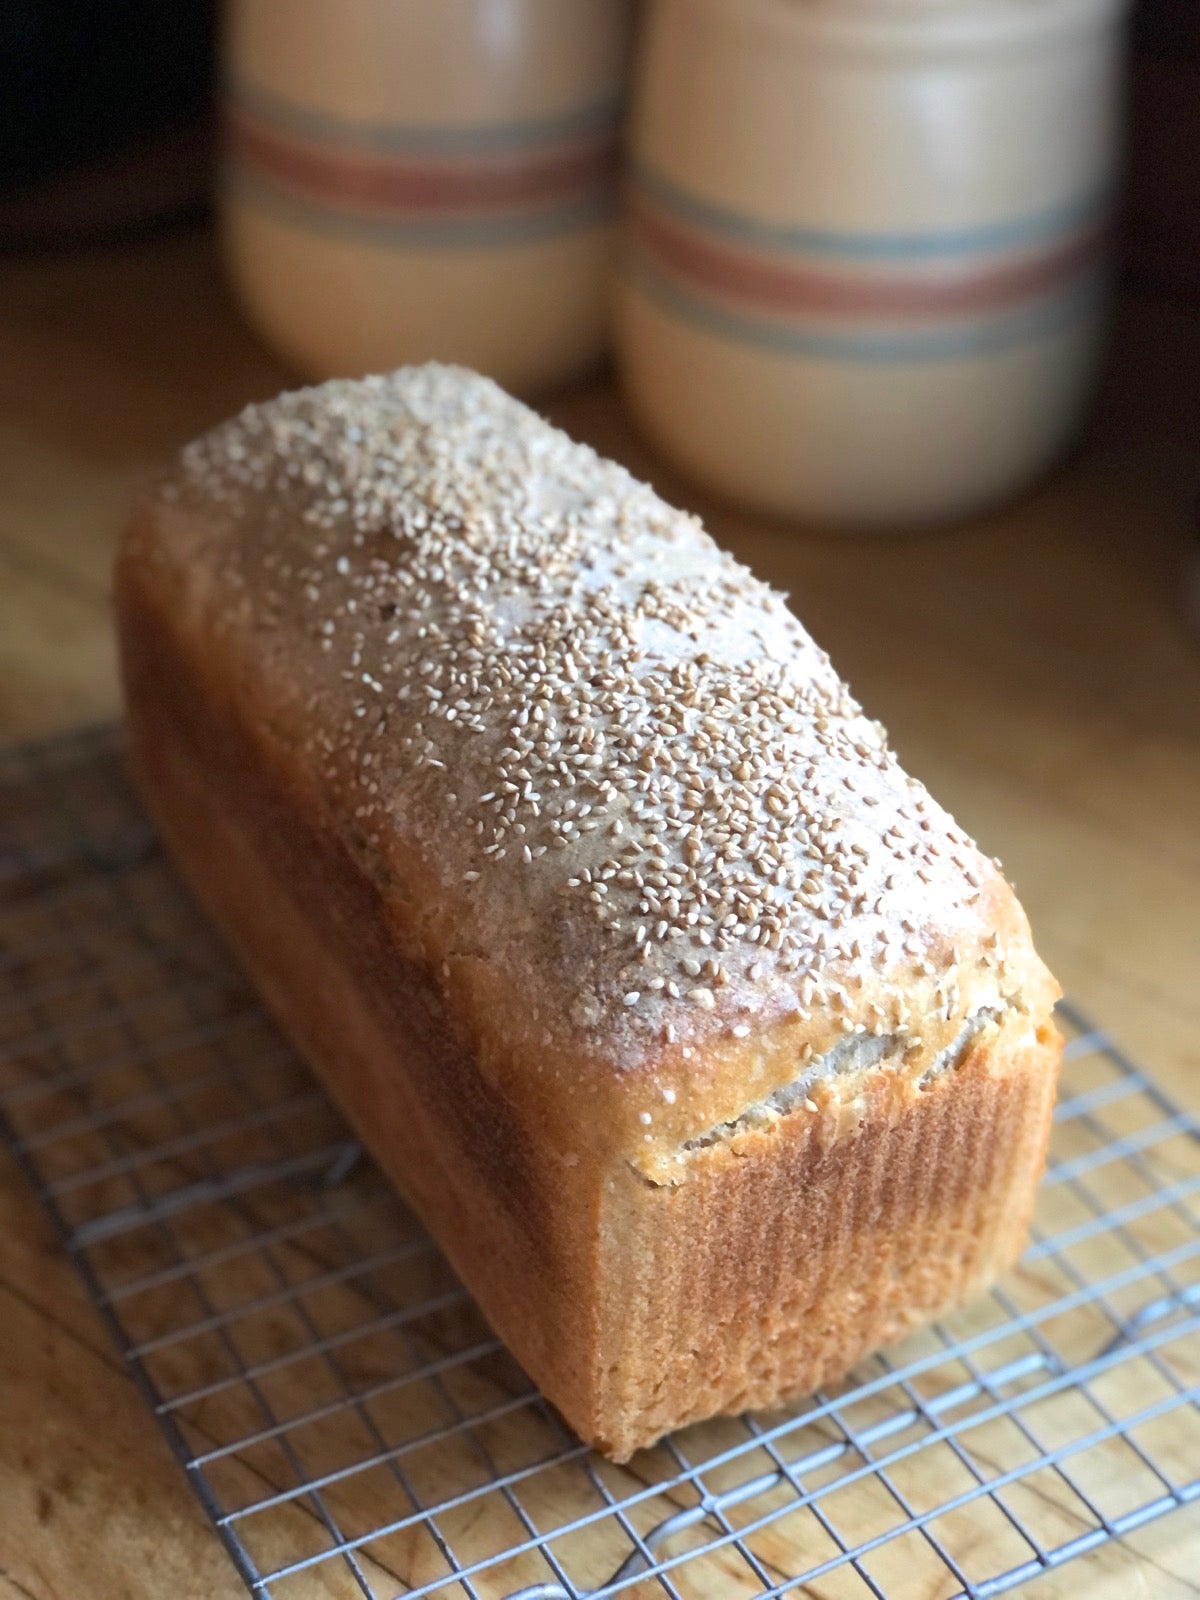
When the dough has risen sufficiently, ready your pan by spraying it with nonstick spray. I also like to coat the inside of the pan with sesame seeds, for extra flavor and crunch.
Use your bowl scraper to scrape the risen dough back to the center of the bowl, gently deflating it in the process. Work the dough with the scraper for an additional 20 seconds or so; you'll see it come together in a jiggly, semi-elastic mass, something you can easily scrape over the edge of the bowl into the prepared pan.
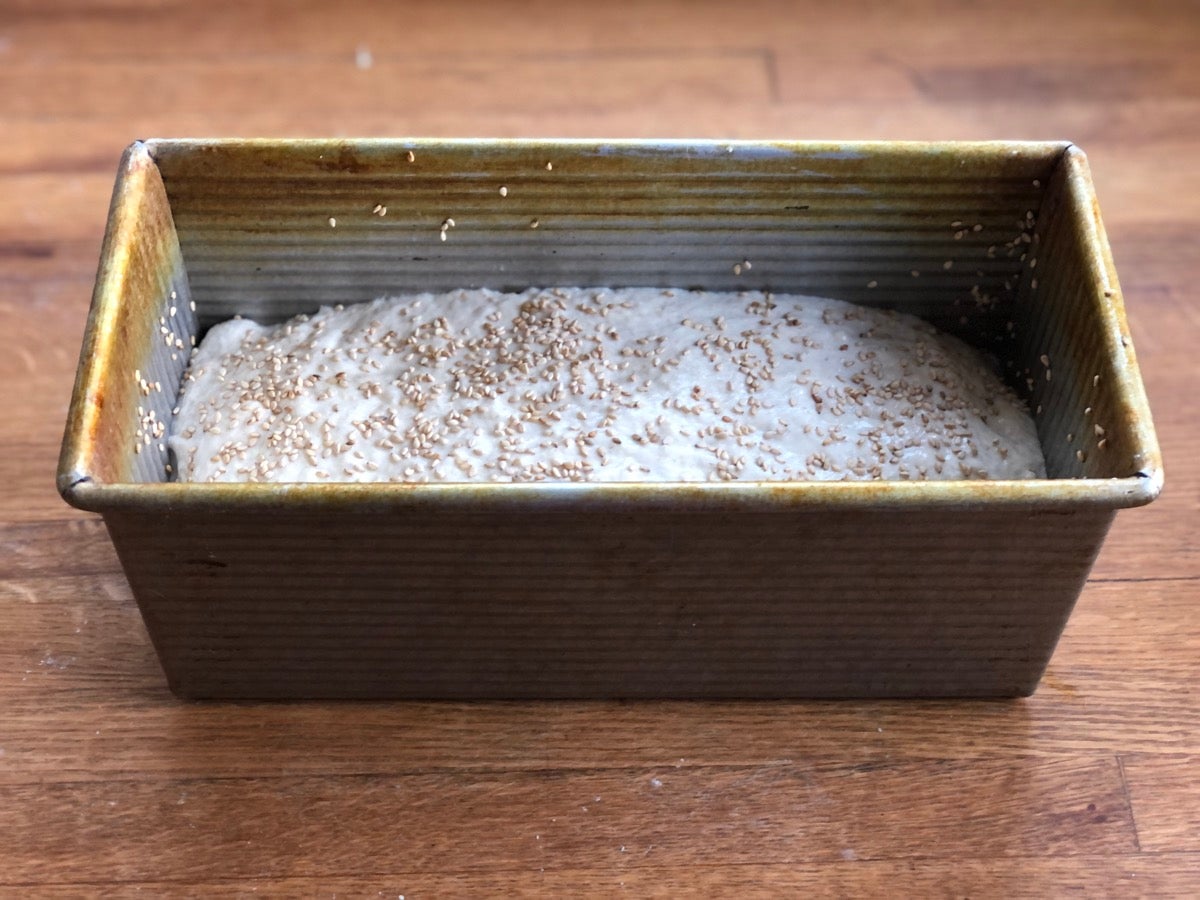
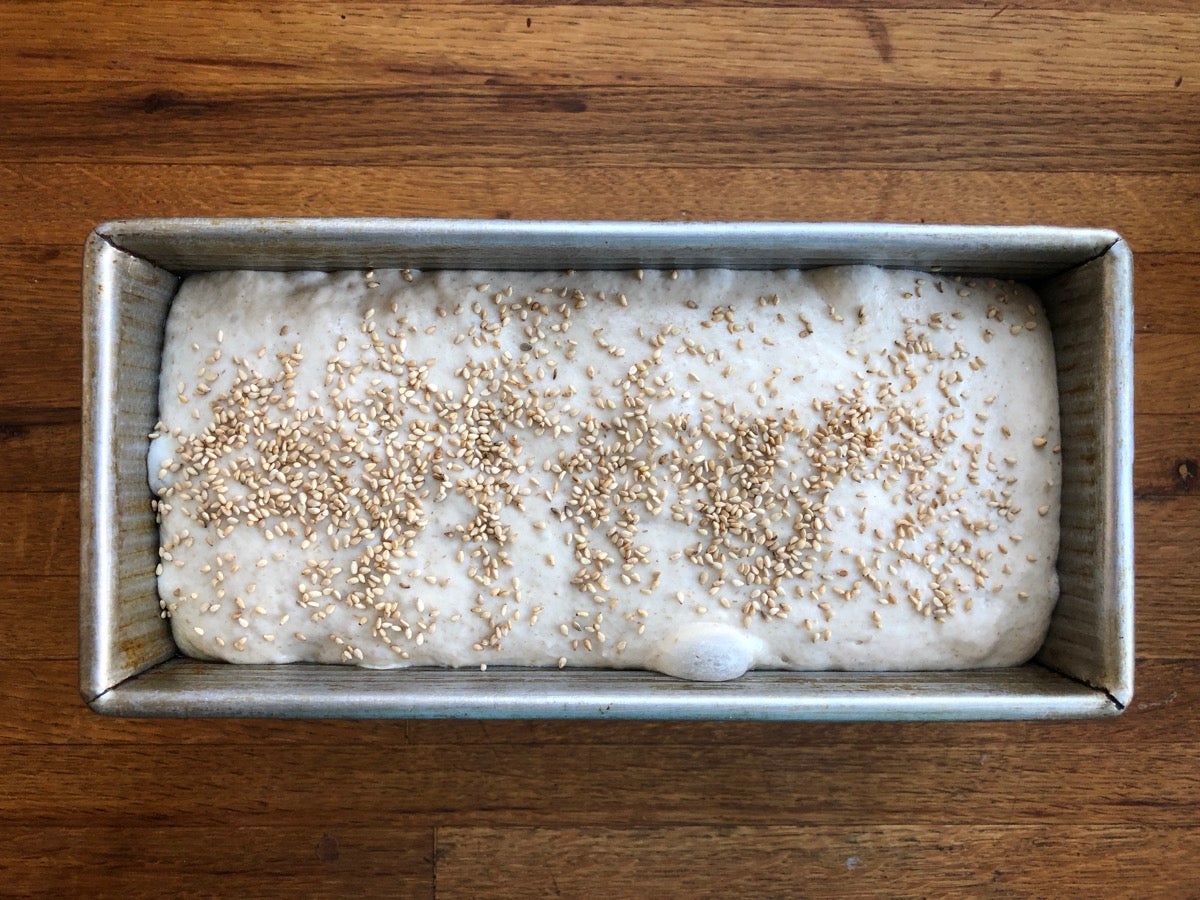
Scrape the sticky dough into the prepared pan. Smooth the top with wet fingers; it doesn’t have to be perfectly level, but shouldn’t have any large mountains or deep valleys.
Cover the pan with plastic and let the dough rise until it’s about 1” below the rim, which will take 3 to 4 hours (depending on room temperature). If it hasn't risen sufficiently after 4 hours try moving it to a warmer location. Or just wait; it'll get there!
Preheat your oven to 425°F about half an hour before you think your dough will be ready.
This next step, scoring the fully risen dough, is optional. While it helps ensure the bread will rise evenly, with no "blowouts" in any one spot, oftentimes the loaf will do just fine without scoring. If you do want this extra assurance, use a very sharp knife, a lame, or a pair of scissors to quickly snip a shallow cut (about 1/4" deep) down the center of the loaf lengthwise.
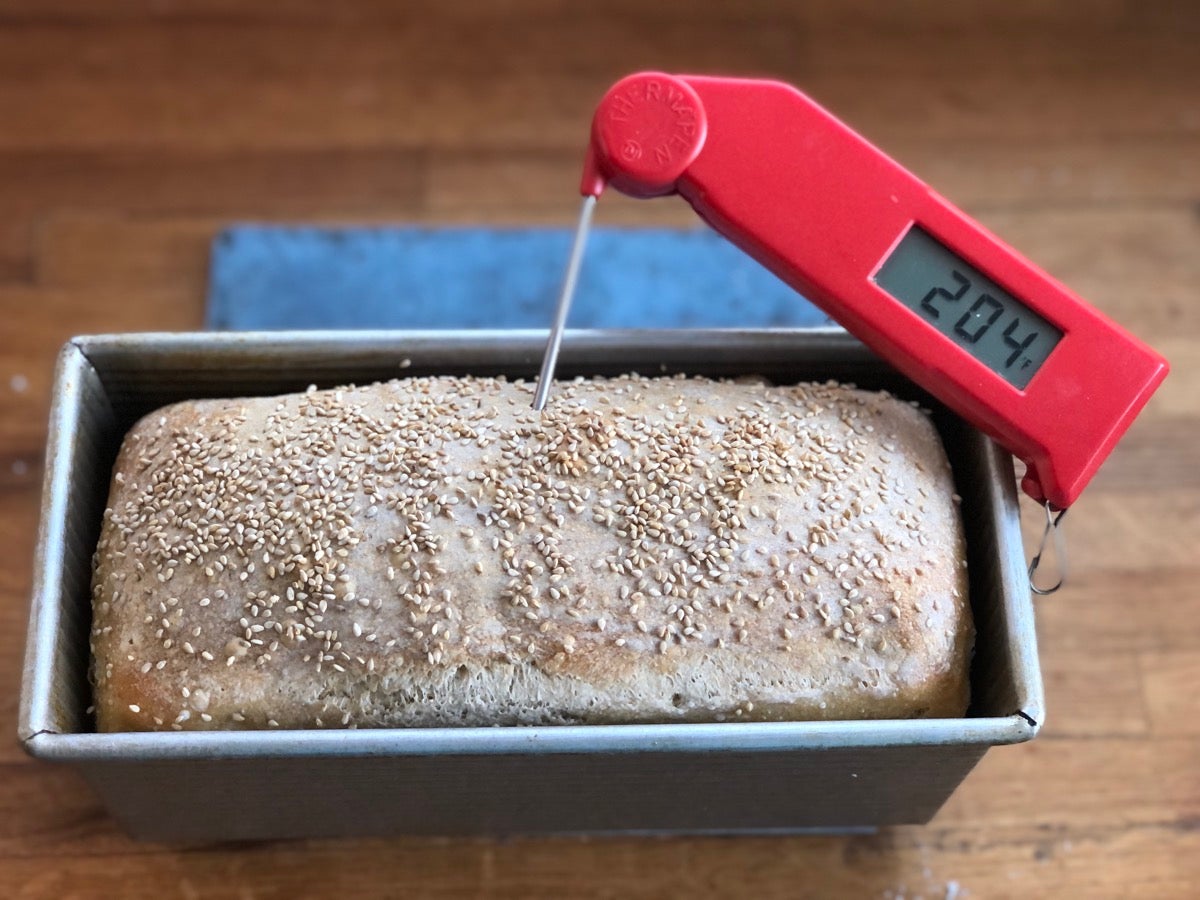
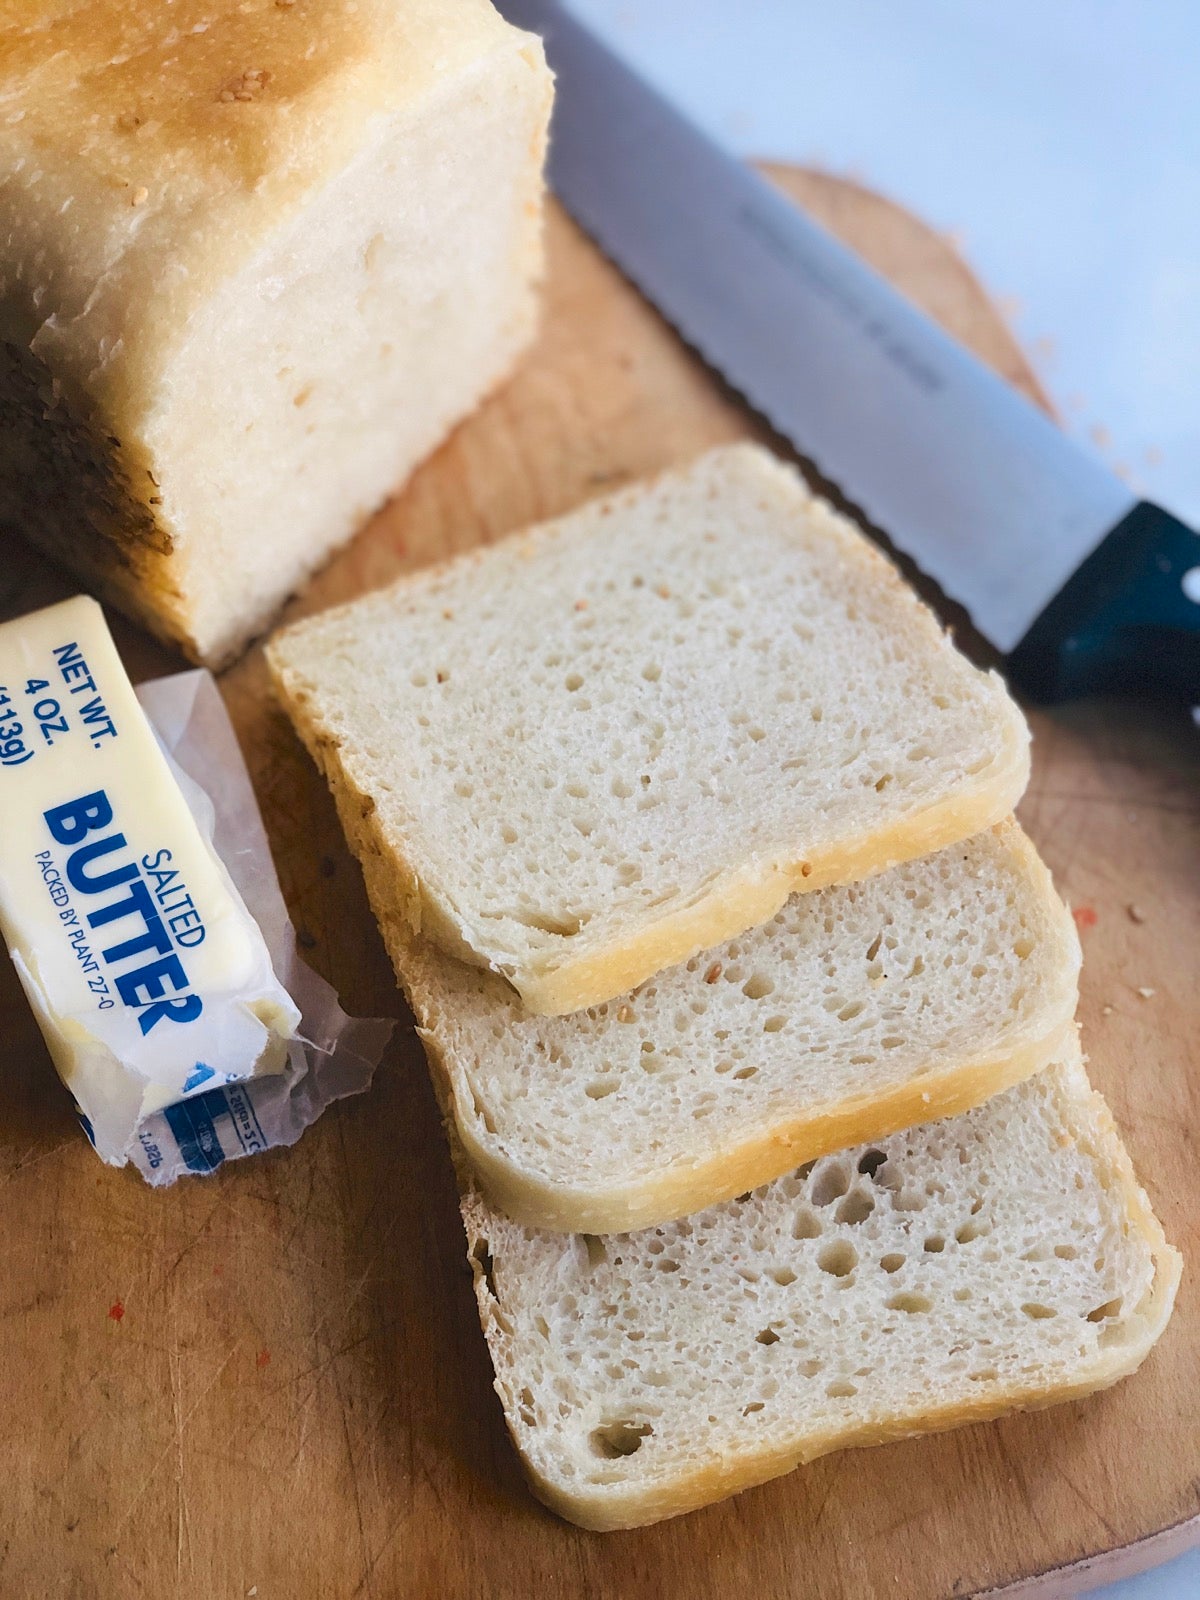
Immediately place the bread onto your oven’s center rack and bake it for 45 minutes. When it’s done it’ll be pale brown, pulling away from the edges of the pan, and its top crust will be quite hard. If you have a thermometer, the loaf's temperature at its center will register about 204°F.
Remove the bread from the oven, turn it out of the pan onto a rack, and let it cool completely — really! — before slicing.

Once you’ve made this easy sourdough bread a few times you’ll discover what works best for you. Maybe your schedule demands a shorter rise: find a warmer spot for it, like your oven with the light turned on. Maybe you need the flexibility of a longer, slower rise: let the dough rest at room temperature for a few hours (if you have the time), then refrigerate it. Time and temperature are connected; use them to your advantage.
You can also shorten rising time by using a greater percentage of starter. Keep in mind, though, that you want to keep the flour/water ratio intact: when figuring your baker's percentages, allot half the starter’s weight to water, half to flour.
Flour is “wetter” during humid weather conditions, like summer. So whatever flour-to-water ratio you’re successfully using now will probably need to be amended come August. I find I use up to 10% less water in summer than in winter. Learn what your ideal dough looks and feels like, and tweak your recipe when necessary. For more information see this post: Winter to summer yeast baking.
Can you save a step by scooping the just-mixed dough right into the pan, rather than letting it rise in the bowl first? Yes, but you’ll be sacrificing flavor (which develops over time) and perhaps structure as well. Deflating your dough and scooping it from bowl to pan oxygenates the yeast and redistributes its food, giving it new life; this helps ensure a strong rise and good oven-spring in your final loaf.
Go for the grains: My first versions of this loaf included only unbleached bread flour, no whole grains. Then King Arthur started selling a new rye flour, and I decided to substitute in a bit of that. In which case, why not add some whole wheat, too? Honestly, I’m not really into whole grain breads; but at the levels I typically use (no more than 20% of the total flour), wheat and rye add subtle nutty flavor and warm color without overwhelming the comforting taste of my standard white-flour loaf.
A full recipe is now available on our site: Easy Everyday Sourdough Bread. That said, here's a short and simple version for you to keep on hand, if it's easier.
*Reduce the water to 400g (1 3/4 cups) in summer, or under humid conditions.
Mix everything together. Cover and let the dough double in size, about 12 to 16 hours. Scrape into a greased 9" x 4" x 4" pan; cover and let the loaf rise until it's within about 1" of the pan's rim, about 3 to 4 hours. Bake in a preheated 425°F oven for about 45 minutes, until bread tests done.
Can you tell I really, really love my 9" x 4" x 4" loaf pan? Check out all the ways you can use this versatile pan!
