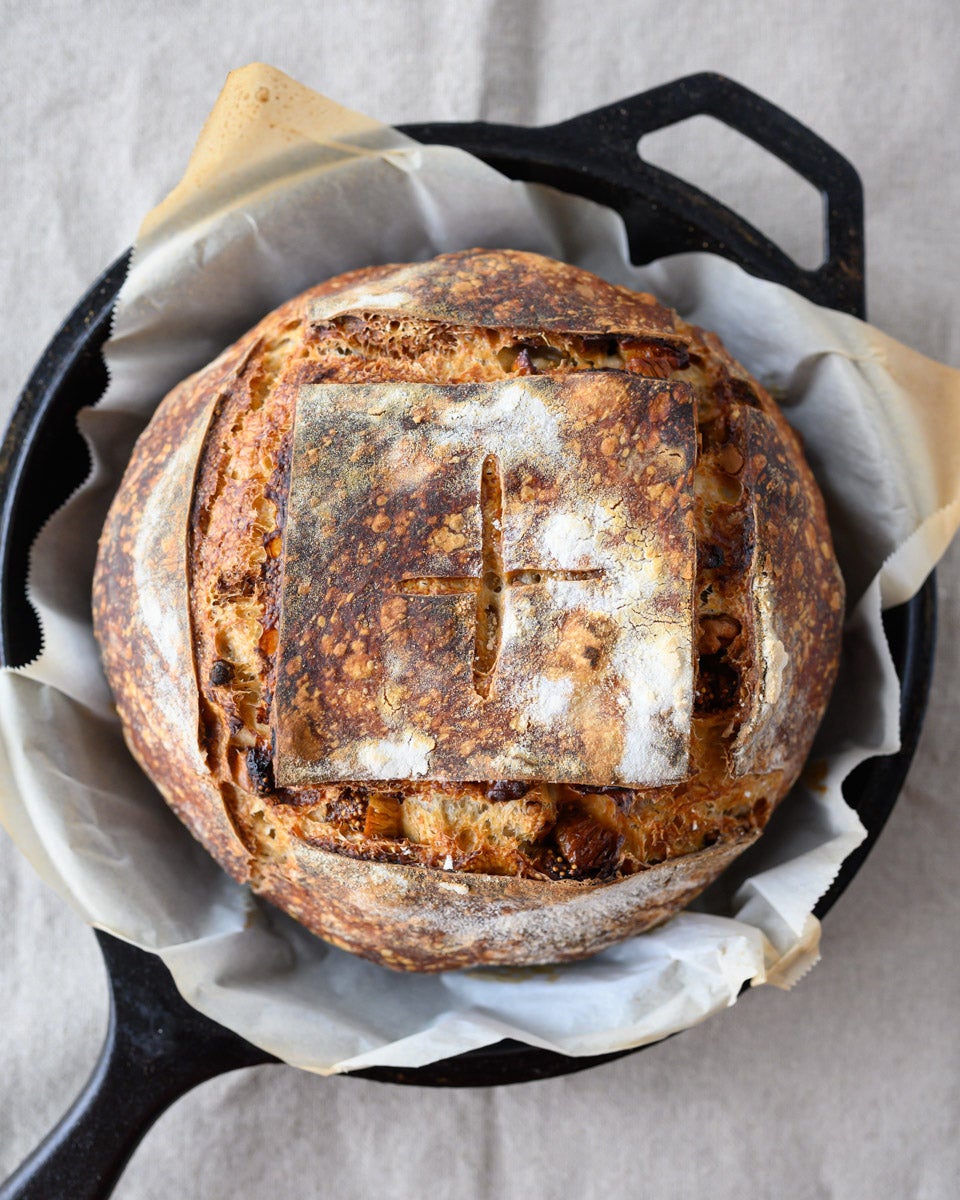
Fig and Walnut Sourdough
Enjoy this beautifully simple bread studded with fruit and nuts


Without fail, every time I walk down the bulk bin section of the market I spot dried figs. They seem to stick out to me more than most, like little relics of late summer ready for snacking. And while I love reminiscing of warmer days, I don’t usually reach for figs, opting for other dried fruit instead. However, after baking this Fig and Walnut Sourdough bread more than once, it might alter my weekly shopping list to include a few figs for an uncomplicated loaf perfect for the colder months.
And this recipe is beautifully simple: mix ripe sourdough starter into a few basic ingredients then add figs and walnuts. Let it ferment for a few hours for the first rise, shape it, and proof it overnight. Then, bake it the next day when you get around to it.
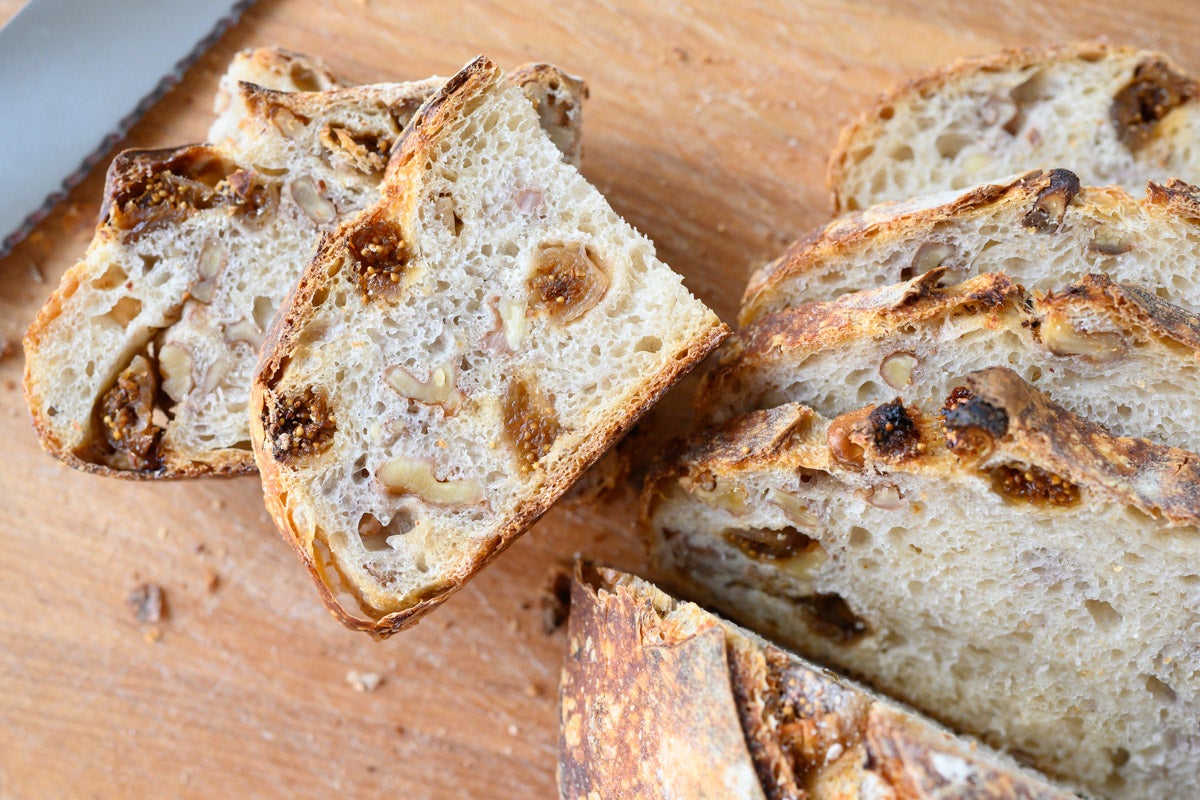
This bread is dense and deeply flavored and, if you happen to have a soft cheese in the fridge, you’re in for an extra-special treat. Salty cheese plays very well with sweet figs and the hint of astringency (thank you, tannins) and earthy notes found in walnuts. It's really a wonderful balance all around, cheese or not.
This recipe lists instant yeast as an optional ingredient – it's there if you're still working on your sourdough confidence. But I say: 100% naturally leavened recipes are nothing to shy away from. So let's first discuss the timing of your ripe starter before we dig into the recipe.
When making this recipe without instant yeast, it relies entirely on a large percentage of ripe sourdough starter for leavening. It’s important to time the use of your starter properly. You want it to be fully ripe but not overly so. If you use it before it's ripe, the dough's first rise might need more than the 2 hours I outline below. Conversely, if you use it too late, you might have to shape the dough a little earlier.
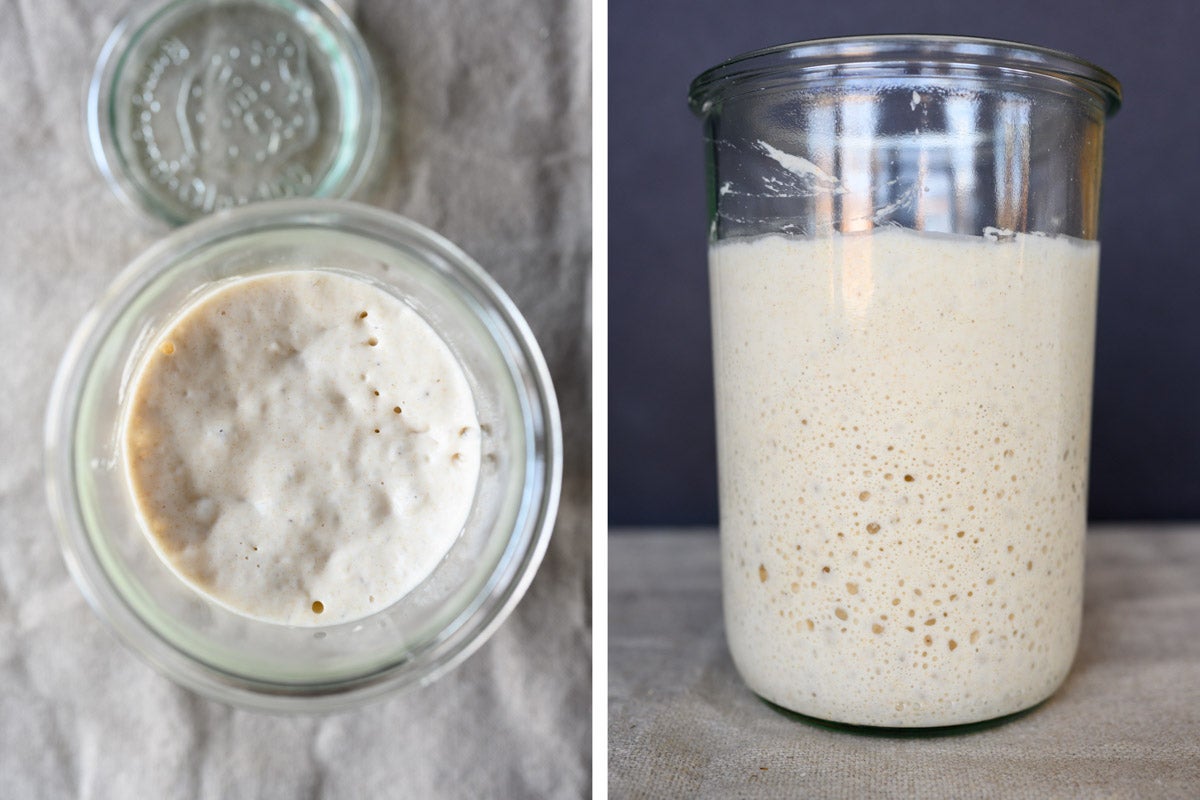
In the pictures above, you can see my starter just before I incorporated it into the dough. Look for the telltale signs of strong fermentation and proper readiness: streaks on the side of the jar near the top showing it's starting to fall, bubbles throughout (especially on top), and a slightly sour smell like yogurt. It's OK if you use it a little before (it hasn't yet fallen) or a little after (it fell a little farther down), but be flexible with the timeline below to ensure a proper proof. If you'd like more visual cues, check out King Arthur's Sourdough Baking Guide, especially the section called "Keeping starter alive vs. getting it active."
Gather the three main ingredients:
Our first step will be to "autolyse" the dough.
To the bowl of a stand mixer fitted with the dough hook attachment, add the ripe sourdough starter, water, and flour. Mix on low speed until thoroughly combined and no dry bits of flour remain. Cover the bowl and let it rest for 1 hour.
This rest will let the flour fully hydrate and will reduce the overall mixing time by kickstarting the gluten development process.
After the hour-long autolyse, gather the remaining ingredients:
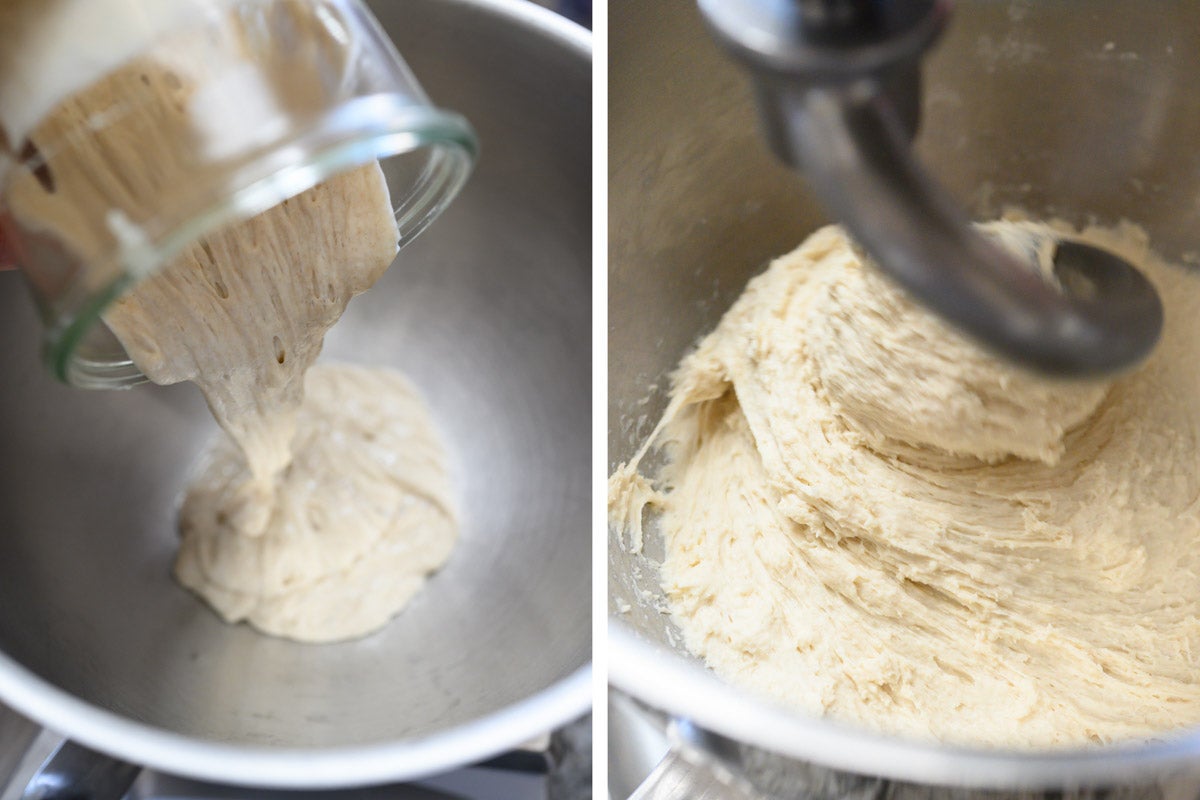
Add the salt to the dough and mix on low speed (still using the dough hook) until the salt is distributed throughout, about 1 minute. Then increase the mixing speed to medium and mix for 5 to 7 minutes. The dough should cling to the hook toward the end of this mixing time, but it won’t completely come away from the bottom of the bowl.
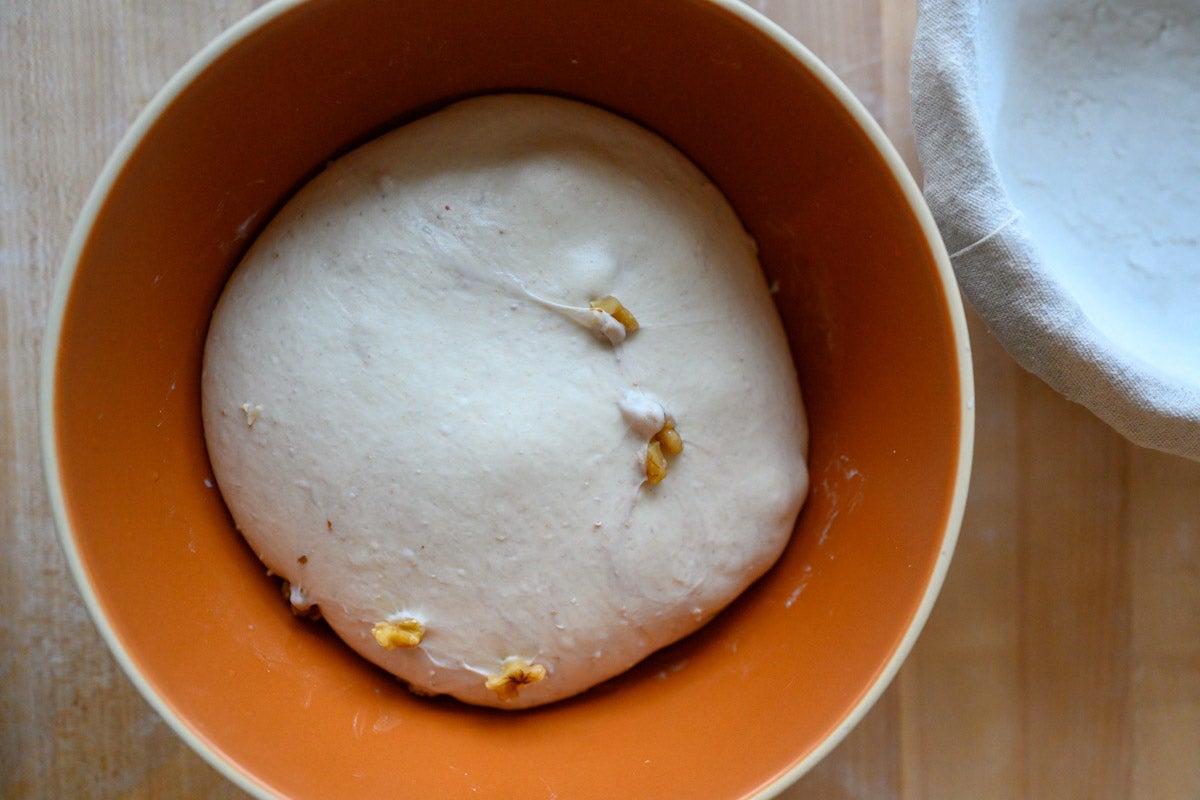
This dough benefits from a little more development, so don’t be afraid to mix until it’s smooth and elastic. When finished, transfer the dough to a bowl for the first rise (you can also keep it in the mixer bowl if you'd like). In the photo below, which is just after mixing and transferring to a bowl for the first rise, you can see the smooth texture of the dough below the mix-ins.
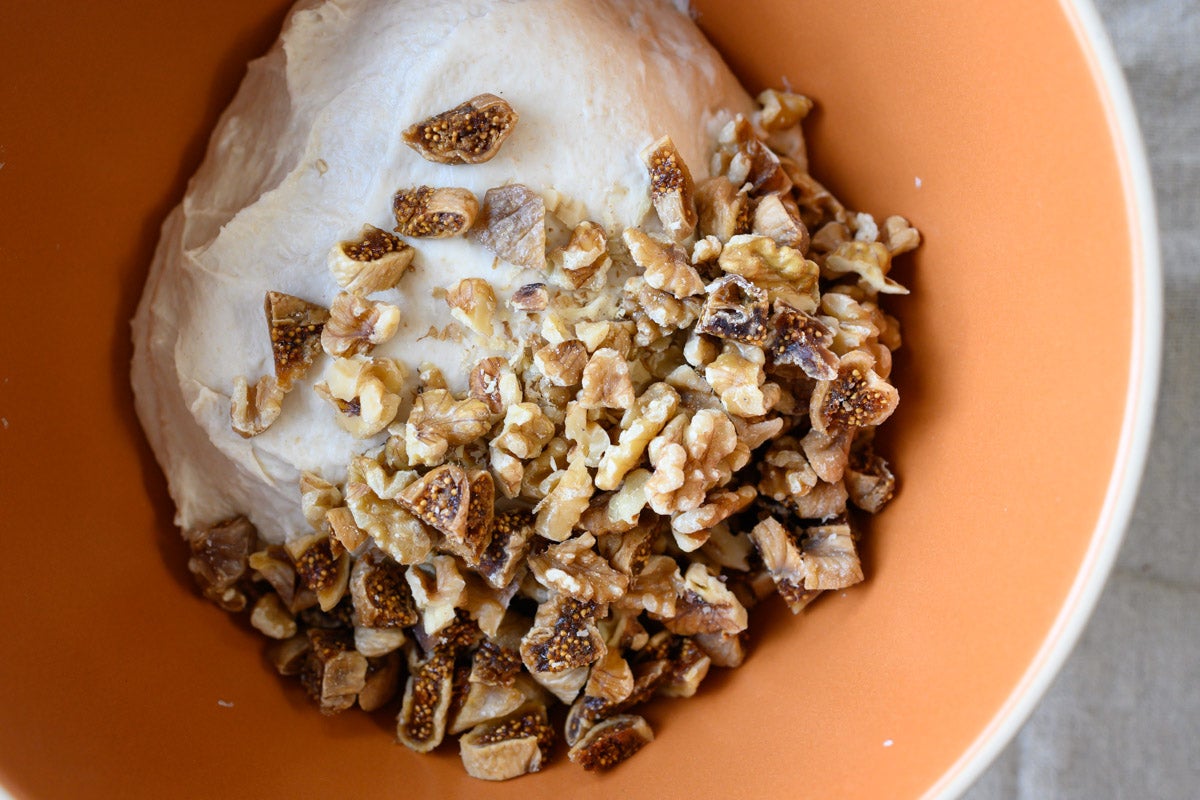
Place the diced figs and coarsely chopped walnuts atop the dough in the bowl. Using a wet hand or bowl scraper, mix the ingredients through the dough until reasonably distributed. During the next step, we'll give this dough two sets of stretch and folds during the first rise (bulk fermentation) so don’t worry if everything isn't completely homogeneous.
Cover the bowl and place it in a warm spot in your kitchen to start the 2-hour first rise. Because we’re not using instant yeast in this version of the recipe, the dough needs additional time to ferment during this first rise.
Thirty minutes after the start of the first rise, give the dough its first set of stretch and folds: with wet hands, grab one side of the dough in the bowl and stretch it up and over to the other side. Perform this same stretch and fold at each remaining side of the dough (south, east, and west).
Pictured above is the dough 1 hour into its first rise. It's had one set of stretch and folds and has become much smoother, with the ingredients mostly distributed throughout. I find this recipe benefits from two sets of stretch and folds separated by 30 minutes; so at this time, give the dough another set of gentle stretch and folds. Then cover the bowl and let the dough rise for another hour, untouched.
Because this recipe makes one loaf, there’s no need to divide or preshape the dough. Ready your round proofing basket (or kitchen bowl lined with a tea towel) by lightly dusting with some all-purpose flour or white rice flour to help prevent sticking.
When doughs have lots of mix-ins, I like to shape the loaves as boules. The long slices from a round boule – studded with fruit and nuts – always look captivating. I'll go over the basic instructions below, but see my boule shaping post for a full visual walkthrough.
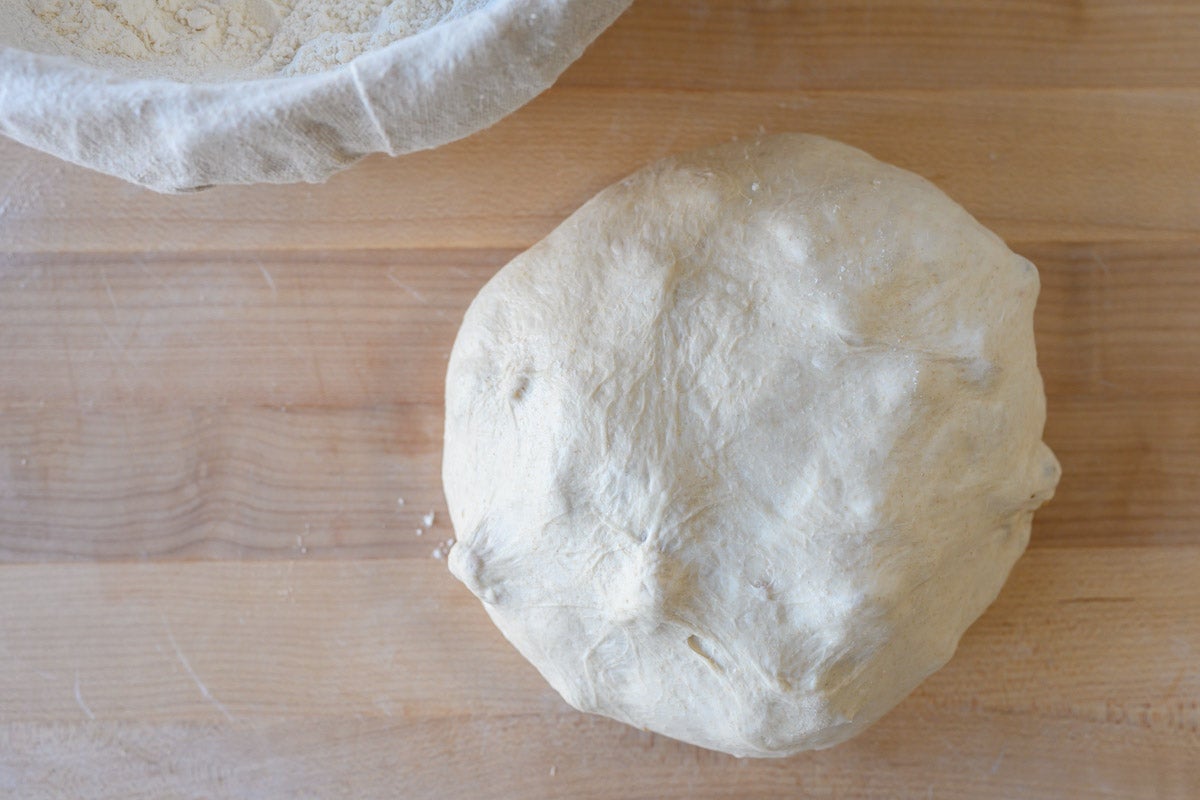
After the first 2-hour rise, gently scoop the risen dough onto a lightly floured work surface. Using floured hands, fold the bottom of the round up to the middle and lightly press to seal. Then take the left side and fold it up and over so it reaches about 3/4 of the way to the right. Repeat with the right side, folding toward the left. Take the top and fold it down toward the bottom to finish creating an envelope shape. Flip the round over so the seam is on the bottom and gently round the shape, tightening it into a tidy ball.
Using your bench scraper and floured hand, swiftly pick up the round and flip it into the proofing basket so the seam is facing up.
Cover your proofing basket with a reusable plastic bag and seal it shut with a rubber band. Place the basket into your refrigerator for an overnight cold proof.
I baked this loaf in my combo cooker, but you could also use a Dutch oven (see this post for tips on baking in a Dutch oven) or even right on a baking stone with steam in the oven.
In the morning, preheat your oven with a combo cooker inside to 450°F. I preheat the oven with the lid to one side and the deep pot side on the other.
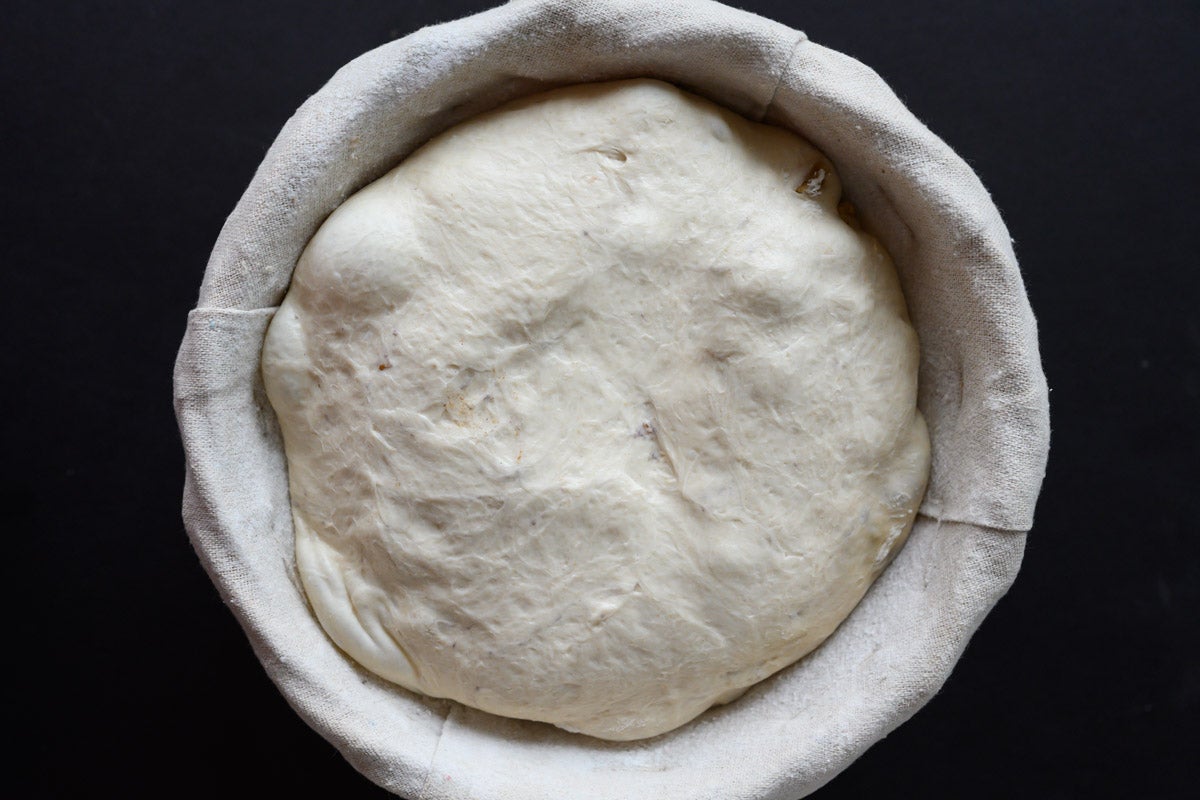
Remove the covered basket from your refrigerator and uncover it. The dough should look similar to the picture above: a little puffy, perhaps some bubbles here and there, and if you gently poke it, you'll feel some give. It's OK if you don't see a dramatic rise overnight in the fridge; with the high percentage of ripe sourdough starter the dough should be ready at this point.
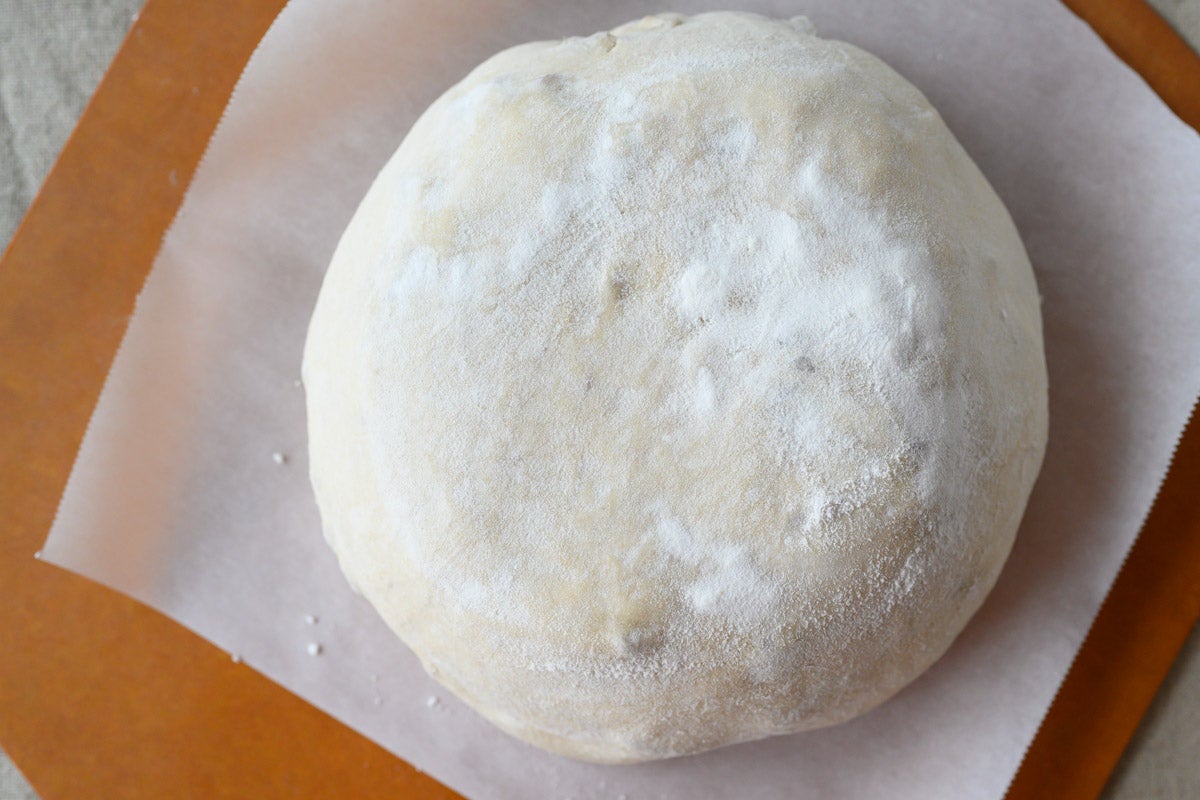
Cut a piece of parchment paper to fit over your uncovered proofing basket. Then place a pizza peel or inverted baking sheet on top of the parchment to cover both. Flip the entire stack over with both hands. You should now have the dough on top of the parchment that’s on top of the pizza peel (see picture, above).
Using a lame, a sharp knife, or scissors, score the dough. Using oven-safe gloves, take out the preheated combo cooker and slide the scored dough with parchment paper into the pot (it’s OK to bake the loaf with the parchment paper inside the pot). Return the pot to the oven and cover with the lid.
Bake with the lid on for 20 minutes at 450°F. Then with gloves on, remove the lid from the pot; you can keep the lid in the oven next to the pot or remove it to cool. Bake for an additional 30 to 40 minutes, until the crust is well colored and the internal temperature reads at least 200°F.
Once fully baked, remove the bread from the oven and let it cool on a rack for at least 1 hour before slicing.
This uncomplicated recipe is like time travel back to late summer. Sliced up thin, toasted, and smothered with soft cheese, you'll be whisked back to a time with cool temperatures, turning leaves — and no snow!
Happy baking!
For another bread recipe using dried figs, see our Mission Fig Bread. And for more great tips and techniques, be sure to check out our Sourdough Baking Guide.