Let's be honest: the most satisfying treats include chocolate. Sure, there’s a time and place for fruity desserts and vanilla-forward sweets. But at the end of a long day, most of us yearn for chocolate.
The next time a chocolate craving hits, we have just the recipe for you. Our seriously delicious brownies are decadent yet simple, require only one bowl, and just happen to be gluten-free.
Trust us, you’ll still want to make these brownies.
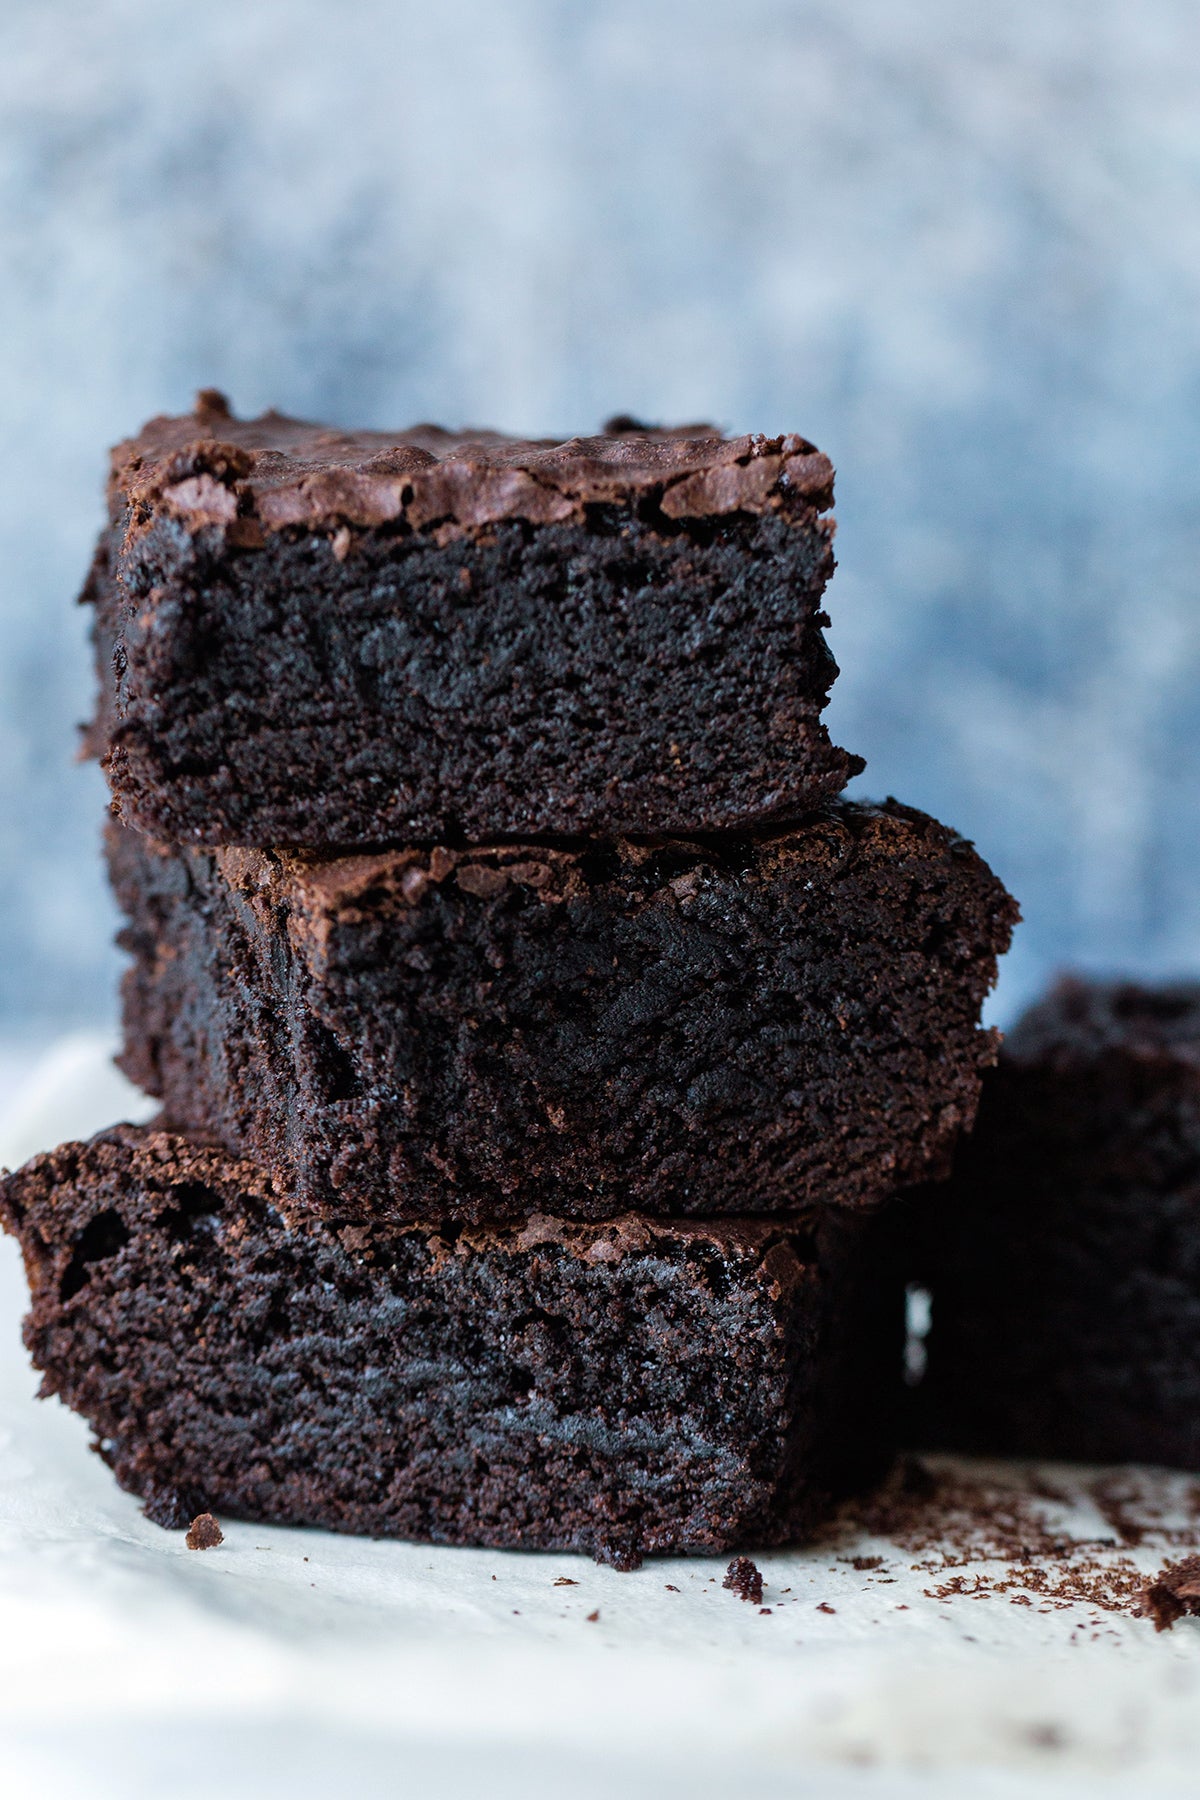
Even gluten-lovers devour these gluten-free brownies without any complaint. Because there’s no gluten (which usually adds chewiness and structure to baked goods), these brownies are especially tender, melting in your mouth with each bite.
If you’re looking to make fudgy brownies that are perfectly chocolatey, this gluten-free brownie recipe is for you.
If your heart is set on baking conventional brownies with King Arthur Unbleached All-Purpose Flour, head on over to our Fudge Brownies recipe – but keep this recipe in mind the next time you need to bake for folks with dietary restrictions. It’s gluten-free, can easily be made dairy-free, and is downright delicious.
Begin by preheating your oven to 350°F. The oven will come to temperature while you prepare your pans and mix up the batter.
What pans can you use?
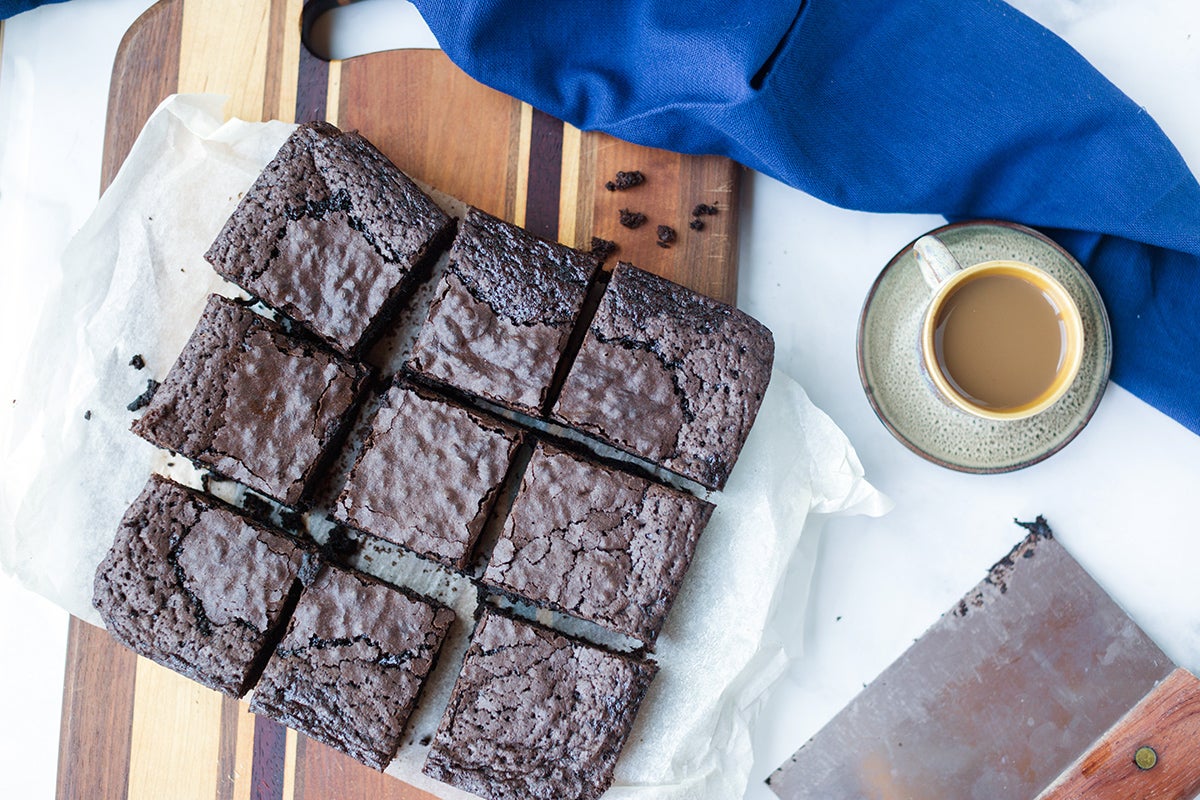
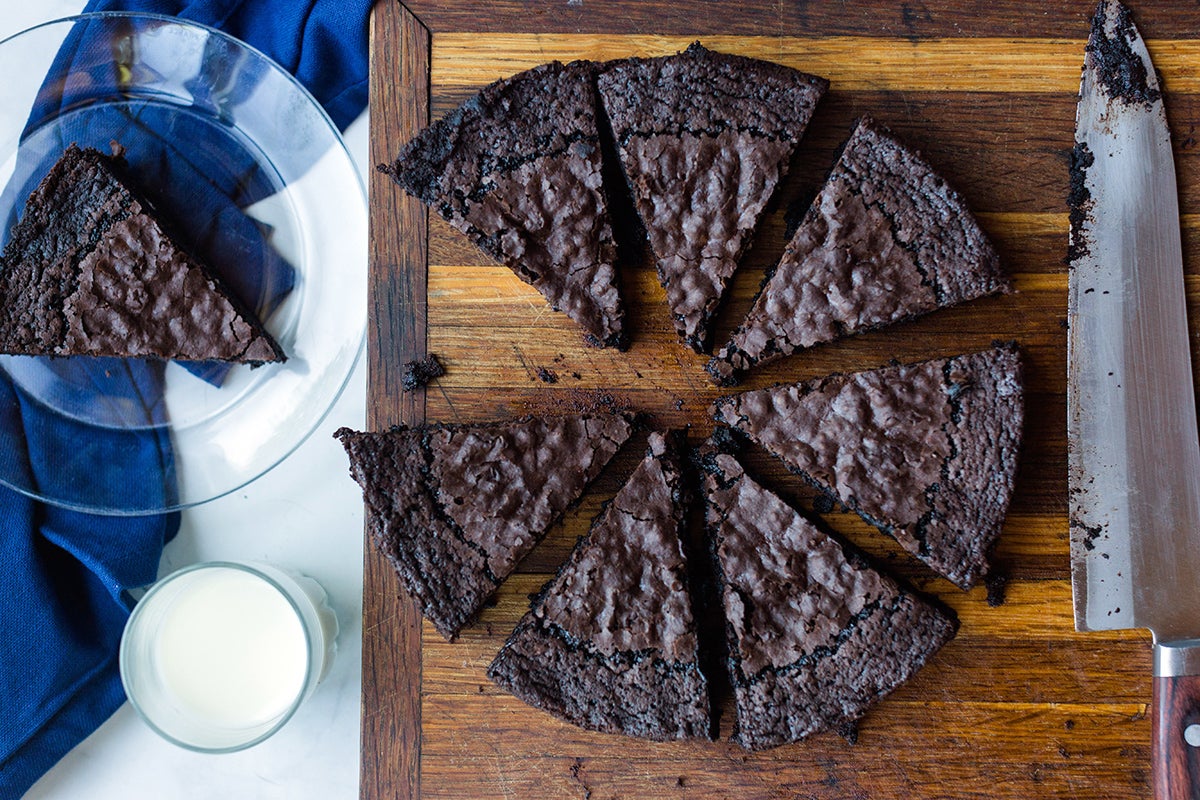
You have options – either an 8” square pan or a 9” round pan. If you prefer traditionally shaped square or rectangular brownies, opt for the square pan. If you’re looking for something slightly different, consider using a round cake pan and cutting the brownies into wedges. It’s a unique look.
For brownies that bake the most evenly, use a medium-gray metal pan, though glass or stoneware pans will also work well. Regardless of which pan you use, it should be at least 2” deep – these brownies are thick and puff up slightly during baking.
Grease your pan with non-stick spray or butter; your choice.
Now you’re ready to gather your ingredients.
The ingredients for this recipe are straightforward – all you need are a few pantry staples (including our Gluten-Free All-Purpose Flour) to get started.
Start by measuring the following into a microwave-safe bowl or saucepan:
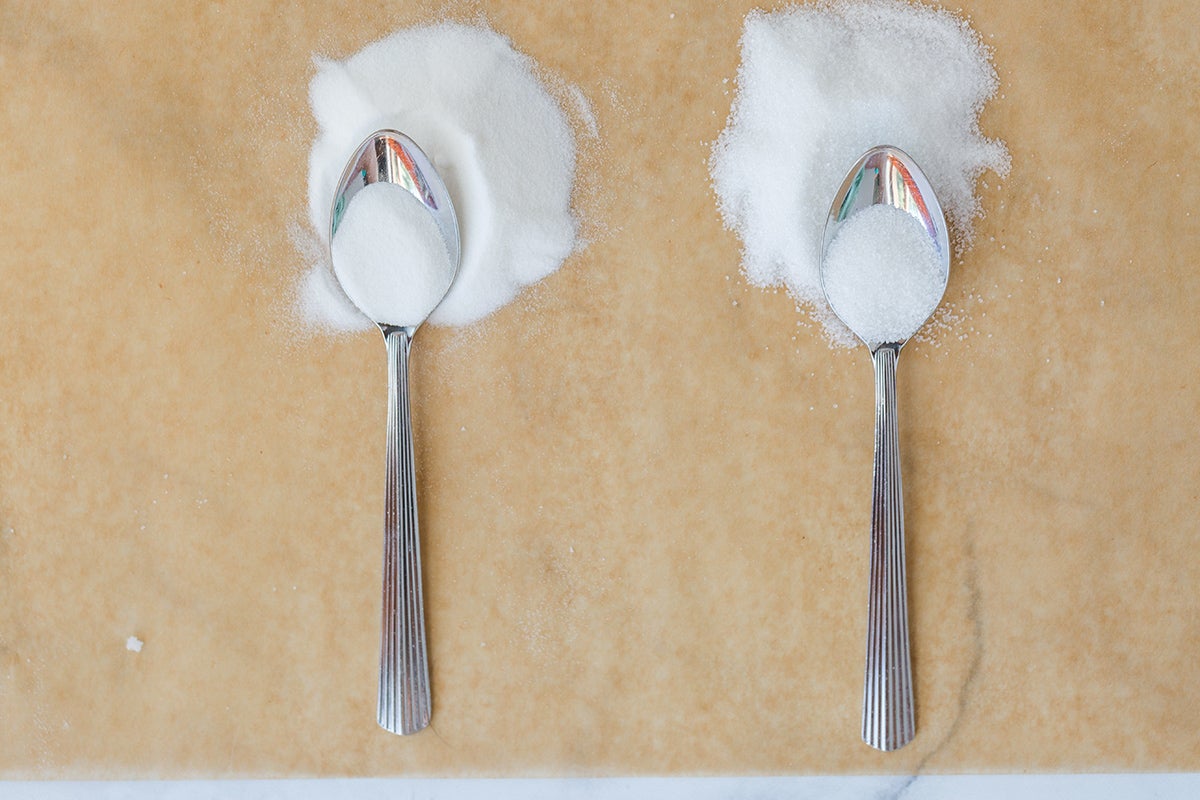
1 1/2 cups (298g) superfine or granulated sugar (See below for details on which sugar you should choose.)
1/2 cup (113g) unsalted butter*
1/2 teaspoon salt
*If you only have salted butter, reduce the salt in the recipe to 1/4 teaspoon.
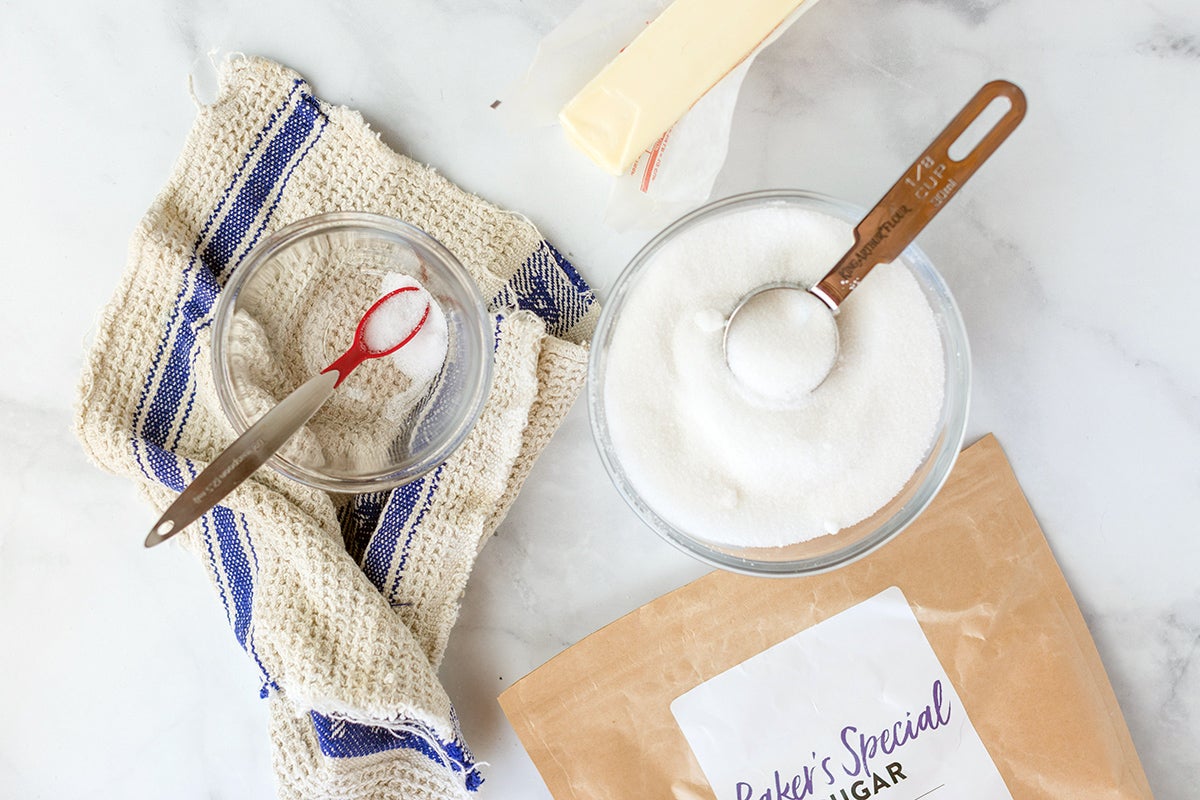
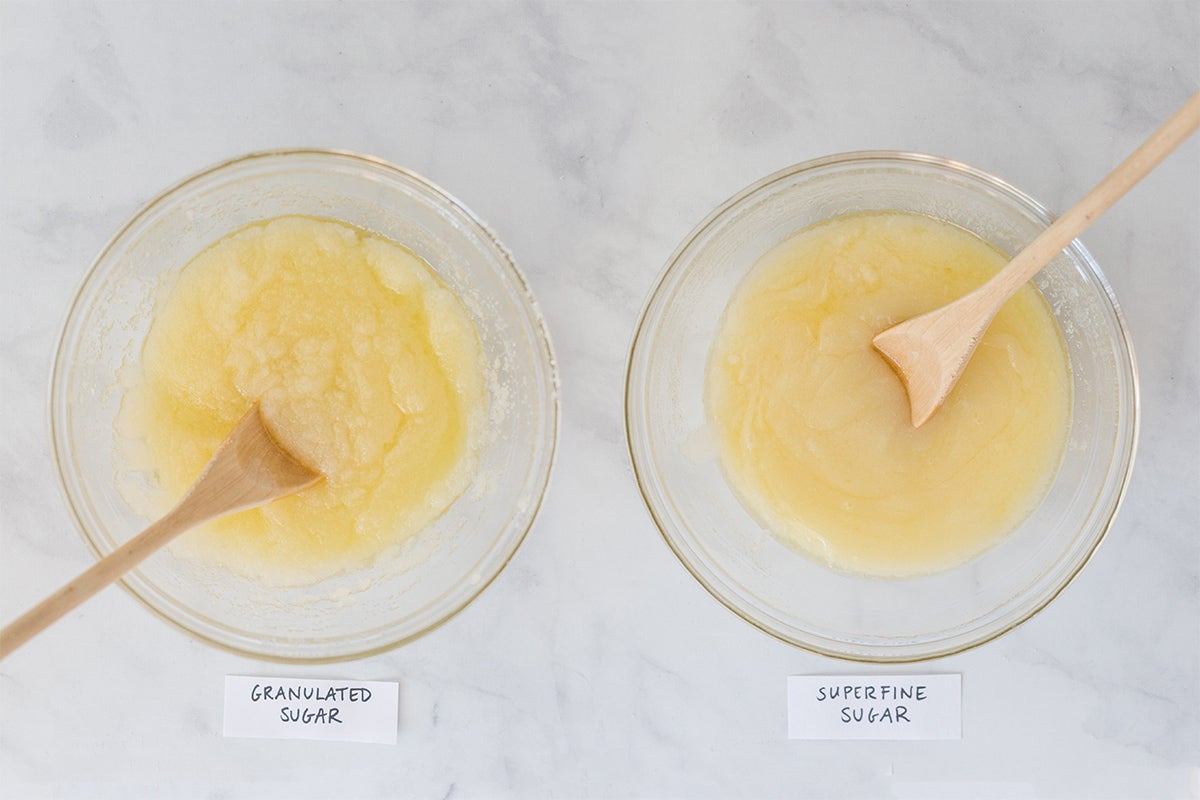
Superfine sugar, or sugar that’s been very finely ground, makes the brownies super moist, fudgy, and tender. The texture is very smooth – almost like fudge. Granulated sugar makes the brownies slightly more cakey, though the final result still presents as fudgy.
You can find superfine sugar in most grocery stores or you can order it on our website. Note that King Arthur Flour’s Baker’s Special Sugar is produced on equipment that also processes wheat. Be sure to source certified gluten-free ingredients, if necessary.
Once you’ve chosen your sugar and measured out the rest of the ingredients, it’s time to heat things up!
Warm the butter, sugar, and salt together in the microwave or on the stovetop.
If you’re using the microwave, heat the mixture in 30-second bursts, stirring periodically until the sugar has melted. It helps to put a microwave-safe plate over the top of your bowl to keep the mess to a minimum; any butter splatters will be contained to the bowl.
To use a stovetop, heat the ingredients over medium heat, stirring until there are no dry spots and the mixture looks smooth.
If you’re using superfine sugar, it’ll dissolve more quickly than granulated sugar.
The process of heating the butter, sugar, and salt together helps give your brownies a shiny top crust (which truly is one of the best parts of the brownie). For another way to ensure you end up with a thin, shattering layer on top of your brownies, read How to make brownies with a shiny crust.
Transfer the mixture to a large mixing bowl if you’ve heated the butter and sugar on the stovetop. If your microwave-safe bowl is large enough to add the rest of the brownie ingredients, you can leave the hot mixture right in the bowl.
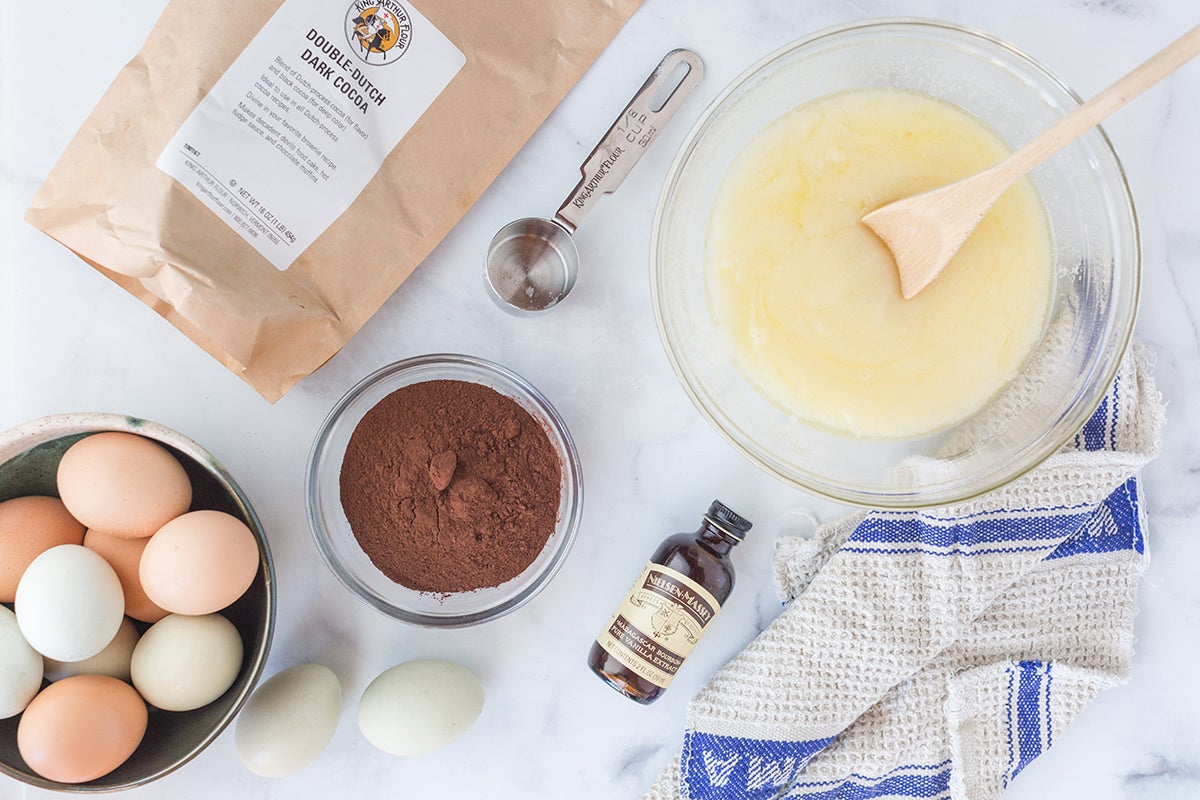
Allow the butter and sugar to cool slightly while you gather the following ingredients:
1 teaspoon vanilla extract, certified gluten-free if necessary
3/4 cup (64g) Dutch-process cocoa powder*
3 large eggs
*I’m using our Double-Dutch Cocoa, which is a combination of deep-dark, richly flavored cocoa powders. Note that it’s processed on equipment that also processes wheat. Be sure to use certified gluten-free cocoa powder if necessary.
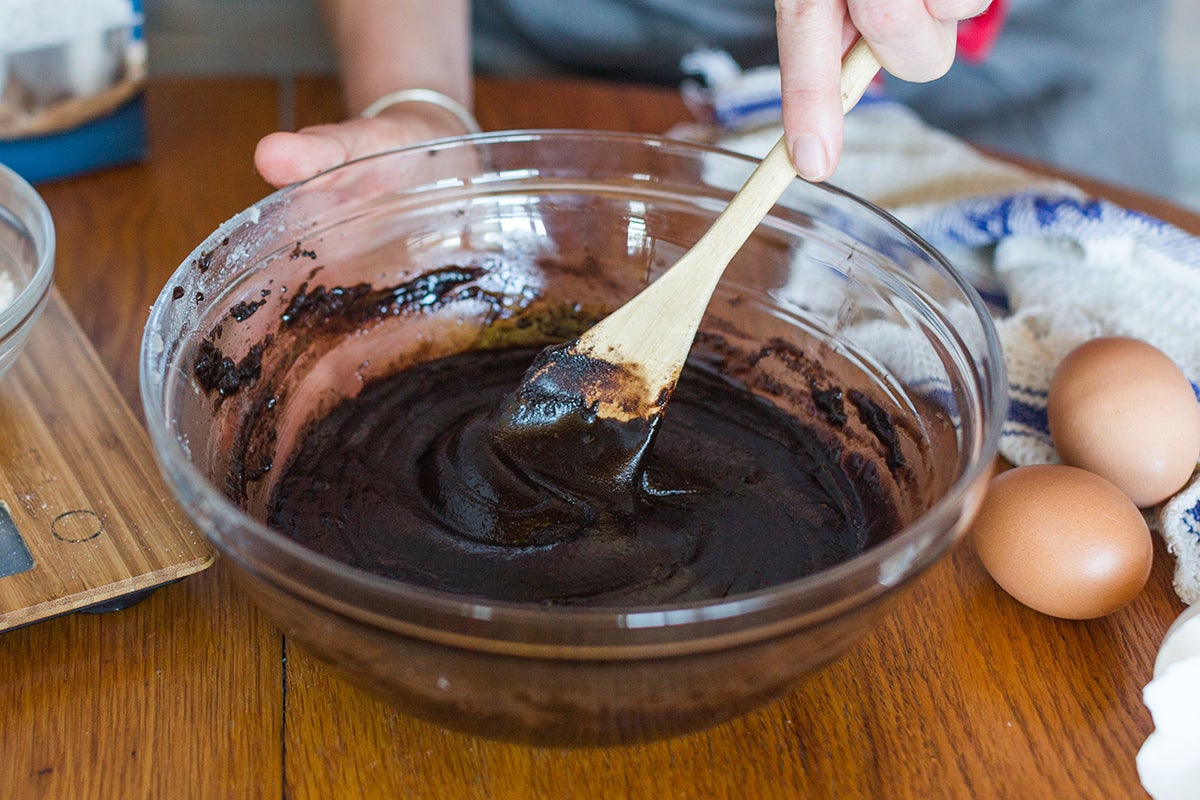
Add the vanilla and cocoa powder to the butter and sugar mixture, then add the eggs one at a time.
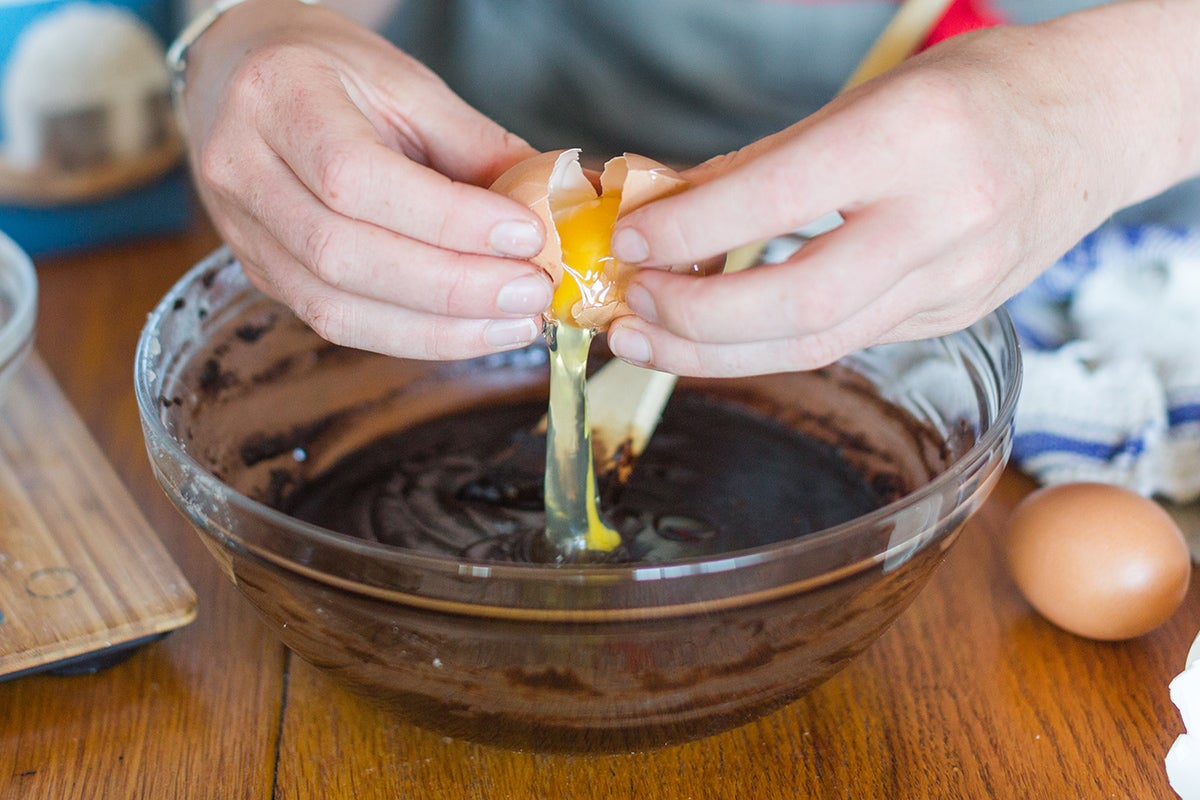
Stir until the mixture looks shiny, smooth, and glossy. Don't forget to scrape the bottom and sides of the bowl periodically.
Next you’ll need the following ingredients:
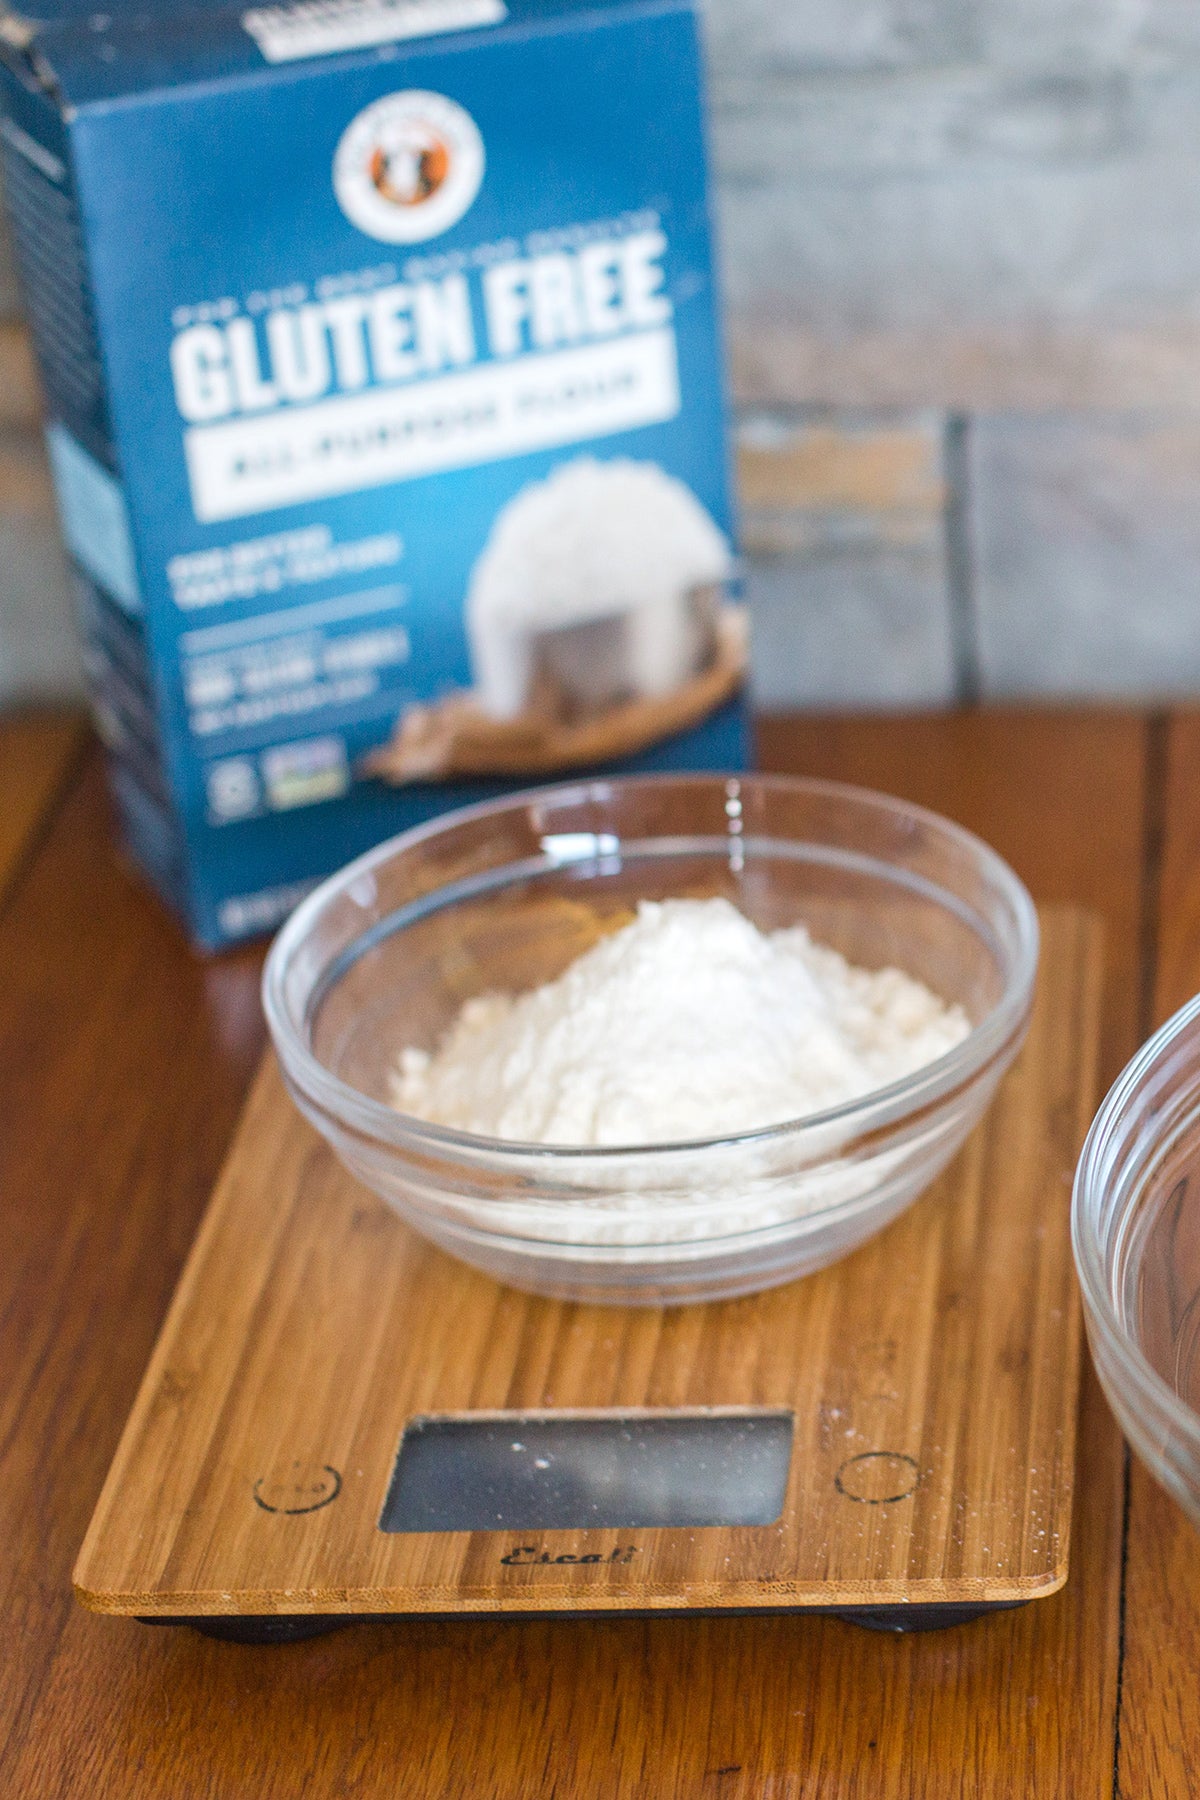
3/4 cup (113g) King Arthur Gluten-Free All-Purpose Flour
1 teaspoon baking powder
For best results, measure your flour by weight with a scale. If measuring by volume, remember to gently fluff and sprinkle the flour into a measuring cup and then sweep off any excess. To see this technique in action, see How to measure flour.
Blend the Gluten-Free All-Purpose Flour into the rest of the ingredients until the batter is smooth and the ingredients are fully combined.
If you’d like to add some mix-ins to your brownies, you can measure out:
1 cup (170g) chocolate chips
1 cup (113g) nuts (toasted walnuts are a particularly good choice)
Feel free to play around with a combination of mix-ins beyond just chocolate chips and walnuts. You could try white chocolate chips and dried cranberries, butterscotch chips and chopped cashews, dark chocolate chunks and pistachios … have some fun!
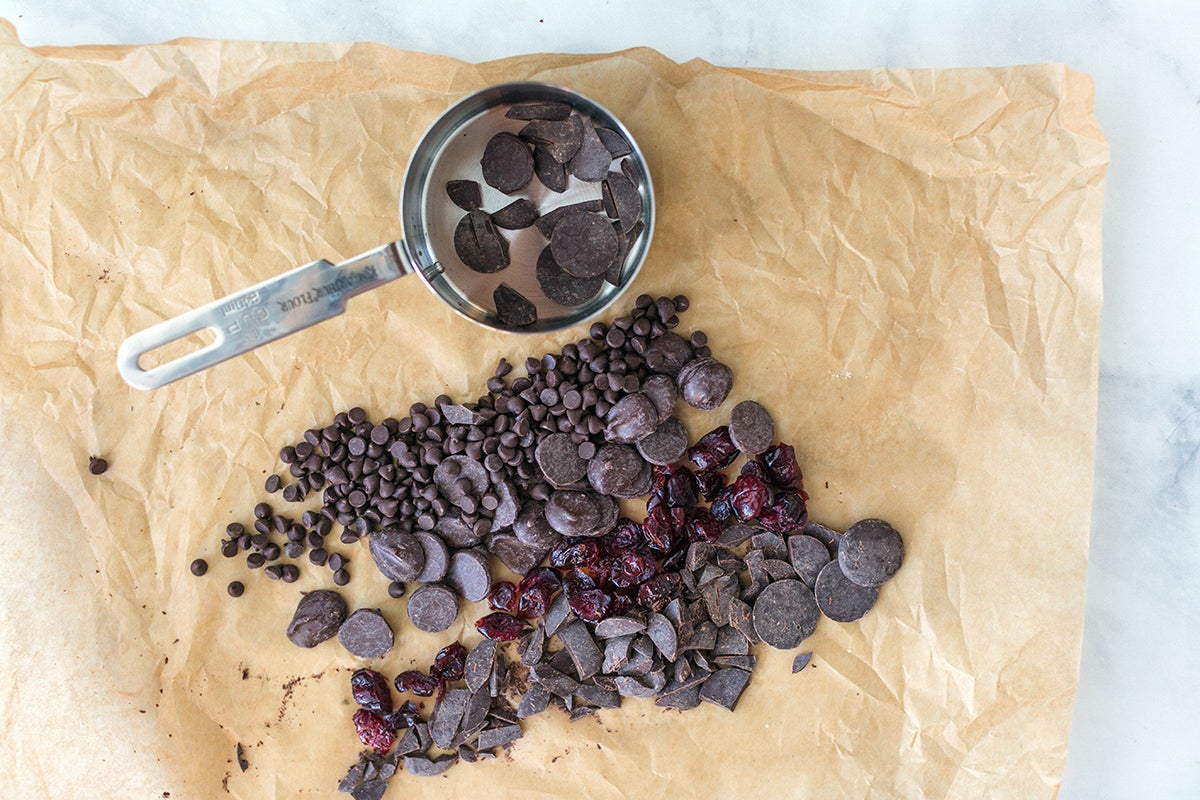
Use no more than 2 cups of mix-ins total, folding them gently into the batter.
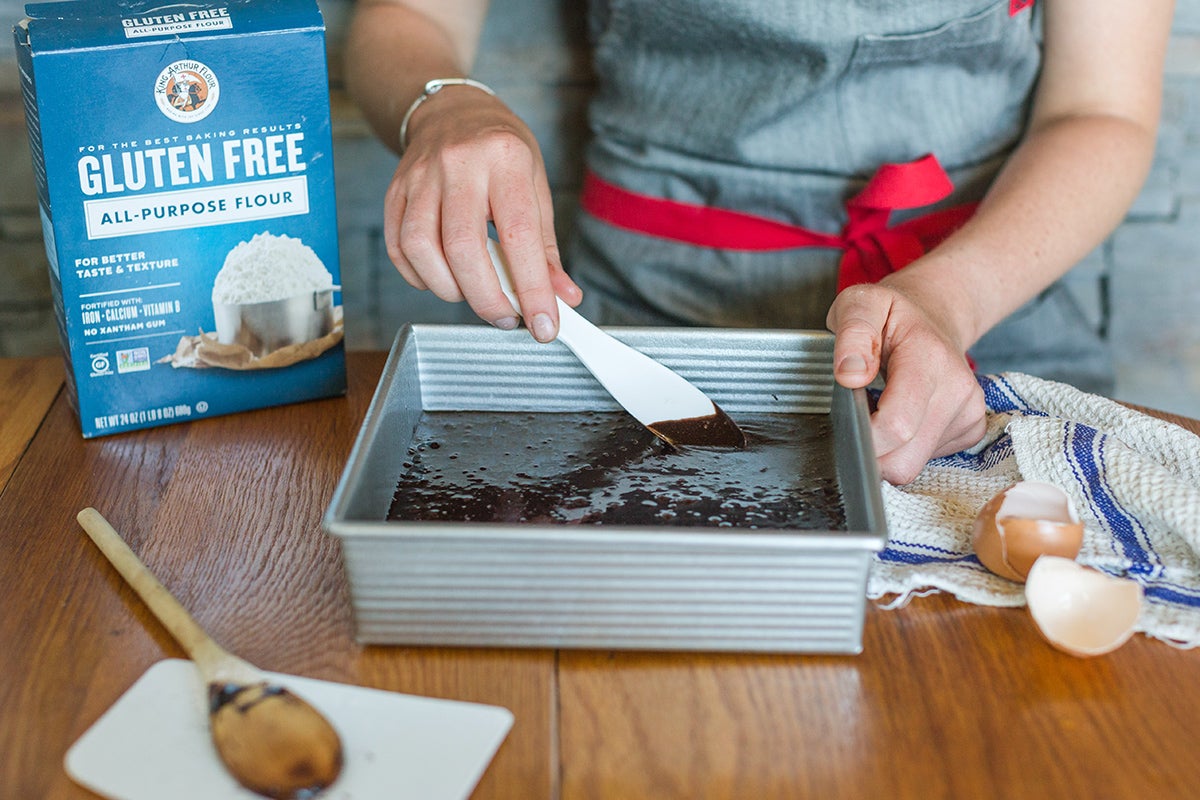
Pour the batter into the prepared pan, using a spatula or nylon spreader to encourage the batter all the way to the edges.
Bake the brownies for 33 to 38 minutes, until the top is set and looks shiny and flaky.
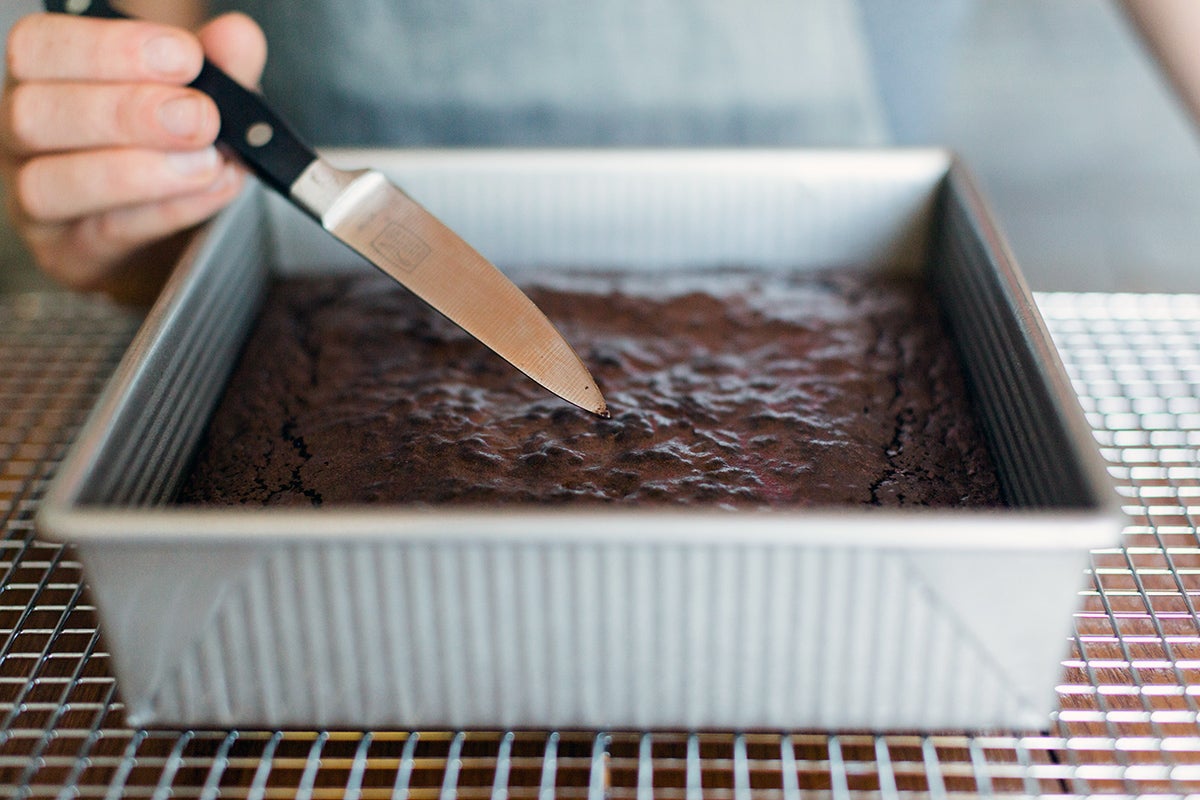
You can also use a toothpick or paring knife to see if the middle is fully cooked. Insert your tester into the center of the brownies and see if it looks mostly clean when removed. A small smear of chocolate on the tip of the knife is fine if you like fudgy brownies. If you like brownies that are more fully baked, keep them in the oven until the knife comes out clean.
If you’ve chosen a stoneware pan, the brownies will probably need a few extra minutes in the oven. You may also need to adjust the baking time slightly for dark metal pans. See our blog post, Glass or metal or stoneware for more details.
Remove the brownies from the oven and cool in the pan for about 15 minutes before cutting. A plastic knife is a great tool to slice through slightly warm brownies without damaging your pan.
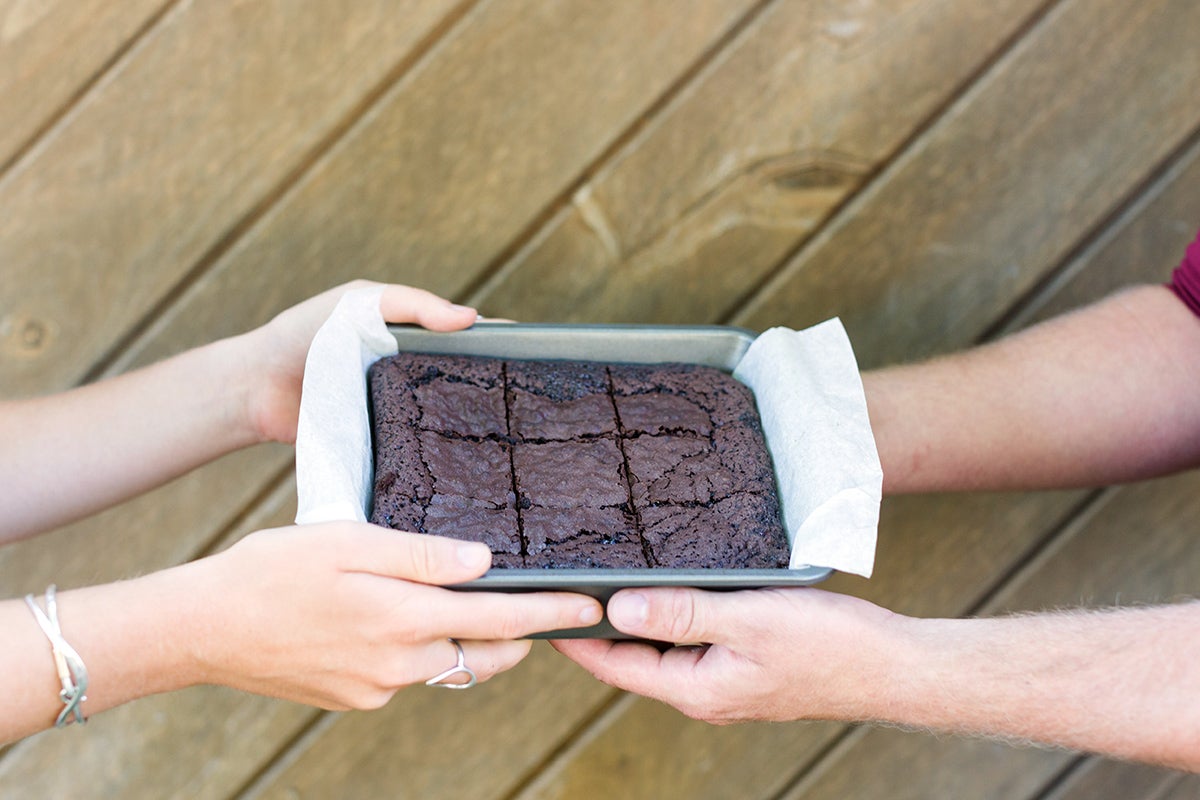
You can also plan ahead and line your pan with a parchment paper sling if you want to remove the brownies from the pan entirely, and then use a sharp knife to slice.
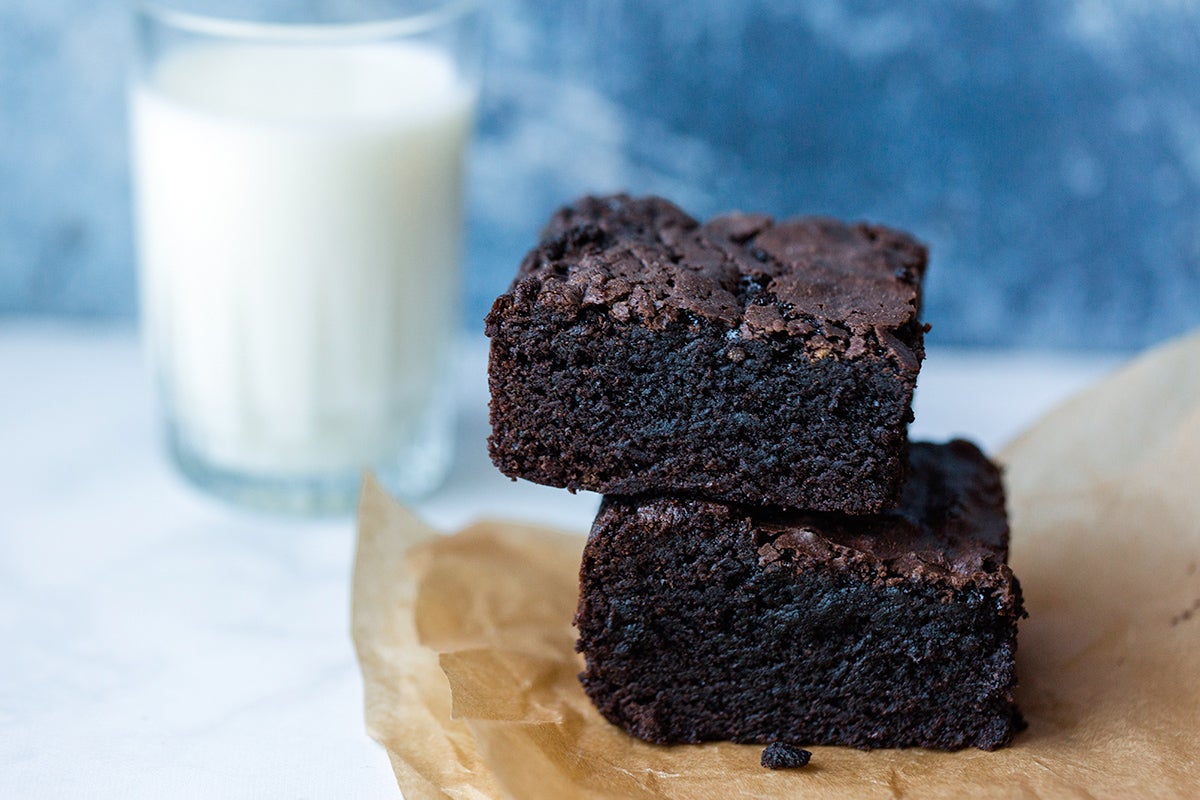
Then comes the best part of all – enjoying your chocolate delight. Serve them still warm with a glass of milk, or let them cool to room temperature for the most incredible afternoon snack.
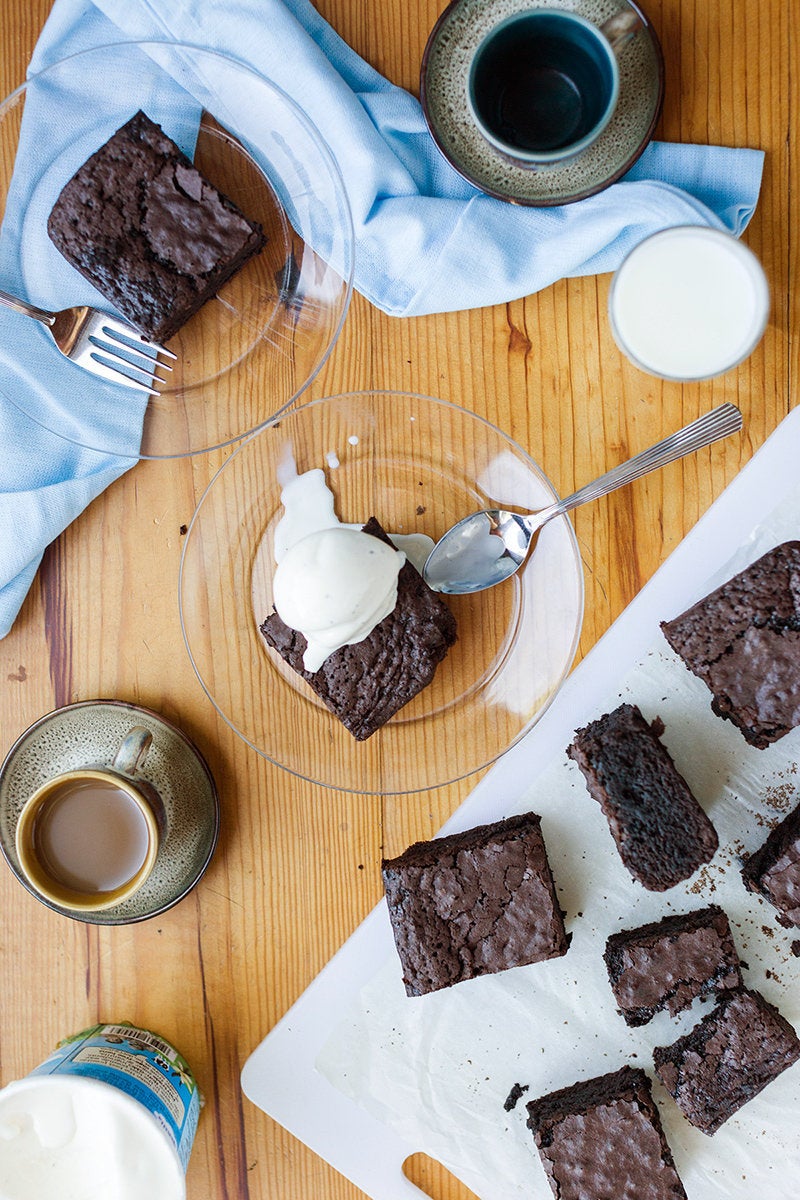
You can even elevate simple brownies into a fancy dessert if you scoop some of your favorite ice cream on top (hello, Vanilla Bean Ice Cream!) accompanied by a dollop of whipped cream.
These brownies won’t stick around for long, but any leftovers should be kept airtight at room temperature for several days, or frozen for longer storage.
These Gluten-Free Brownies are fantastic when served just about any way, but they’re especially delicious when enjoyed with someone else. If there’s someone in your life with dietary restrictions, bake up a batch of these brownies and share them. Watch the person’s face light up as you say they’re gluten-free.
And if there’s not someone who is gluten-free in your life, bake up these brownies anyway! Surprise someone by giving them a brownie, then reveal there’s not a teaspoon of gluten in the brownies they’re loving so much.
Bake, share, and enjoy these gluten-free brownies. They’re just the chocolate treat you’ve been looking for.
Can you tell the difference between these Gluten-Free Brownies and their all-purpose flour counterpart? Let us know in the comments, below.
Thanks to Anne Mientka for taking the photographs for this post.