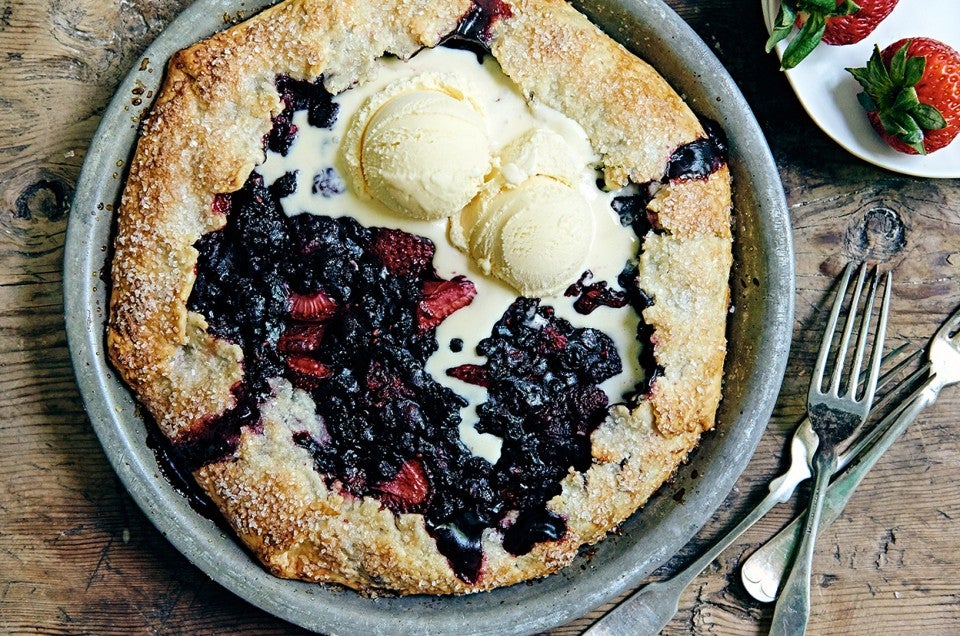


You know what the problem with this pie is?
My photos don't do it justice.
If you like berry pie (though amazingly, there are those who don't), this is the best gosh-darned dessert you'll ever taste: à la mode, dans la bouche.
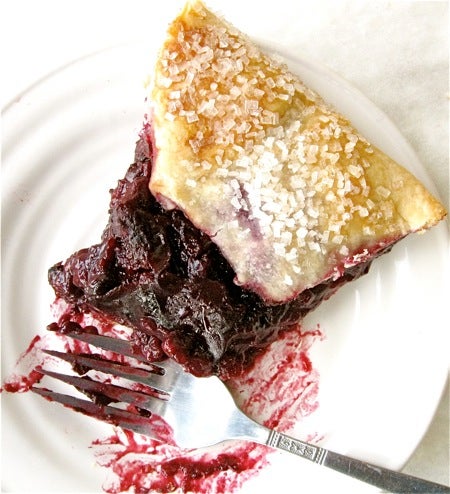
This starts to give you a better idea.
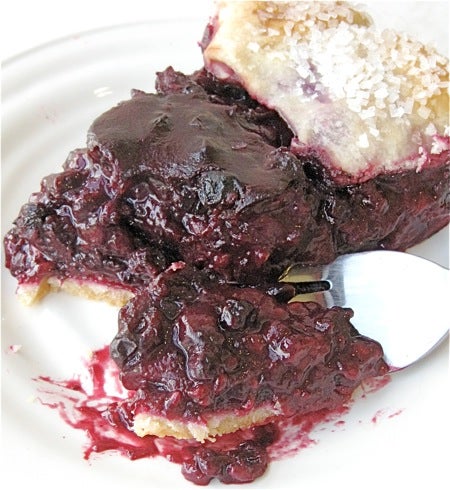
But it still doesn't fully communicate the oozy berry goodness, the compelling combination of raspberry and blackberry and blueberry and whatever-berries-from-last-summer-you-had-in-the-freezer.
Are you beginning to get the picture?
If I've convinced you to make Mixed Berry Pie, come along as I first show you what NOT to do.
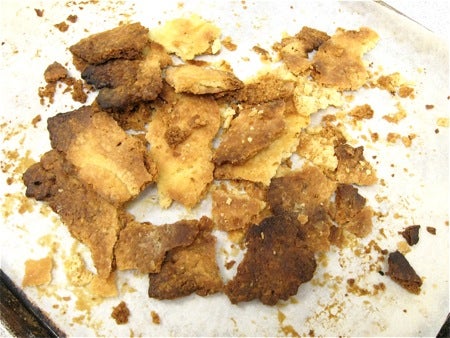
Crust attempt #1: I rolled out my beautifully tender crust. Picked it up to transfer it to the pie pan.
TOTAL DISASTER. Couldn't move it a single inch without it falling to pieces. I retrieved the pieces, threw them on a pan, and baked 'em, just because I knew they'd be tasty (they were).
But don't go here!
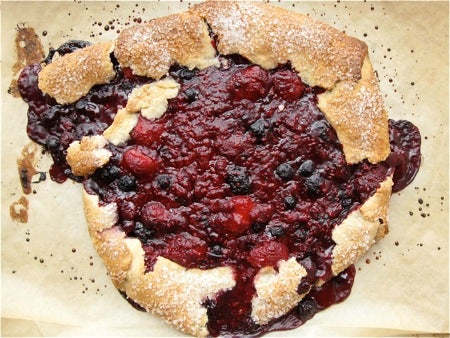
So, call me a glutton for punishment. Crust attempt #2: what if I take that same crust recipe, shape it right on a parchment-lined half-sheet pan, add the filling, and gently fold the crust up around the filling?
Strike one: the crust still broke apart as I folded it over the filling.
"But I can patch it," she said, hopefully.
Strike two: the crust sprang leaks like the little Dutch boy's dam as the pie baked.
"But I'll plate it in the kitchen, it won't look too bad," she said, doubtfully.
Strike three: Total collapse on the way from pan to plate. I mean, it was ugly.
Well, I may have fallen off the turnip truck, but it wasn't yesterday.
"There's absolutely nothing wrong with my favorite pie crust recipe; why not use it?" she said, swallowing a big slice of humble pie along with her hubris.
Let's get down to business here, and make some NOT-humble Mixed Berry Pie.
First, the crust.
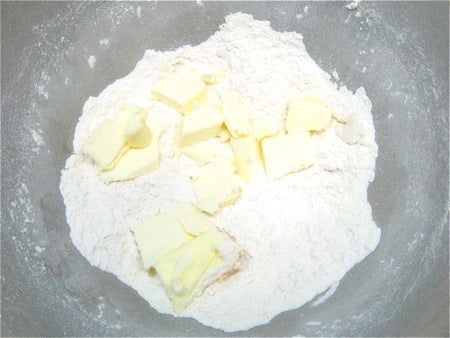
Place the following in a bowl:
1 1/4 cups (142g) King Arthur Unbleached All-Purpose Flour
heaping 1/4 teaspoon salt
Whisk until thoroughly combined. Add 2 tablespoons vegetable shortening, and mix until evenly crumbly.
Dice 4 tablespoons (57g) cold butter into cubes or cut into small pats, and add it to the dry ingredients.
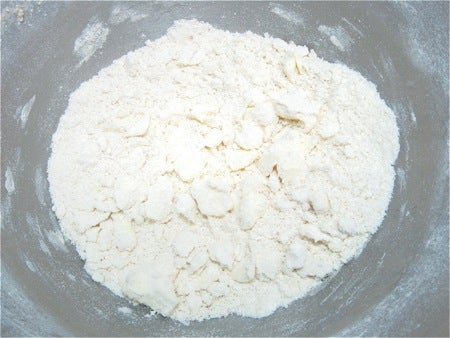
Work the butter into the dry ingredients to make an unevenly crumbly mixture.
Can you skip the shortening, and use all butter? Sure; your crust will tend towards sandy rather than flaky, that's all.
And why is that, you ask? Because shortening has a higher melting point than butter; and the higher the melting point of the fat, the flakier the crust.
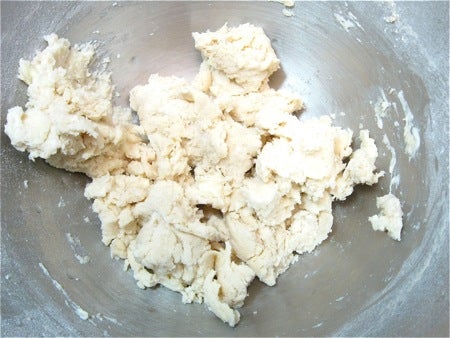
Mix in 4 tablespoons (57g) ice water. Continue to add water, mixing as you go, until the dough starts to come together; you might add up to another 2 tablespoons (28g) or so.
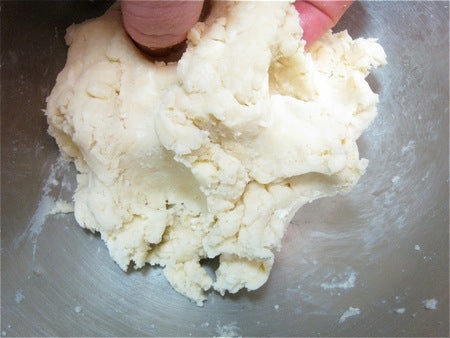
Add another 1/2 tablespoon of water, and scrape the dough together with your hands. Grab it in one ball; if it holds together nicely, with no dry parts breaking off, it's good to go. If it still seems a bit dry, add ice water by the teaspoonful until it's cohesive.
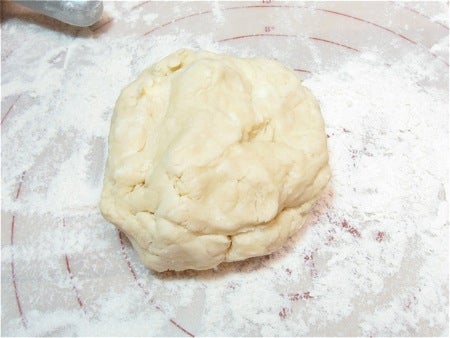
Place the dough on a floured work surface, and shape it into a rough disk. I love the ease afforded by a silicone rolling mat – not only does the dough not stick; when you're done, you just pick up the mat, shake any excess flour into the compost or rubbish bucket, and rinse clean.
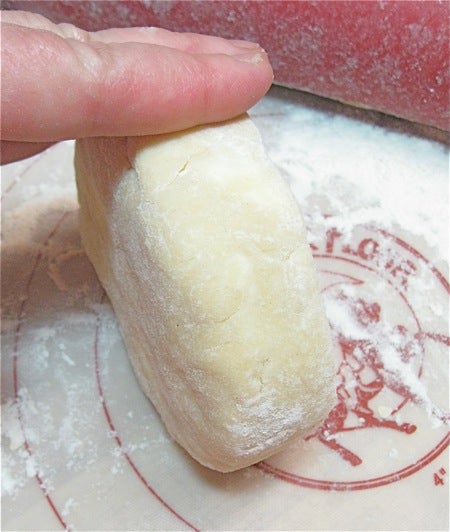
Roll the disk on its edge, like a wheel, to smooth out the edges.
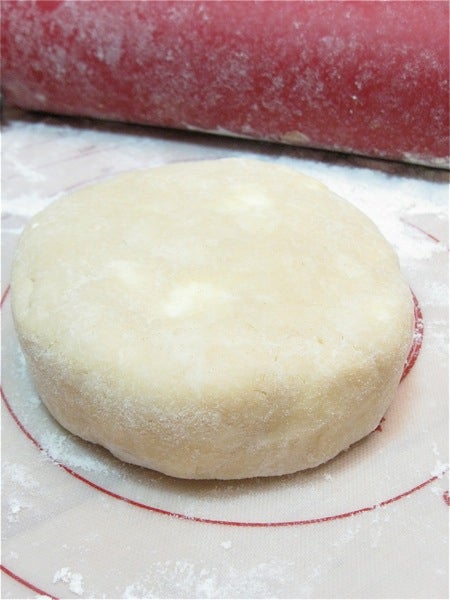
This step will ensure your dough will roll out evenly, without a lot of cracks and splits at the edges later.
Wrap in plastic and refrigerate for 30 minutes before rolling.
Wait a minute - don't I need two pieces of dough, for top and bottom crusts?
Feel free to make this pie in a traditional double-crust format, using your favorite double-crust recipe. But we love to showcase the berries' vibrant colors by placing them in an oversized bottom crust, then bringing the edges up to partially cover the berries, while leaving the center of the filling uncovered.
While the dough is chilling, preheat your oven to 400°F, and make the filling.
We'll start with the berries.
Can you use fresh berries? Sure. Especially if you've picked them yourself, and have a surfeit. But buying fresh berries can be quite expensive and not worth the money in pie, where frozen do just as well. If you're not fortunate enough to have some of last summer's berries left in your freezer, store-bought are fine.
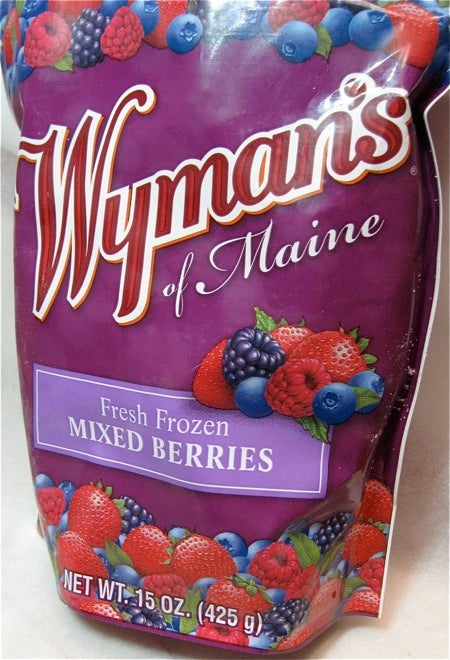
I particularly like Wyman's, as the berries are smaller and more intact than those from other manufacturers.
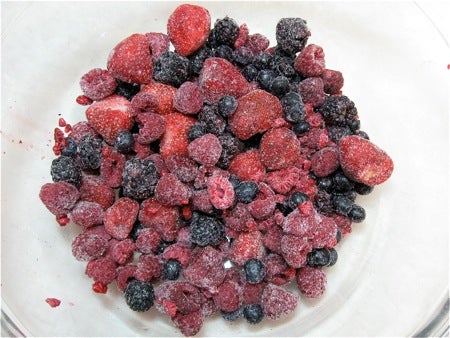
Assuming you're using frozen berries, place 7 to 8 cups (about 765g) in a microwave-safe bowl. If you're using store-bought frozen berries, 2 bags should be sufficient.
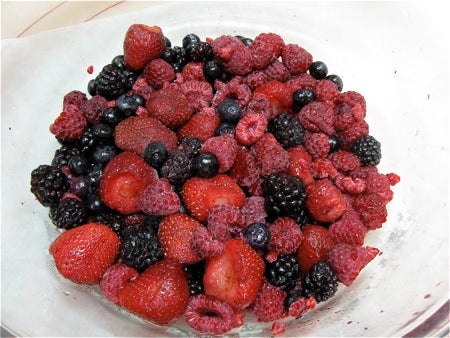
Microwave them briefly, just until they're thawed.
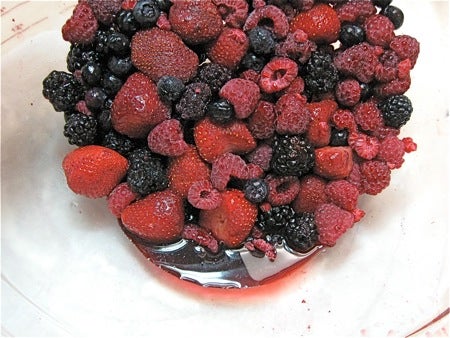
You'll notice they've given off some juice. A couple of tablespoons is OK, but more than that – drain it off, and enjoy it in sparkling water.
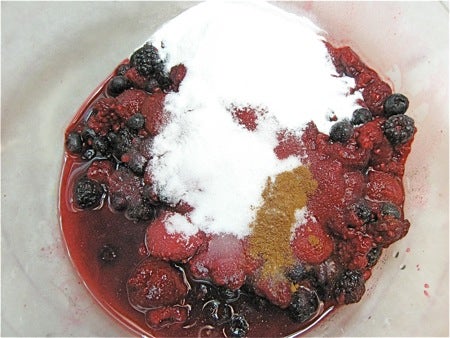
Add the following to the berries:
1/2 cup (99g) sugar
1/4 cup (46g) Pie Filling Enhancer or 1/3 cup (40g) King Arthur Unbleached All-Purpose Flour
1/4 teaspoon cinnamon
4 teaspoons (18g) fresh lemon juice
What if you don't like cinnamon? Leave it out, by all means.

Stir to combine.
Wow, look how the sugar draws the juices from the berries - how come? Sugar is hygroscopic, which means it attracts water. And berry juice.
OK, back to the crust.
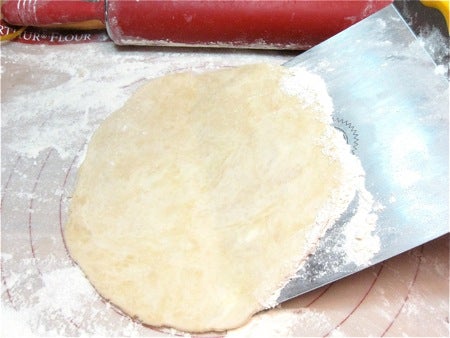
Roll the chilled pie crust into a 13" to 14" circle, with the edges a bit thinner than the center.
As you roll, be sure to keep the underside of the crust well-floured, to prevent sticking; a giant spatula makes lifting the crust (to dust flour underneath) easy.

Next, we're going to transfer the crust to a 9" pie pan, one that's at least 1 1/4" deep.
This is where my first crust fell apart... literally!
Fold the crust in half...
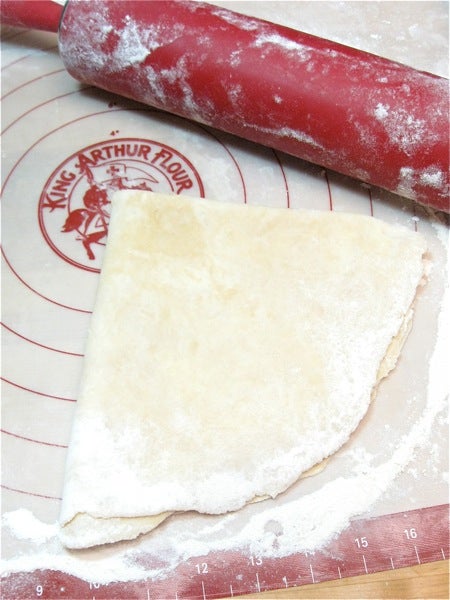
Then in half again.
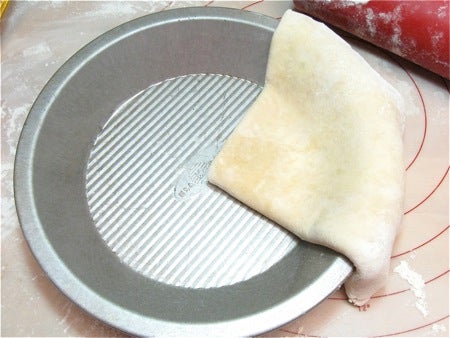
Lay the crust with the point of its triangle in the center of the pan...
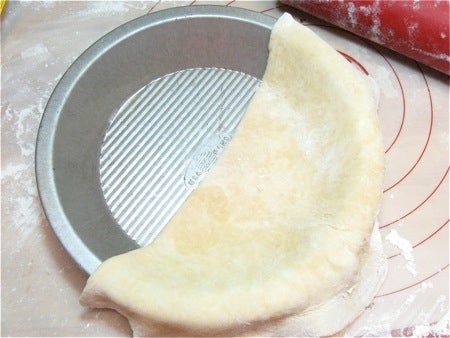
...and unfold it, completely. You'll have a large overhang of crust.

Spoon the filling into the crust.
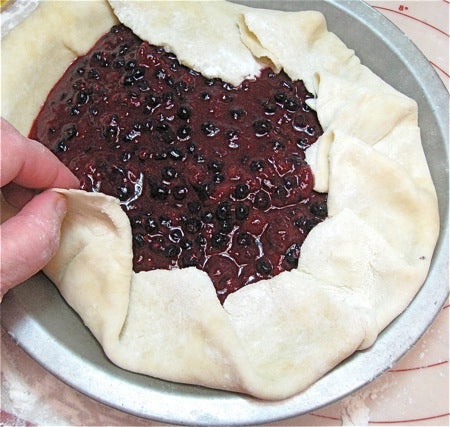
Next, bring the crust up and over the filling, giving it a few pleats so it settles nicely.
Some people are able to do this quite artfully; I'm not one of them. That's why I call this crust technique "rustic" - it covers a multitude of artistic sins!
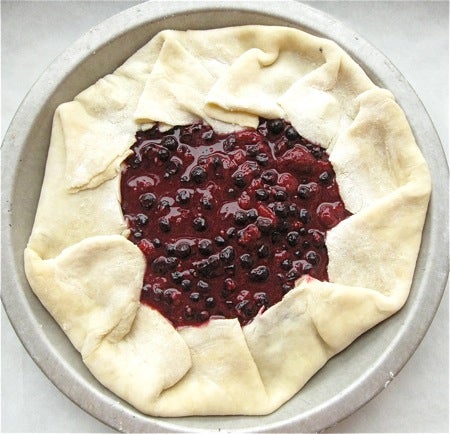
There should be a 4" to 5" circle of uncovered filling in the center.
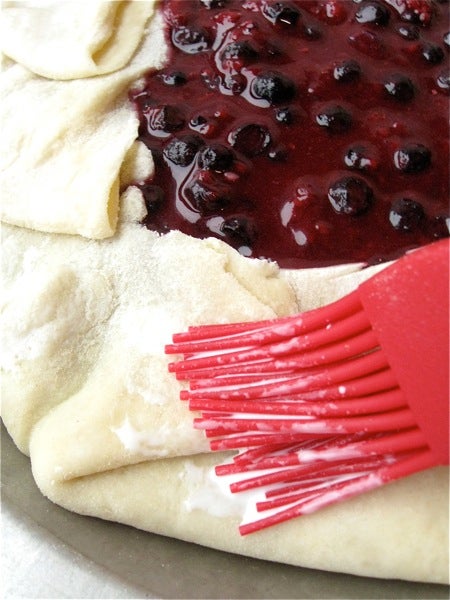
Brush the crust with milk; it'll help it brown nicely.
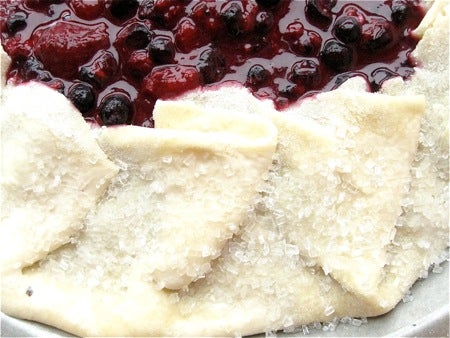
Sprinkle with coarse white sparkling sugar, if desired.
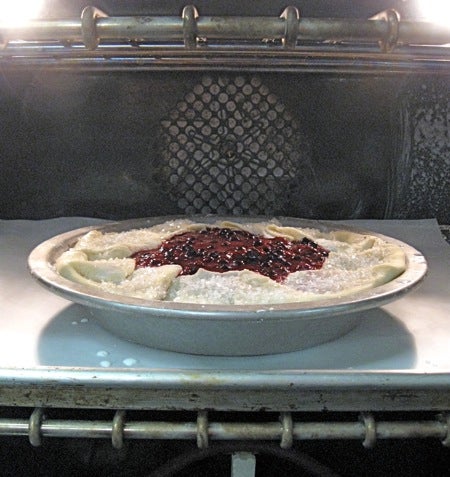
Set the pie on a parchment-lined baking sheet, to catch any potential spills. Place it on the lower rack of your oven, and bake for 35 minutes. Starting on the lower rack will help the pie's bottom brown nicely.

Transfer to an upper rack, and bake for an additional 10 to 15 minutes, until the crust is golden brown and the filling is bubbling.
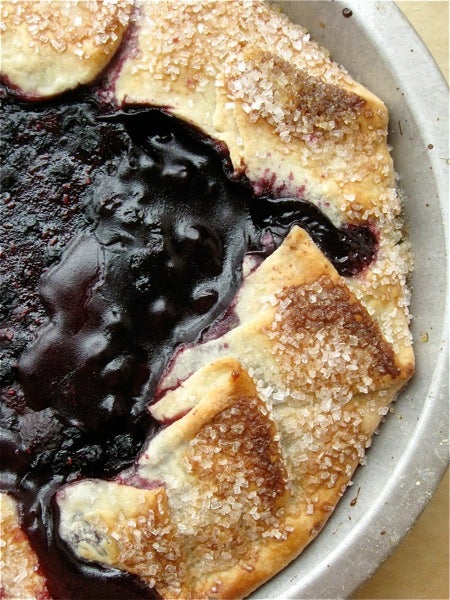
Remove the pie from the oven. Bubbling berries! Golden brown crust! Pat yourself on the back.
But don't cut the pie – yet. Tempting as it is, the filling has to set; cut it now, you'll have a lava-flow of berries rushing into the breach created by lifting out that first piece of warm pie.
Trust me; you need to wait a few hours before you serve this. If you're a fan of warm pie à la mode (and who isn't?), warm each serving very briefly in the microwave before topping with ice cream.
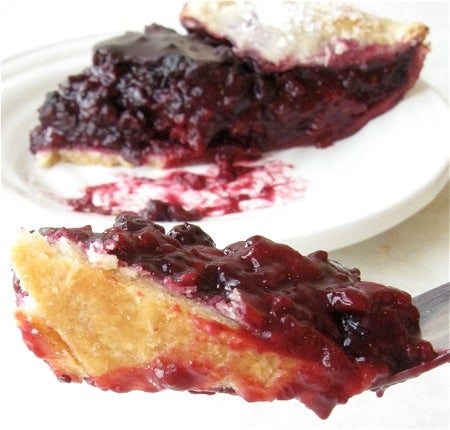
One last shot: see that beautifully browned bottom crust? No flabby white bottom crust when you bake on your oven's lowest rack; and use a dark(ish) metal pan.
Read, bake, and review (please) our recipe for Mixed Berry Pie.