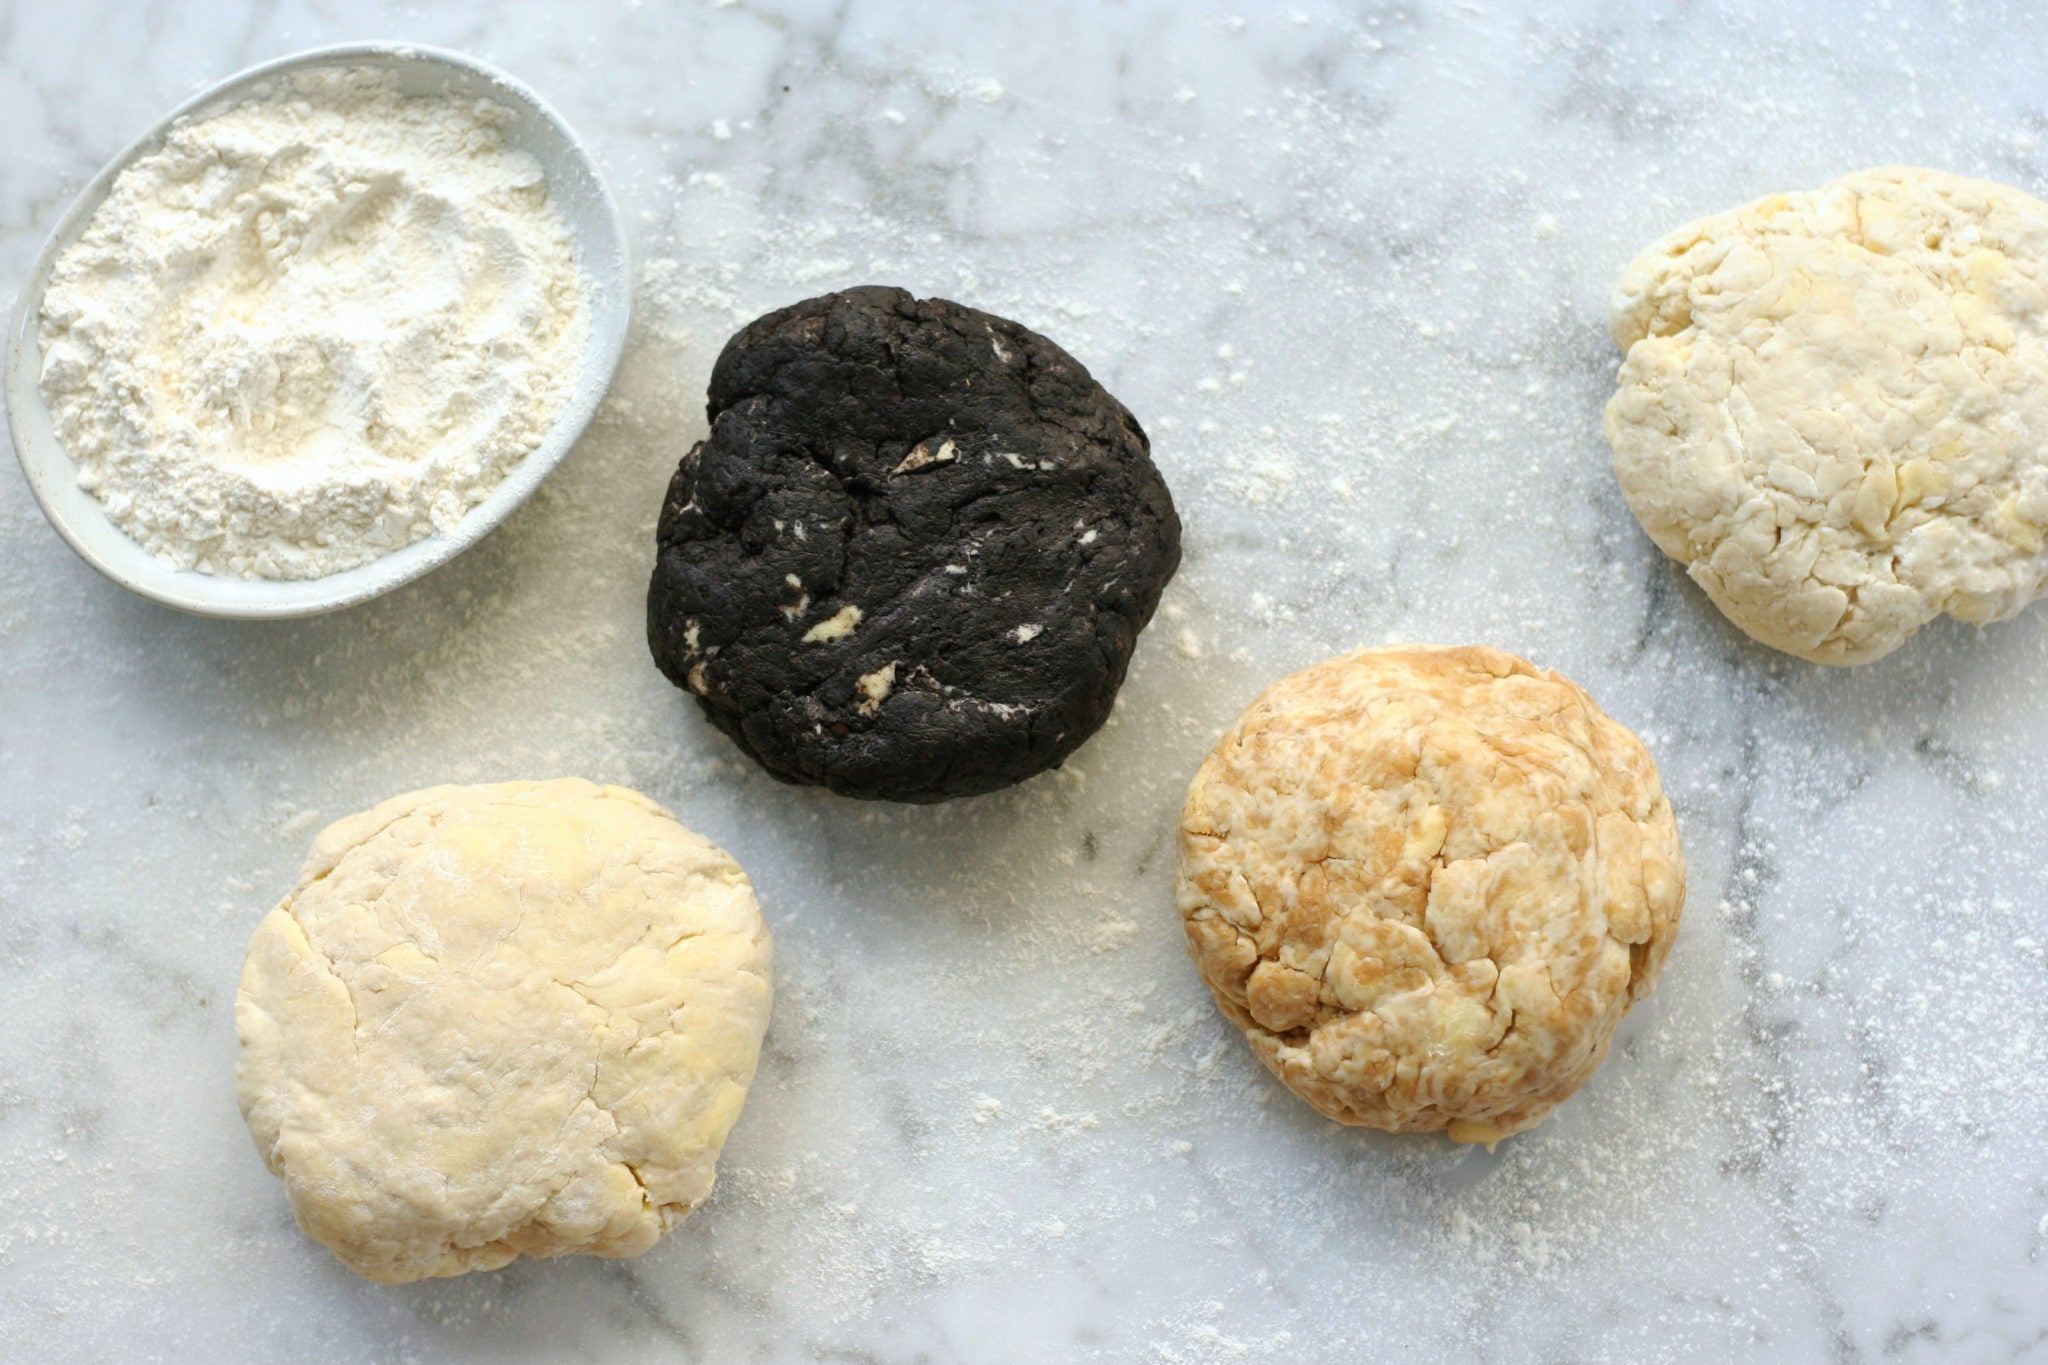
One of the things I love most about pie dough is how it serves as a perfect blank canvas for so many kinds of fillings. You can use one dough and pair it with anything from sweetened fruit to toasted nuts to creamy custards. But the options don’t have to end with what goes inside the pie. The dough itself can be fun to tweak. Flavored pie dough produces a whole host of new combos when it comes time to bake your most impressive pies.
It’s simple, just four ingredients – and let it be heard that, generally, speaking, I’m an all-buttah girl when it comes to dough. Nothing beats the flavor, and if you’re careful while handling it, it works beautifully to create a tender, flaky crust.
To make a single crust (this recipe doubles easily to make a double crust pie!), you'll need the following:
1 1/4 cups (5 1/4 ounces) King Arthur Unbleached All-Purpose Flour
1/8 teaspoon fine sea salt
8 tablespoons (4 ounces) cold unsalted butter
3 tablespoons (1 1/2 ounces) ice water, with more as needed
Start by mixing the flour and the pinch of salt in a medium bowl. Cut the butter into 1/2" cubes. Toss the butter in the flour a few times until each piece is well coated (separate any big clumps with your hands). Cut the butter into the flour by pressing the pieces between your fingertips. The goal is to flatten the cubes into big shards, then toss them again with the flour to coat.
Answering this question will help you determine what kind of crust you need. If you’re making a fruit pie, you’re likely looking for a flaky crust, which is made by leaving the butter in larger pieces inside the dough. If you’re making a custard or cream pie, you might want a mealy crust, which is made by cutting the butter into slightly smaller pieces — producing a more crumbly (but still tender!) texture.
To make a flaky crust, continue working the butter into the flour until the pieces are about the size of walnut halves. For a mealy crust, continue to work the butter until it’s about the size of peas.
If you’re thinking you have to mix the dough by hand, think again. You can mix it up to this stage in a food processor – then transfer it to a bowl to complete the last step, adding the water. I’ve found that adding the water to the food processor can lead to improperly hydrated dough – it’s too easy to go over, and sometimes moisture gets stuck under the blade, producing a goopy mess toward the bottom of the bowl.
Make a well in the center of the flour-butter mixture, and add the ice water. Mix to incorporate, then add more water 1 tablespoon at a time until the dough comes together. You can knead it a few times to make sure it’s fully combined. Over-mixing your dough can make it tough down the line, and can also warm it up, making it more difficult to work with. The dough should hold together and not look dry or crumbly – it also shouldn’t be overly wet or feel sticky. Form the dough into a disk about 1" thick and wrap tightly in plastic wrap to chill for at least 30 minutes.
This twist on classic pie dough substitutes cold cream cheese for a portion of the butter. Reduce the butter to 4 tablespoons (2 ounces) in the recipe and add 4 tablespoons (2 ounces) cold cream cheese, cut into 1/2" cubes.
Cream cheese is much softer than butter, even when well chilled, so it can be a little trickier to achieve the desired shingled look during the mixing stage. When in doubt, work the butter and flour to the desired level – it’s OK if the cream cheese is in smaller pieces, even for a flaky crust.
This pastry is very similar to classic pie dough to work with. The main difference comes in the texture and flavor. Cream cheese dough is a little lighter in texture – slightly less crisp but nicely tender. Best of all, it’s got a lovely, lightly tangy flavor that makes it a perfect base for so many pies. I love it with fruit pies, and it makes great free-form pies and galettes.
I always wondered about substituting nut butter for a portion of the butter in my regular pie dough. It’s even softer than cream cheese, so I turned to the freezer for aid. Spread 1/4 cup (2 3/8 ounces) smooth peanut butter onto a small piece of parchment paper into an even layer about 1/2" thick. Chill the peanut butter on the paper until fairly firm, 30 minutes to 1 hour. Cut the peanut butter into cubes.
Reduce the butter to 4 tablespoons (2 ounces) and add it with the cubed, chilled peanut butter to the flour and proceed with the recipe. I find the increased protein content in the dough makes it slightly more elastic when you’re working with it, otherwise no major differences until you bake it. The result is a slightly denser, more crumbly dough that’s nicely crisp. It’s a beautiful golden brown color after baking, even without egg wash, and has a lightly nutty flavor that’s just so good. It pairs perfectly with nut pies, custard pies, or cream pies — my absolute fave is to use it when I make chocolate cream pie!
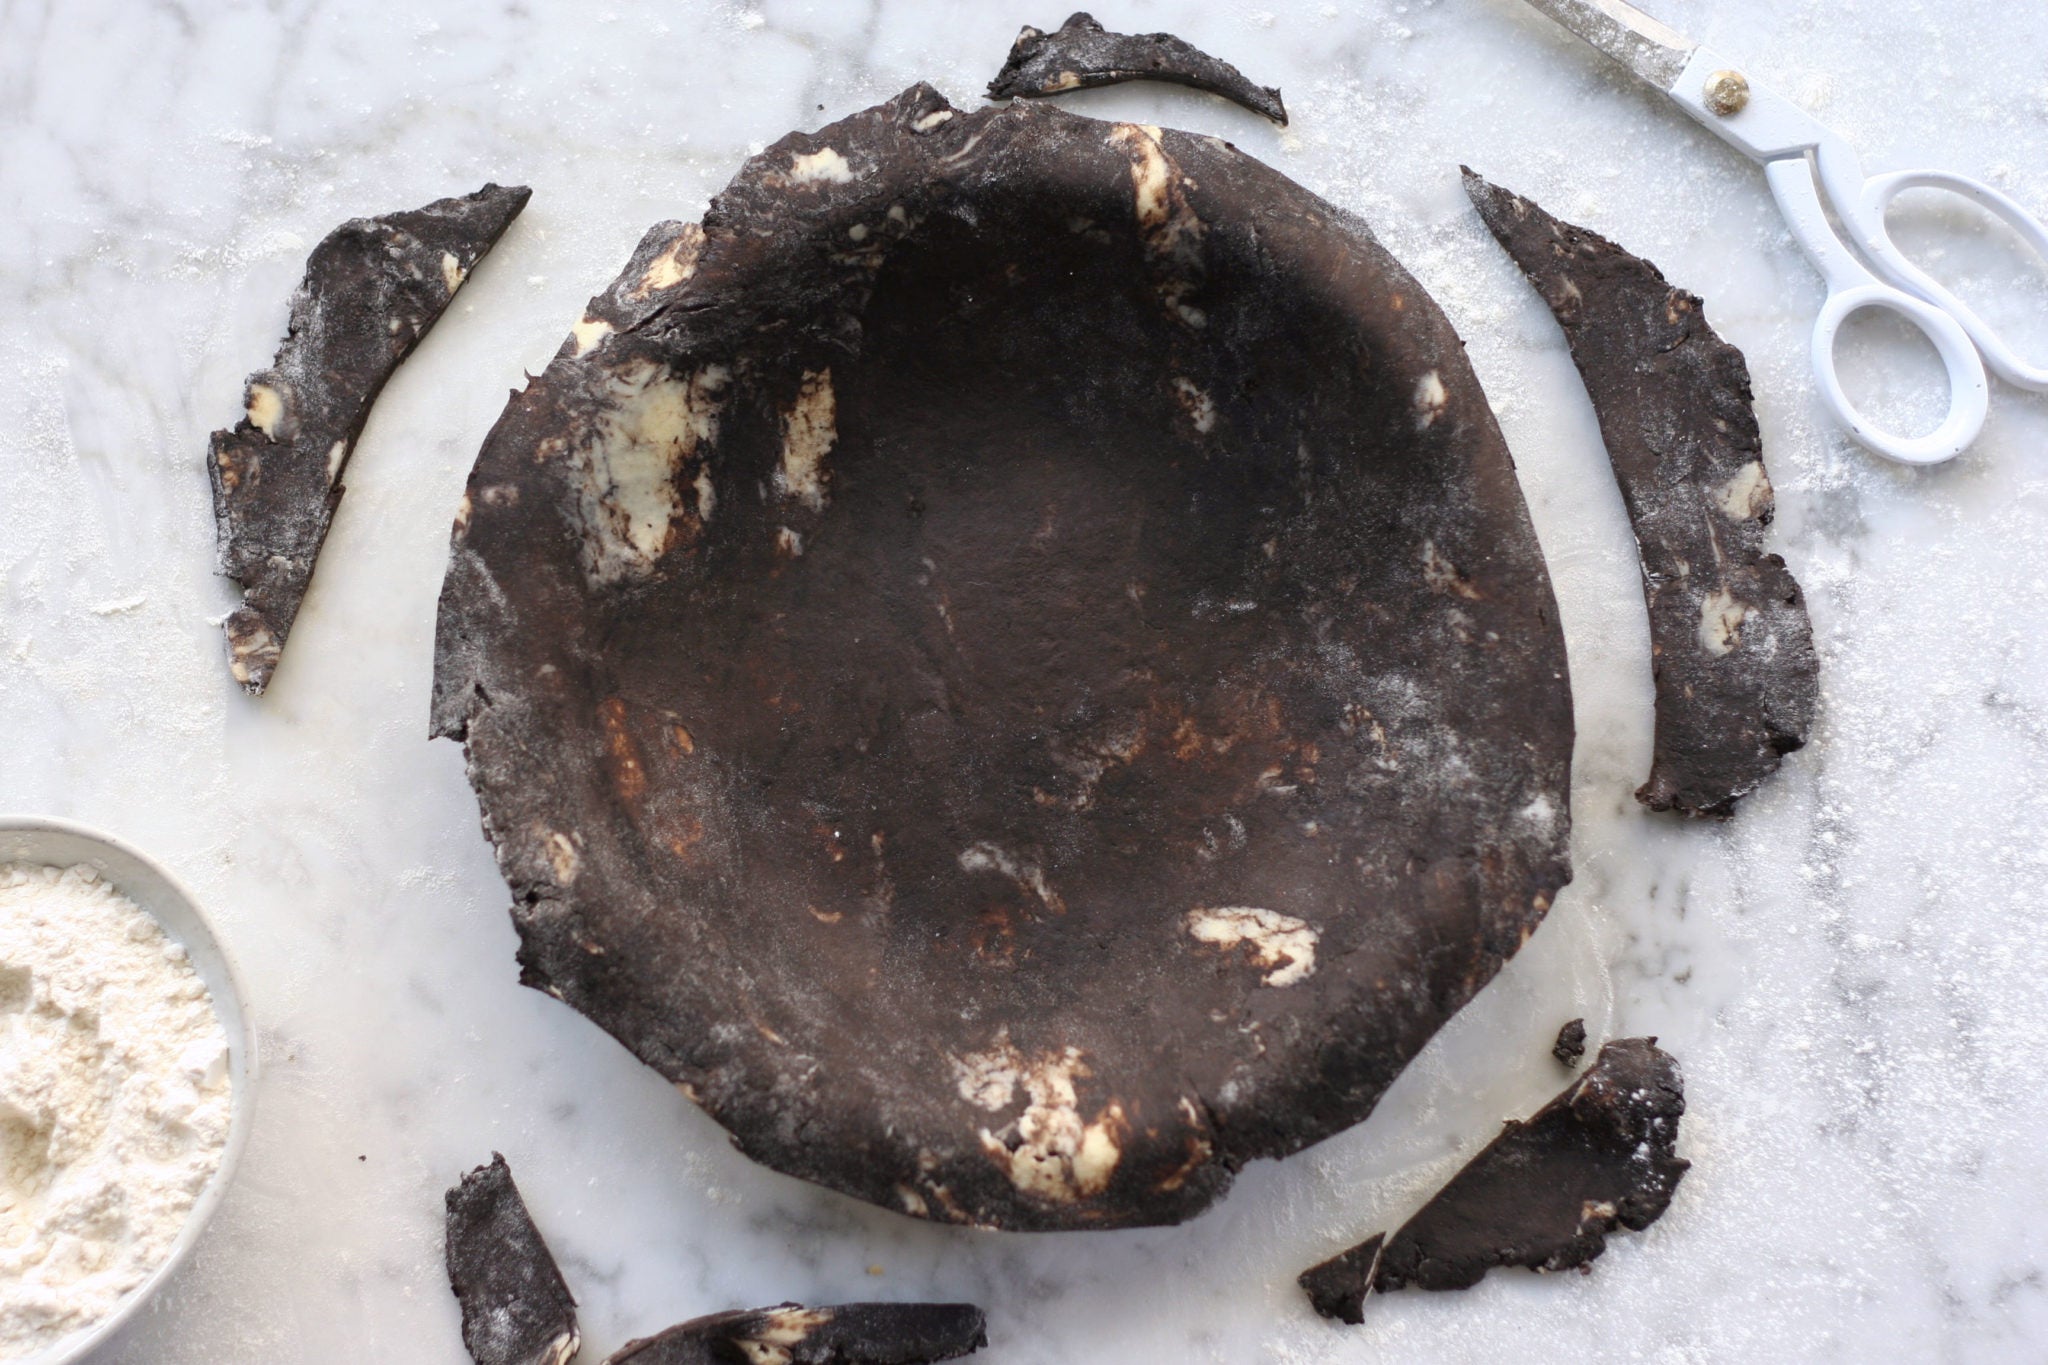
My favorite variation of all, this dough is best made with Double-Dark Cocoa Blend, which gives it a super-intense color and deep chocolate flavor. Replace 1/4 cup (1 ounce) of the all-purpose flour with 1/3 cup (1 ounce) of the cocoa blend; sift or mix the cocoa and flour together before you add the butter.
You’ll notice differences in this dough when it comes to handling. It's extra prone to becoming sticky if too much water is added or if it’s over-handled at any stage. Try to mix and handle minimally, and be sure to allow plenty of chilling time after mixing to stay out of trouble.
The color can make it more difficult to determine when the pie is done, so pay attention to bake times and temperatures in the pie recipes you use it in. The baked dough is a gorgeous, deep chocolate color and has a rich flavor – all while still being flaky and tender. If you’re a chocolate lover, it works great in all kinds of pies, but I especially like it with nut pies and berry pies, doused in whipped cream.
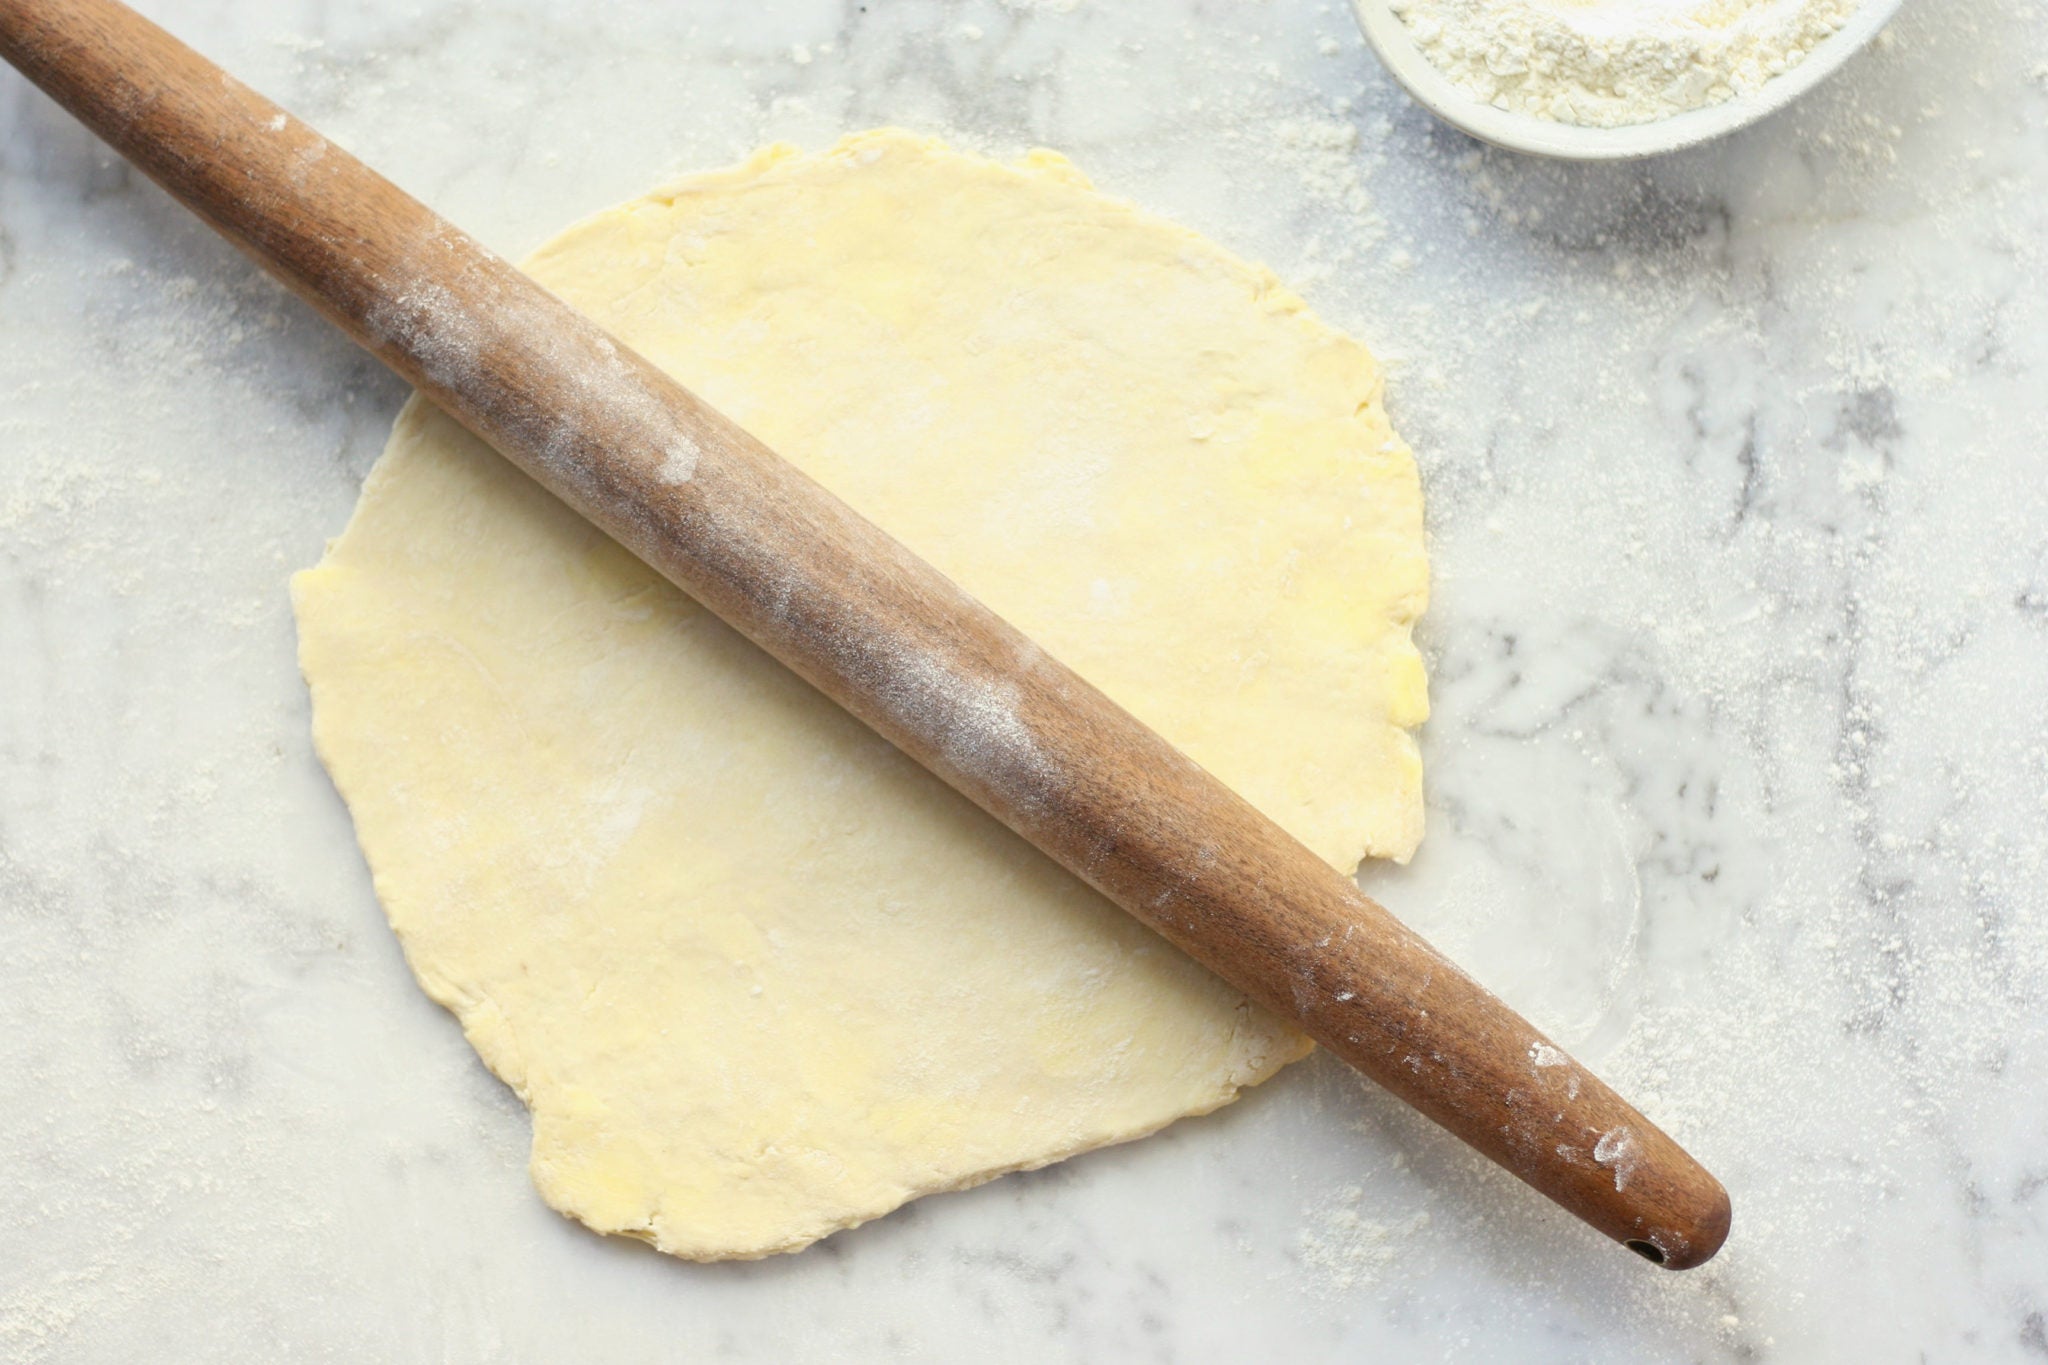
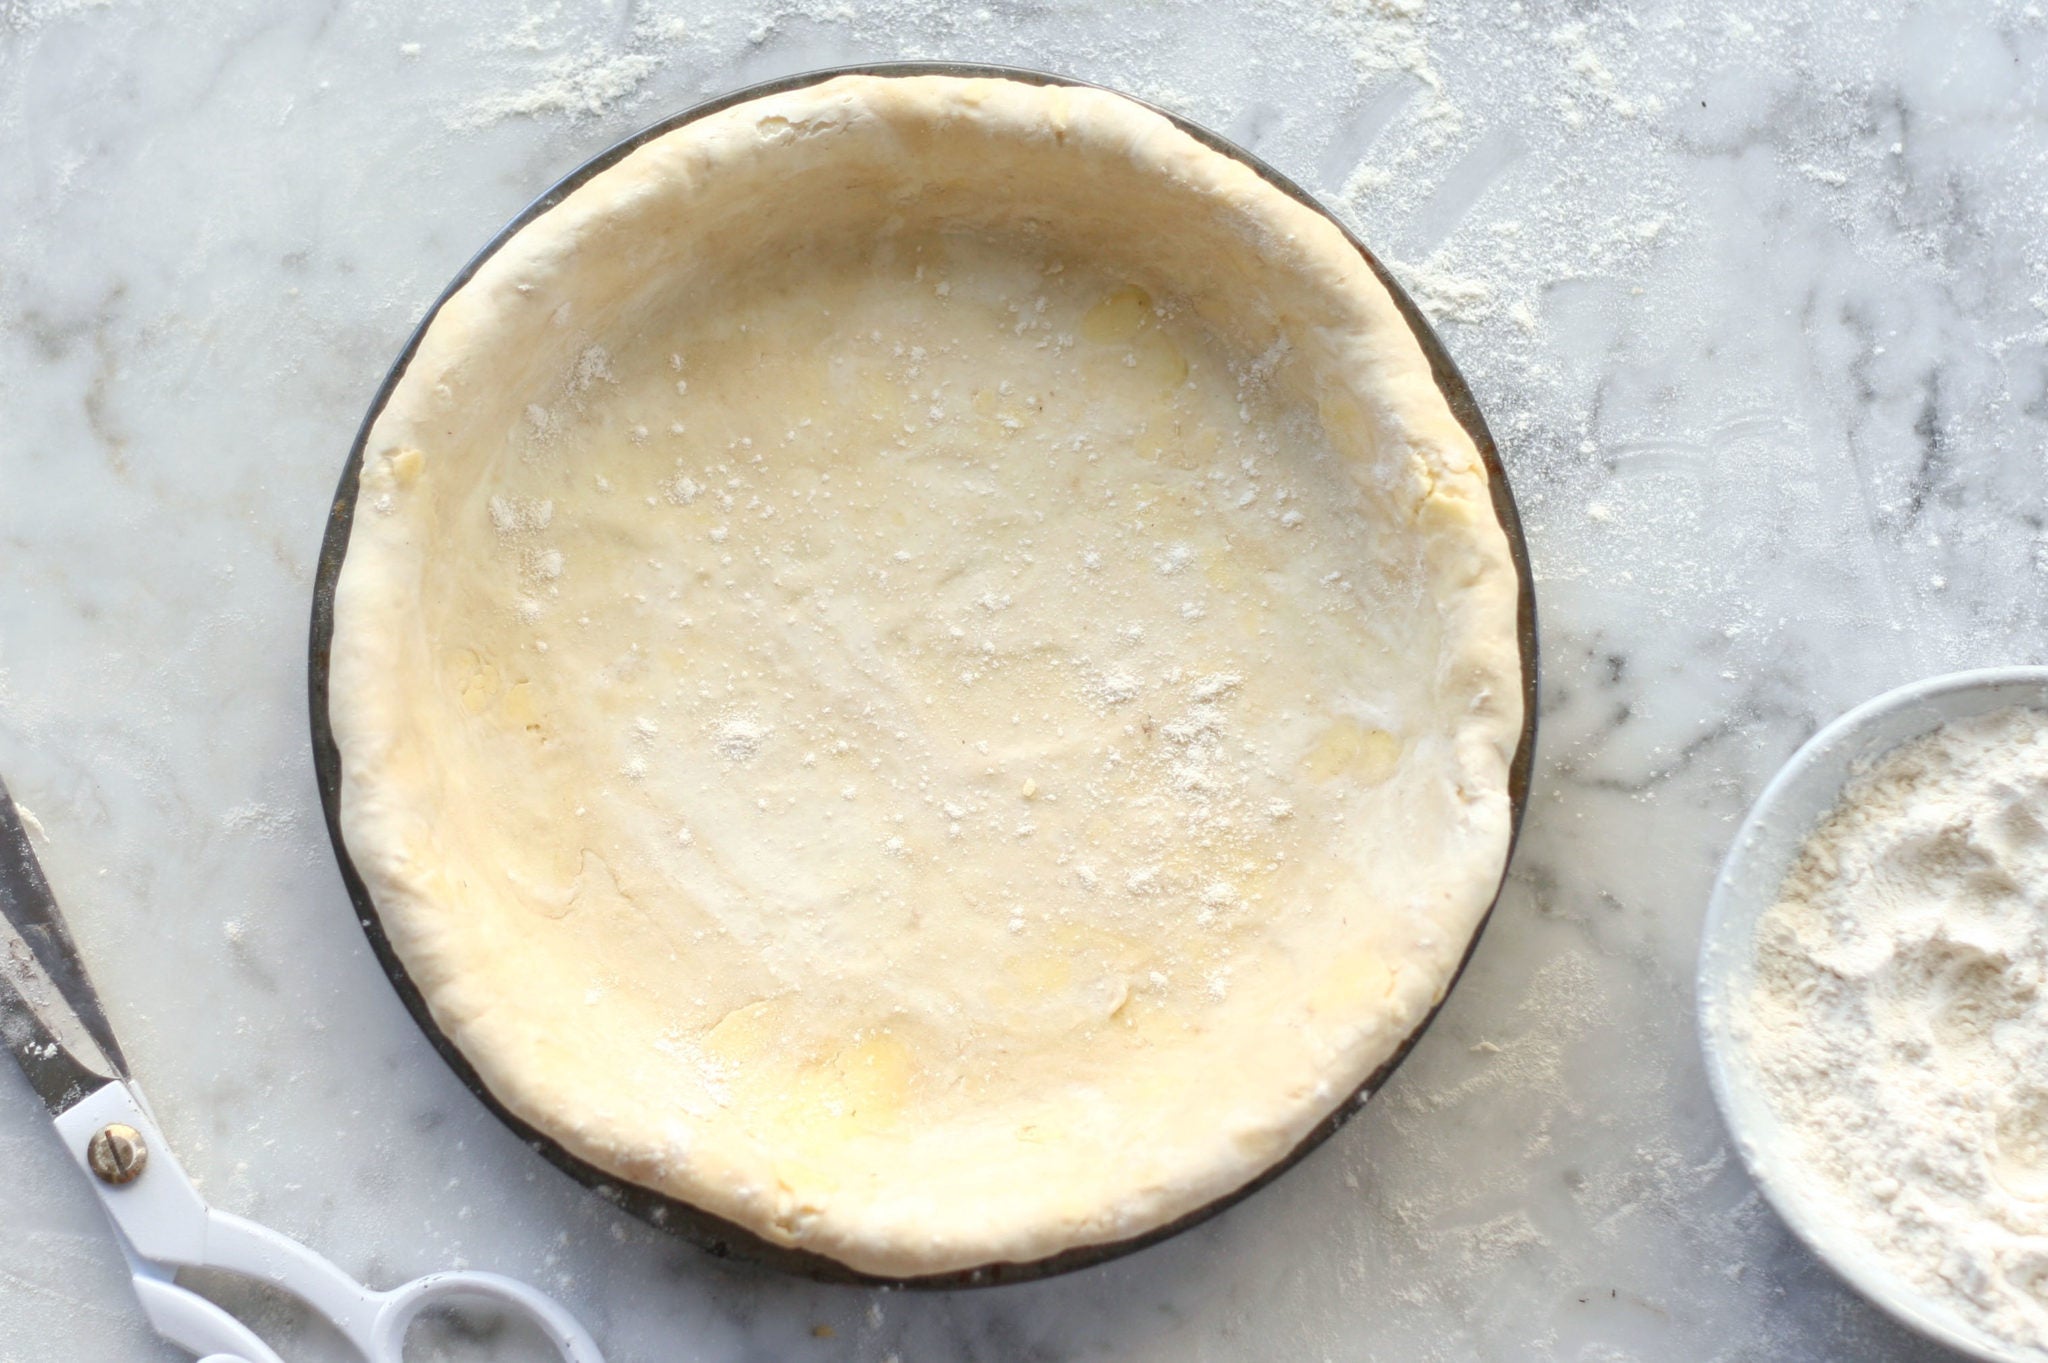
Once you've picked and prepped your dough, lightly flour your work surface. Roll the dough into a 12" to 13" circle, 1/4" thick. Start in the center of the disk of dough and push outward with even pressure. Return to the center and repeat, rotating and re-flouring the dough as needed to keep it from sticking to the work surface.
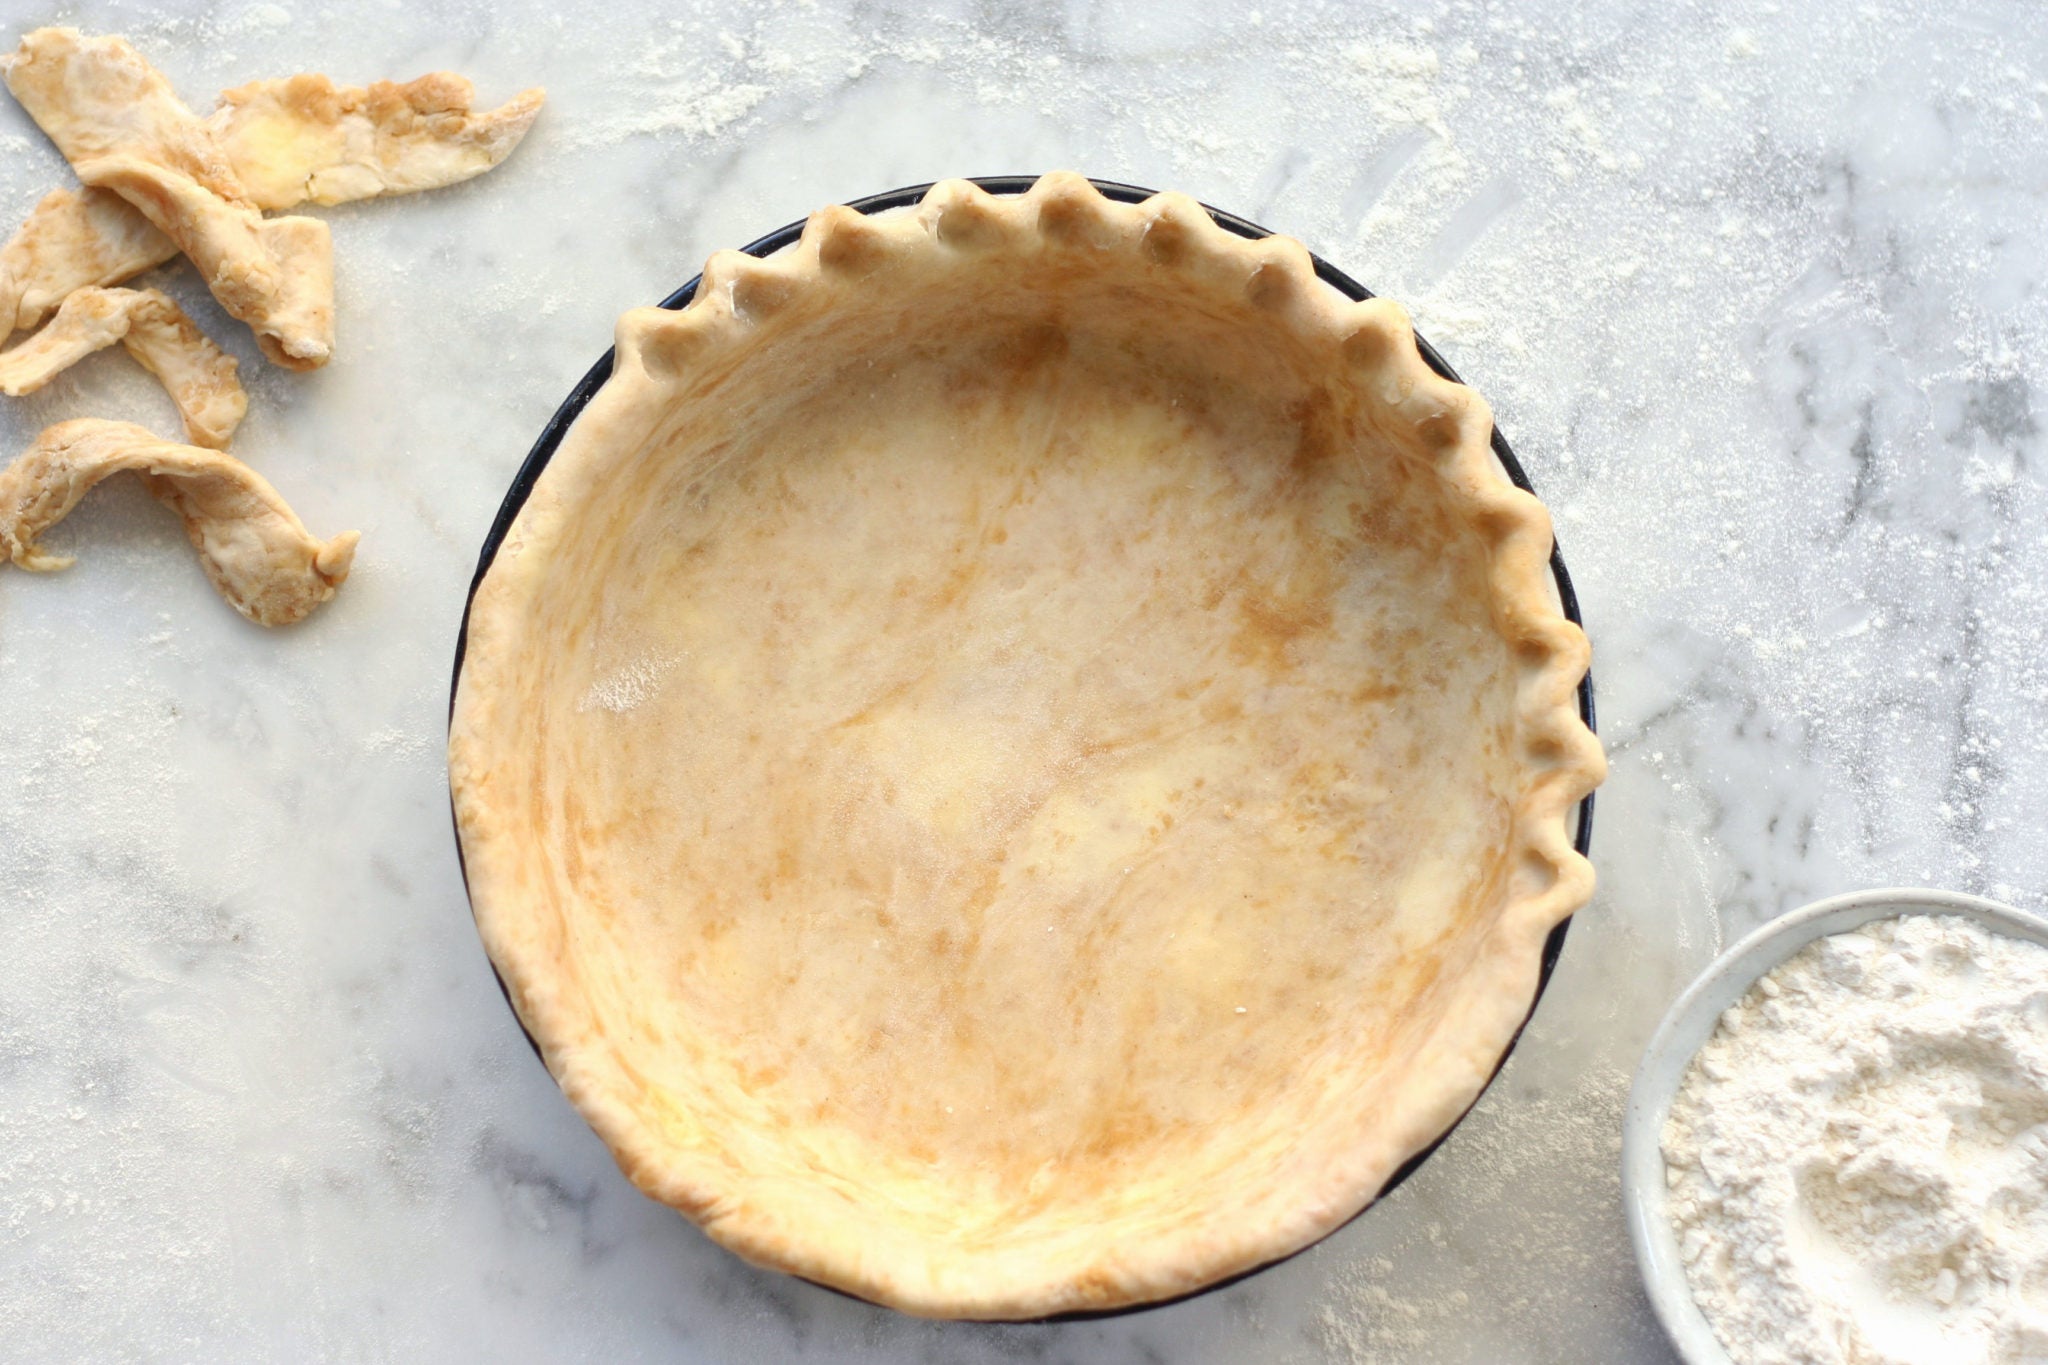
For a single-crust pie, roll the dough onto the rolling pin, starting at the far edge of the dough. With the pie pan in front of you, start at the edge closest to you and gently unfurl the dough off the pin into the pan. Press gently to make sure the crust reaches all the way to the bottom, taking care not to poke any holes in the dough with your fingers. Trim the excess dough from the edges, leaving a 1/2" overhang all the way around. Chill in the pan for 15 to 20 minutes or freeze for 5 minutes.
Tuck the excess dough under at the edge, working all the way around and pressing lightly to help the dough "seal" to the outer edge of the pie pan. Return to the refrigerator for 15 to 30 minutes or to the freezer for 5 to 10 minutes.
Crimp the edges as desired. The single-crust pie is ready to be par-baked, prebaked, or filled and baked as the recipe directs.
A homemade pie is always a delicious pie, but why let creative fillings get to have all the fun? Try mixing up the crust recipe to create truly unique and especially delicious combinations!
You can get more pie dough details and tons of recipes that use these doughs in my new book, The Fearless Baker.
For filling ideas to finish off your flavored pie crust, browse our pie recipes. Happy baking!