


I could never figure out why my in-laws wouldn’t try my pizzelle.
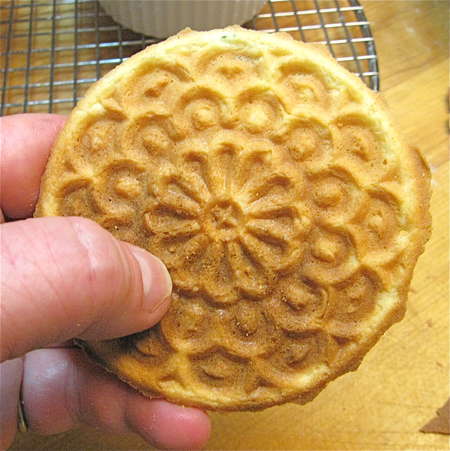
I mean, these traditional Italian cookies looked JUST like the ones from Boston’s North End, the sentimental “hometown” of every eastern Massachusetts Italian-American. Super-crisp, buttery, golden rounds, they’re a mainstay at every Italian holiday table, from Thanksgiving (turkey and spaghetti and pizzelle) to Christmas (roast beef and ravioli and pizzelle), to Easter (ham and lasagna and pizzelle).
So why wouldn’t my mother-in-law at least sample mine?
For years, I’d haul out my pizzelle iron, dutiful daughter-in-law that I was trying to be, make the pizzelle, battle my urge to sample them in the car on the way from New Hampshire to Massachusetts, lay them on her sideboard with the rest of the desserts, and watch them go absolutely untouched. Except by me and my husband.
Finally, I asked my sister-in-law what was up with the pizzelle boycott.
“We don’t like pizzelle,” said Dawne.
Crisp sugar cookies—what’s not to like? I thought.
“Uh, what don’t you like about them?” Maybe I should have sprinkled them with confectioners’ sugar, like you see at Italian bakeries; was that the missing component?
“We don’t like that flavor.”
“Sugar? Vanilla?”
“No, you know, that anisette flavor. That licorice,” said Dawne, grimacing.
Ahhhh… light dawns on Marblehead! The most traditional pizzelle are indeed made with anise seed or anise extract; they taste like licorice.
But I eschewed that flavor long ago in favor of the milder vanilla version I now make. I’ll do a butter-rum pizzelle occasionally, and have experimented with lemon and hazelnut—all good. Still, vanilla remains a comforting favorite. And I was certain Dawne and Ma would feel the same—if I could get them to try one.
“Dawne, just try a bite. Really. These don’t taste like licorice.”
She looked at me skeptically. I’ve pulled this kind of trick on her before, asking her to be a guinea pig for one or another non-traditional version of a long-time favorite.
Bottom line? She tried; she liked; I conquered. And now, whatever the celebratory occasion, my pizzelle are eagerly awaited and just as eagerly devoured.
Pizzelle iron: $45.95.
Cost of ingredients: $2.56.
Approval from your in-laws—priceless.
Read our Classic Pizzelle recipe as you follow along with these pictures.

Eggs, sugar, salt, and vanilla—into the bowl they go.
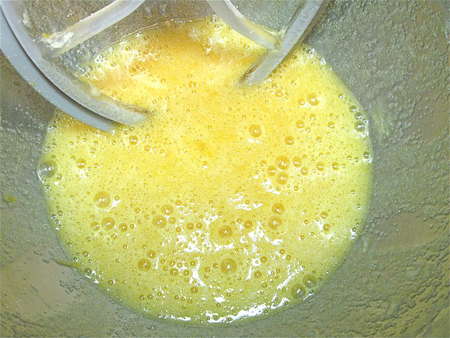
Mix till well combined.
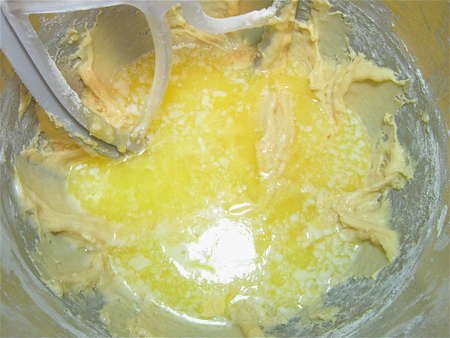
Add flour and baking powder, mixing till smooth. Then pour melted butter on top…
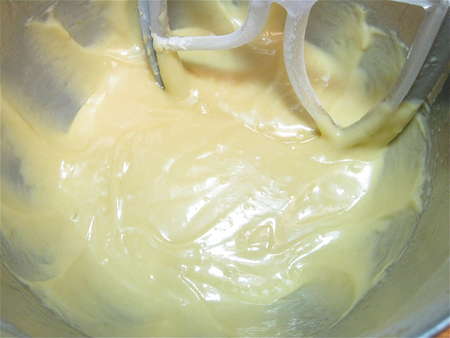
…and stir till thoroughly combined.
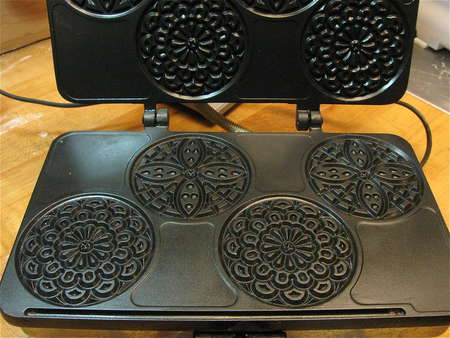
Lightly grease and heat your pizzelle iron. A krumkake iron works well here, too. This particular pizzelle iron makes four mini-pizzelle. Mine at home makes two standard-size pizzelle.
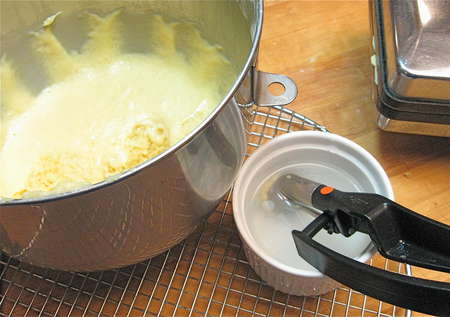
Get your tools ready. I like to use a teaspoon cookie scoop (a tablespoon scoop, for standard-size). It makes nice, round balls, a head start towards making nice, round pizzelle. Dipping the scoop in water each time you scoop ensures the dough won’t stick.

To make mini-pizzelle, you need a ball of dough about the size of a small shelled chestnut: a generous 2 teaspoons, to put it in more precise, measuring-spoon terms.
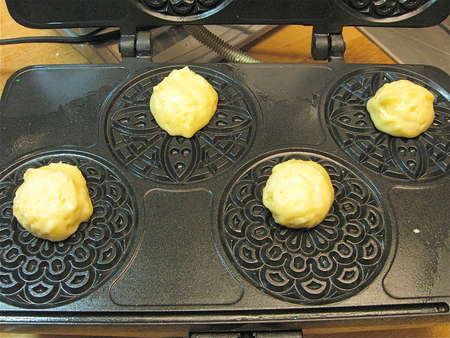
Quickly drop the balls just a tiny bit back from the center of each circle on the iron. When you lower the cover, it pushes the dough balls forward just slightly, centering them within the circles.
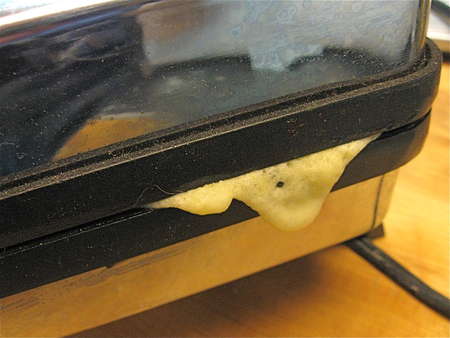
Close and latch the cover. You’ll probably see a bit of dough ooze out the side. That’s OK; just wipe it off.
Raise the cover, and—whoops. This was one of my first attempts. I hadn’t yet nailed the correct baking time (2 minutes, 15 seconds for the mini-pizzelle iron; 45 seconds for my standard-size iron); nor the correct amount of dough (generous 2 teaspoons for the mini, a generous 4 teaspoons for the standard).
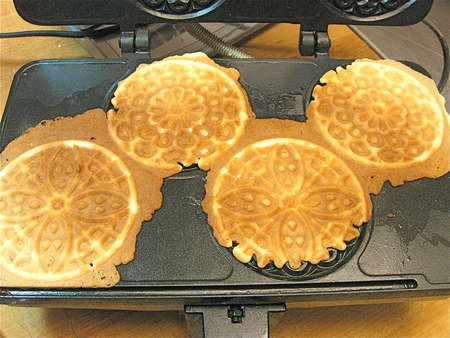
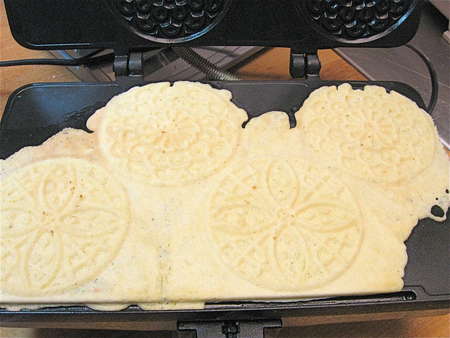
Try again. Ah, that’s more like it! Don’t expect you’re going to make perfectly centered pizzelle with smooth edges right in the iron. What you want is approximately the right amount of dough, enough to completely fill the circle, but without so much that there’s lots of overflow. It takes some experimenting; as I said, perfection the first time out isn’t a realistic goal.
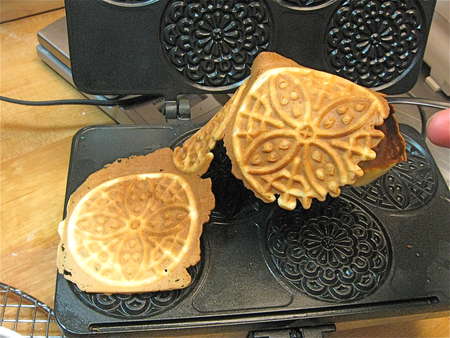
Lift the pizzelle off the iron; I’m using a fork here. If they’ve spread into each other, they’ll come off all in one piece.
Lay them on the counter, and cut them apart.
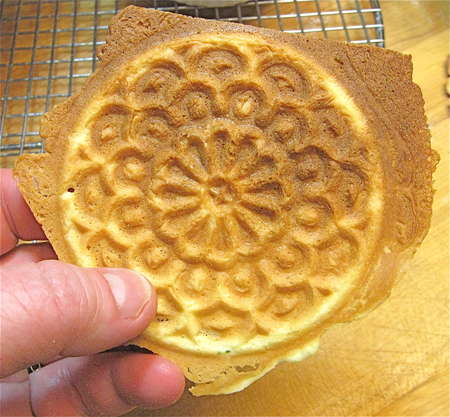
You’ll have pizzelle with ragged edges. NO PROBLEM.
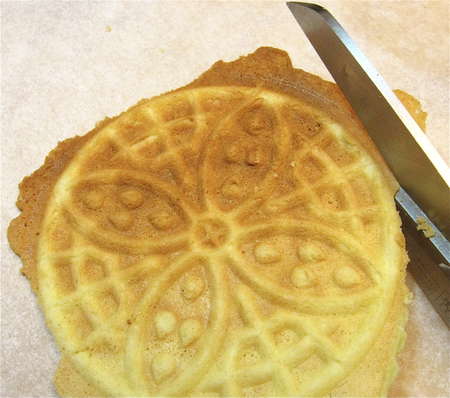
Use a pair of scissors to trim the edges.
Like this. Feel free to enjoy the trimmings; baker’s treat!
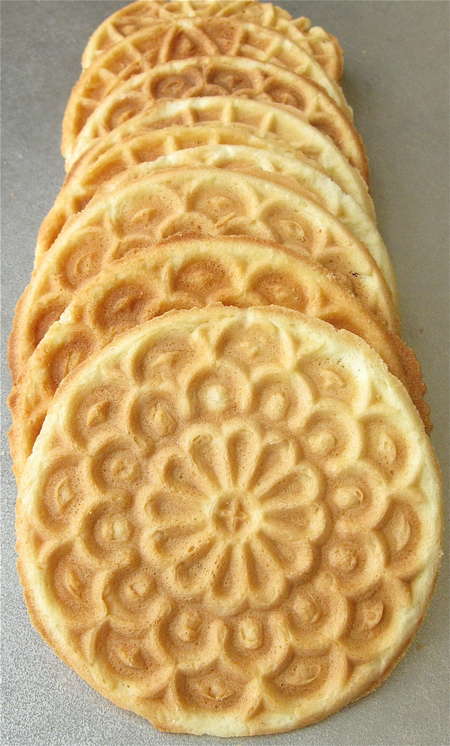
A nice presentation, suitable for any holiday sideboard.
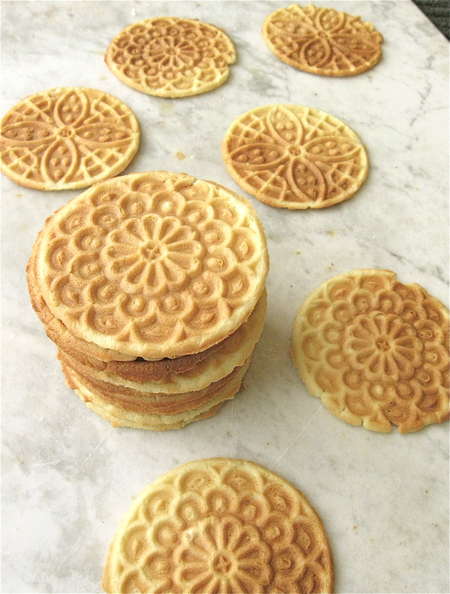
What a (licorice-free) treat, huh, Dawne?
Read, rate, and review (please!) our recipe for Classic Pizzelle.
