


Classic street-food pretzels – served hot from a city cart – are deep golden brown, chewy, and generously topped with coarse salt.
Homemade pretzel buns – pulled fresh out of your own oven – are deep golden brown, chewy, and generously topped with coarse salt (or not).
They're also loaded with your favorite sandwich filling – from ham and cheese, to tuna salad, to a big juicy burger.
Our recipe for Pretzel Sandwich Buns is your starting point for making them at home. These pretzel buns beat their fast-food counterparts hands down, and they're every bit as tasty as the metropolitan version. Plus they can be crafted for a variety of needs, from burgers to dogs to dinner rolls to sliders.
See how to make these buns, with some handy tips I've learned along the way. (Read this post all the way through before you begin, OK?)
Dough
1 3/4 cups (397g) warm water
2 tablespoons (28g) unsalted butter
3/4 teaspoon salt
4 1/2 cups (540g) King Arthur Unbleached Bread Flour
1/4 cup (28g) Baker's Special Dry Milk or nonfat dry milk
2 teaspoons instant yeast
Water bath
2 quarts (1814g) water
1 tablespoon (18g) salt
1/4 cup (57g) baking soda
Topping
pretzel salt (traditional), coarse sea salt, everything bagel topping, or your favorite seeds
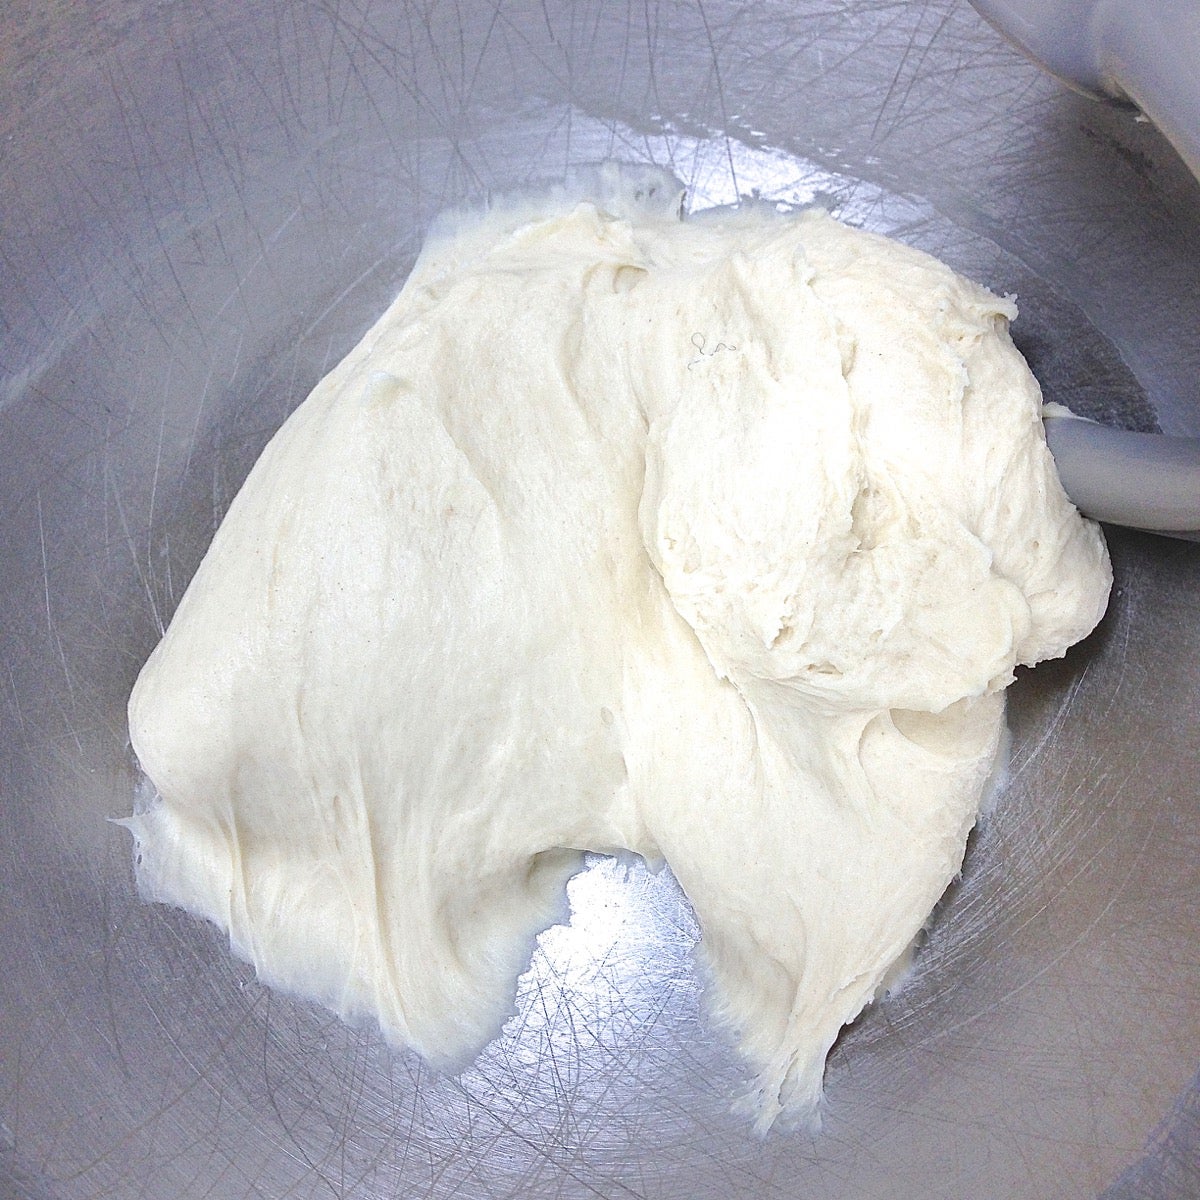
The first thing we'll do is mix and knead the dough ingredients. The dough above was prepared on a hot, sticky July day. Knowing that flour absorbs moisture from the atmosphere, and thus is "wetter" during the summer (and/or under humid conditions), I cut the water back from 1 3/4 cups to 1 1/2 cups.
How did I know to do that – might not the original recipe have been developed on a humid day?
Well, I took an educated guess; it's more likely the original recipe was formulated during the 10 months of the year we're NOT experiencing summer weather here in New England. And I guessed right: cutting back the water by 1/4 cup made a dough that's soft and just a tiny bit sticky – which is what the recipe calls for: "a smooth, slightly sticky dough."
The recipe, as written, assumes the buns will be topped with salt; so there's less salt in the dough itself. But not everyone loves salt-topped buns; some find that hit of salt on top overwhelming. If you decide to skip the salt on top (either leaving the buns plain, or topping with seeds), increase the salt in the recipe from 3/4 teaspoon to 1 1/2 teaspoons.
Once you've kneaded the dough, let it rise for about 1 hour, or until it's just about doubled in bulk.
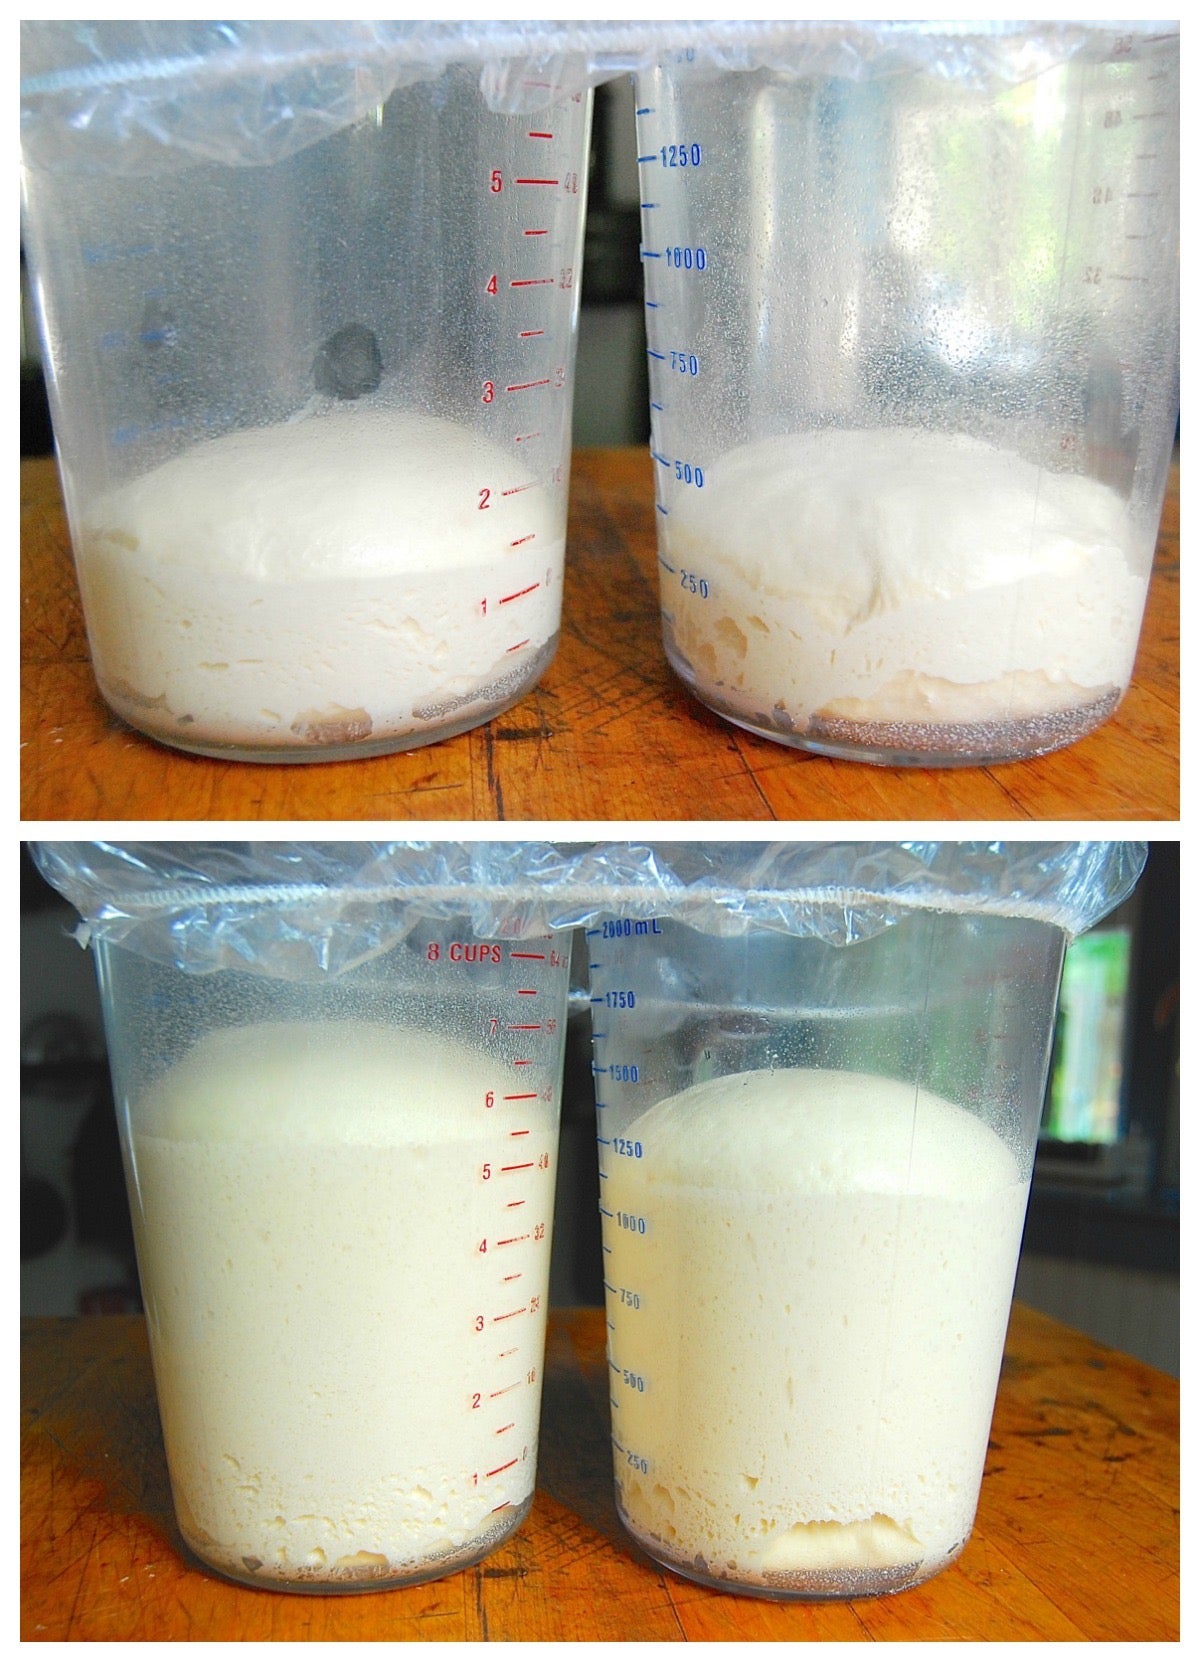
I divided my dough in half to test the "less salt, more salt" tip. Notice the retarding effect salt has on yeast dough – the dough on the right includes the greater amount of salt.
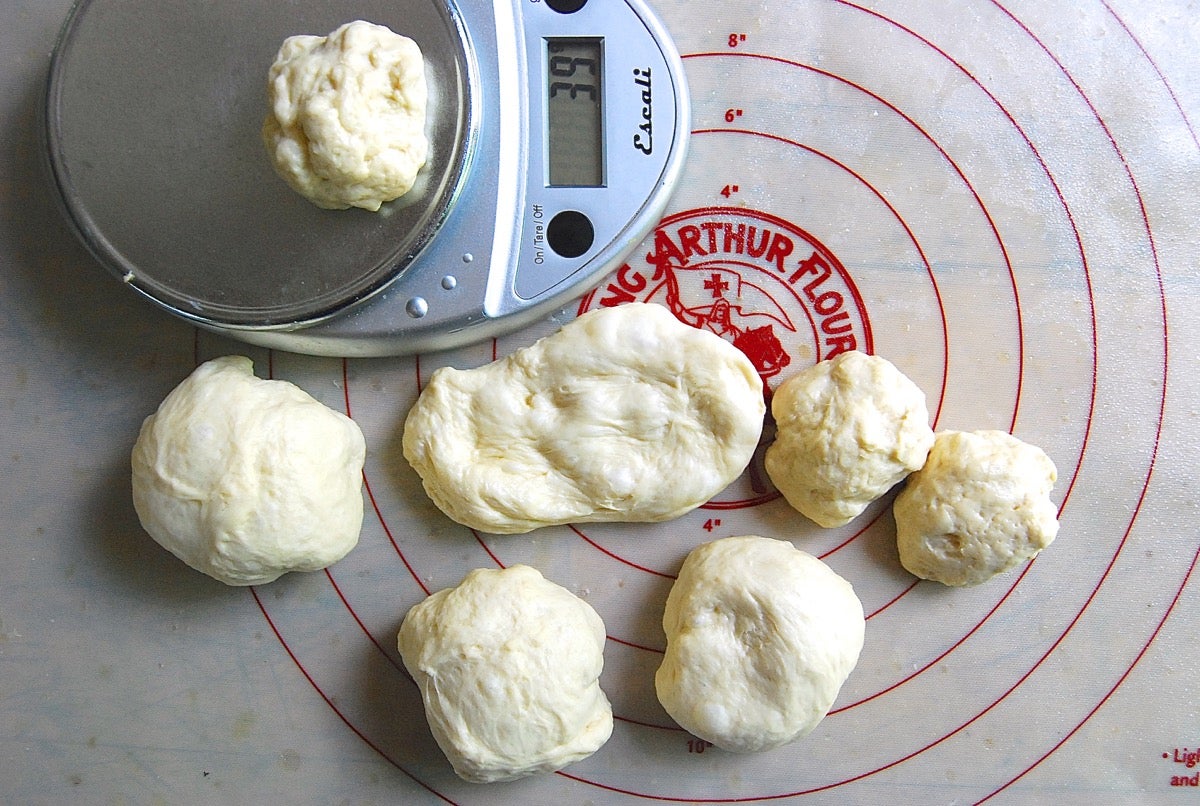
Gently deflate the dough, and transfer it to a lightly greased work surface. Divide it into roll-sized pieces.
What does it matter? Can't you just eyeball it?
Sure, and that's what I did for years. But I'm so pleased with the results when I use a scale: every roll is exactly the same size. Or, in this case, I make rolls in multiple sizes – and know how many I'll get before I start.
The recipe says to divide the dough into 10 pieces. I weigh the dough: 934g. So that would be 93g each.
After breaking off a 93g portion of dough, I see that it's quite large. How about if I make a dozen slightly smaller buns? Divide 934 by 12: each ball of dough will weigh about 78g.
Or what about hotdog buns? I pull off a piece of dough, and shape a ’dog-sized bun: 62g. 934g divided by 62g = 15 hotdog buns.
Sliders? Let's make them half the size of those original large buns: 20 sliders, 46g each.
See how useful a scale is?
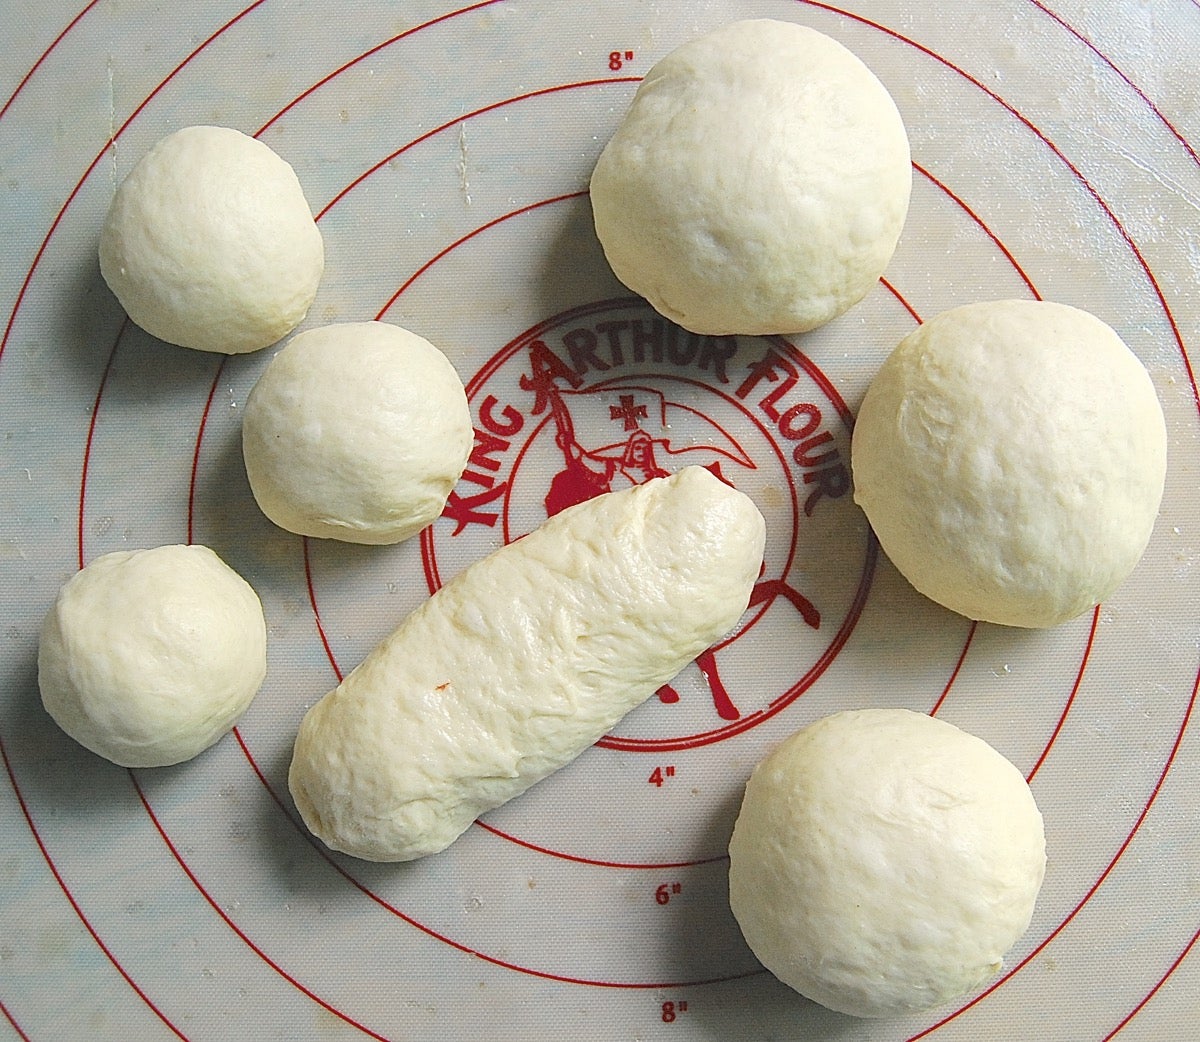
There's no rule that says every bun in your batch has to look exactly the same. Consider the crowd (or occasion) for which you're baking. Maybe it's a family cookout, and you know that Andy and Julia like hotdogs, and John and Tom like hamburgers, and Gabby is only 3 years old and she needs a slider bun.
Get out your scale (see above). Mix and match!
Once you've shaped your buns, place them on a baking pan (you'll need two pans) to rest for about 15 minutes. Line your pans with parchment; this will help prevent the buns from sticking later on.
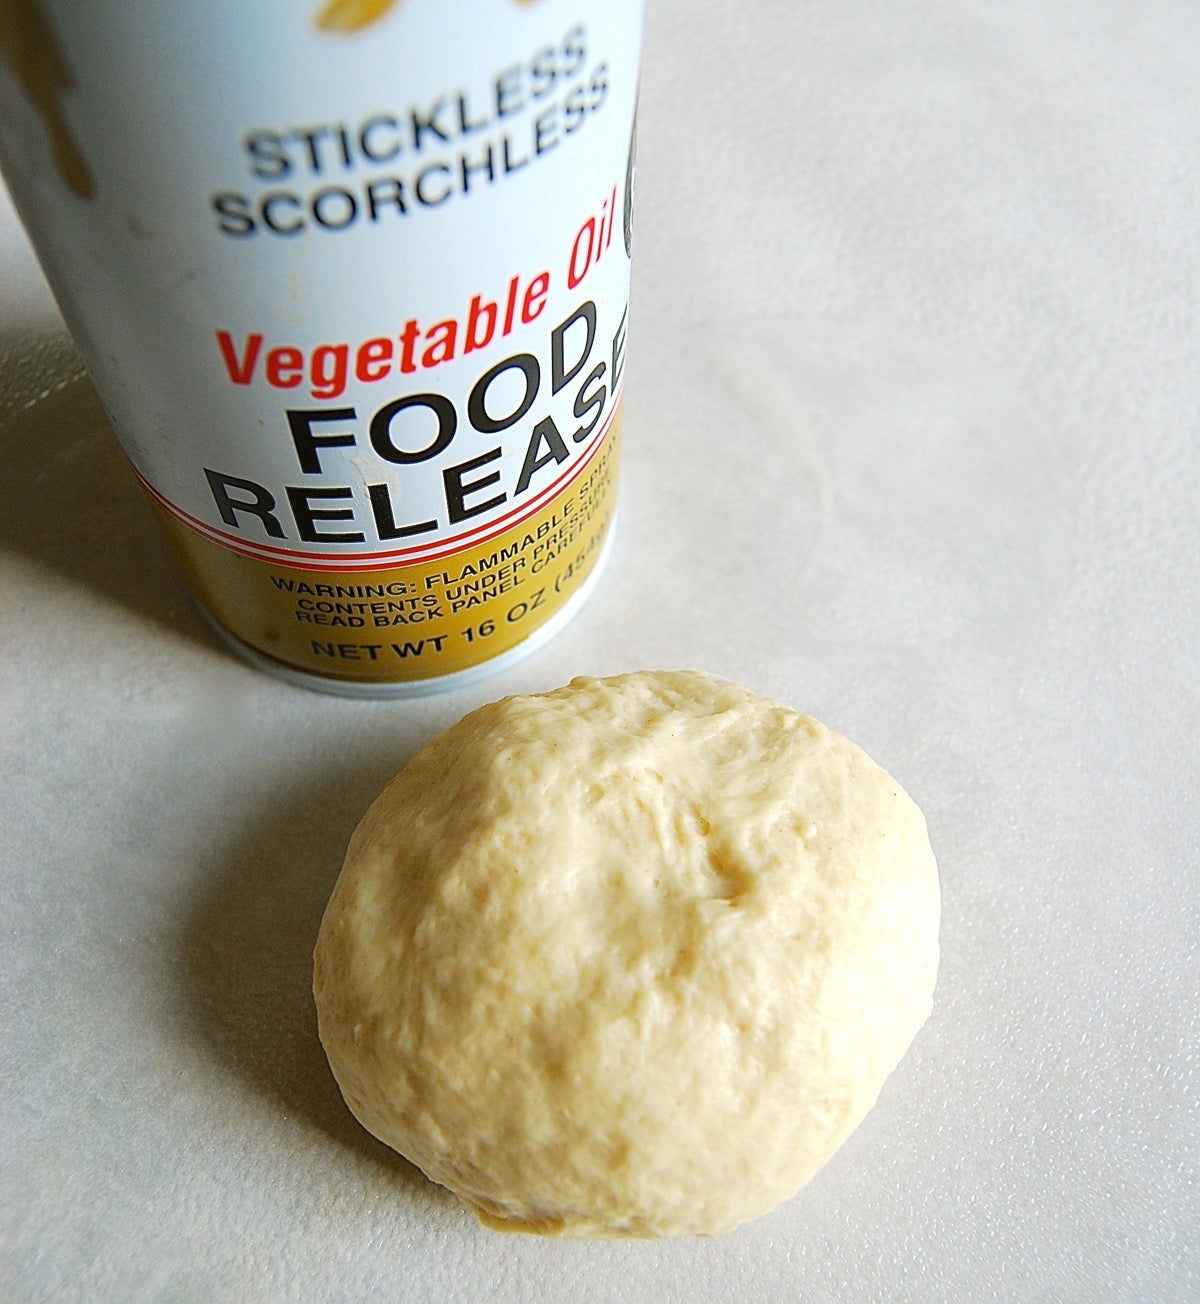
Since these buns go through a baking soda water bath (which releases some of their starch, and makes them sticky), they have a tendency to adhere to the pan as they bake. While you wouldn't ordinarily think to grease parchment paper – isn't it non-stick anyway? – in this case it's appropriate. Non-stick vegetable oil spray is the way to go.
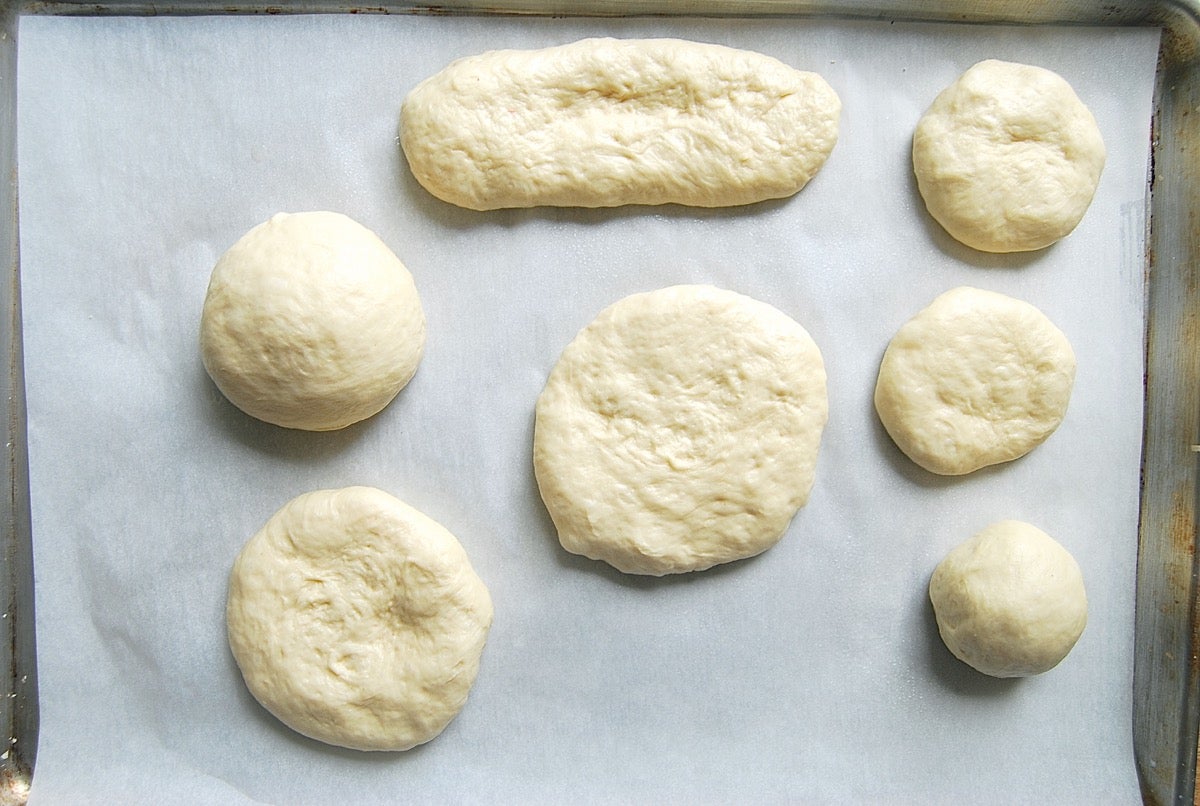
Not everyone loves a tall, "bready" sandwich bun; some prefer more surface area (the better to hold a bigger burger, or lots of condiments).
If desired, use your fingers to gently "widen" some or all of the buns prior to sending them through their water bath. You don't want to press out all of the CO2 they've generated; just grasp their edges and pull gently to make larger/flatter buns.
Preheat your oven to 400°F.
While the buns are resting/rising, prepare your water bath. It's this bath that will give your buns that signature pretzel look and taste – so don't even think of skipping it.
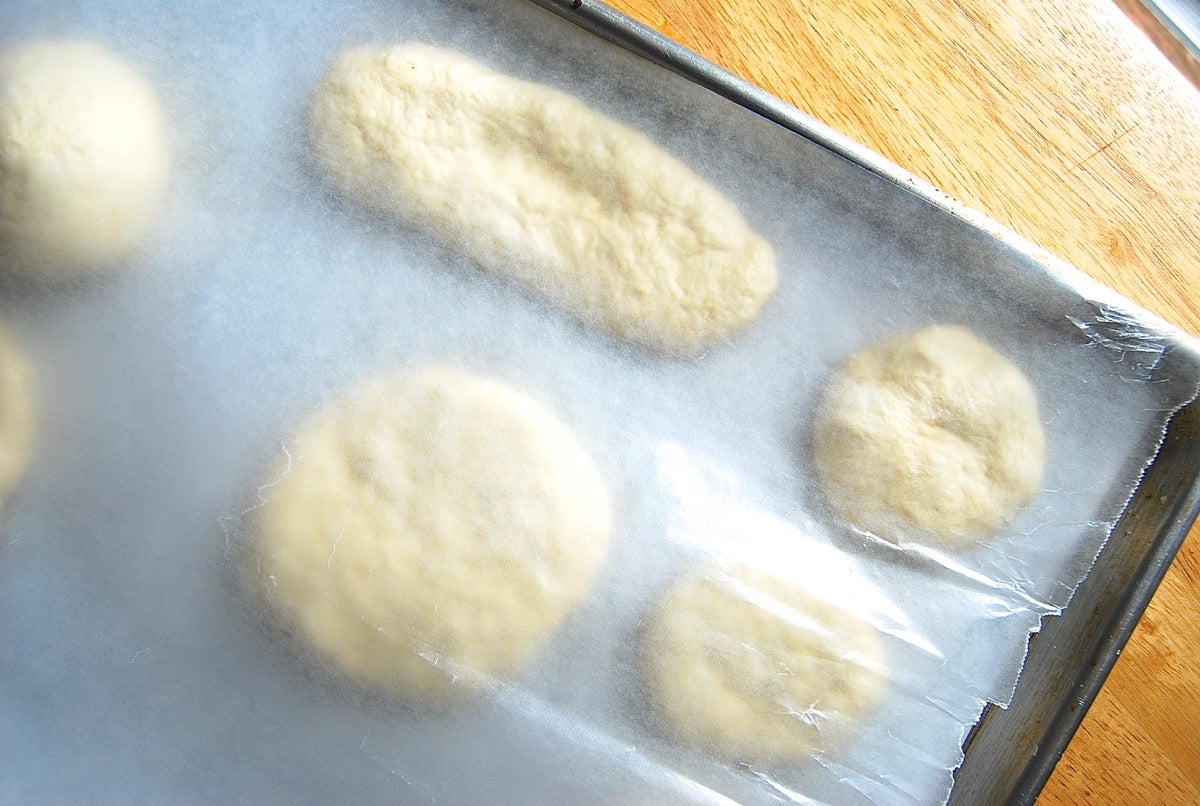
Plastic wrap, even when greased, clings to rising buns; waxed paper doesn't. Give a sheet of waxed paper a spritz with vegetable oil spray, then lay it gently across the buns. No clinging; no sticking.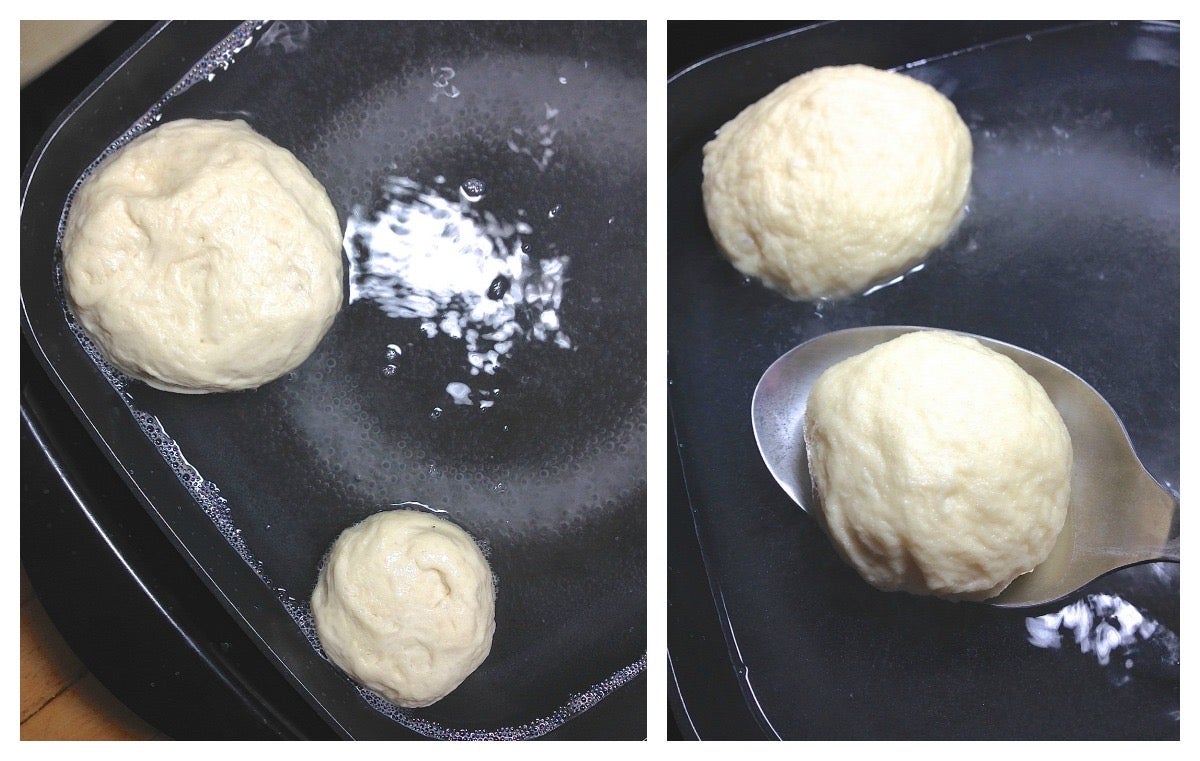
A baking soda/salt/water bath yields dark brown buns with wonderful pretzel flavor. But there's no need to seek out a large, deep kettle for simmering buns. Bring the water, salt, and baking soda to a boil in a 10" electric frying pan, if you have one. It's simple to control the water temperature; and there's plenty of room, both depth and diameter, for several buns at a time.
Drop several pieces of dough into the water bath. Cook for 30 seconds, flip over, and cook for 30 seconds longer. Using a slotted spoon, return the buns to the baking sheet. Repeat with the remaining buns.
For that signature pretzel bun look, use scissors or a sharp knife to cut 1/2"-deep crosses into the center of each bun. This step is optional; I cut crosses in some of mine, not in others.
Sprinkle each bun with the topping of your choice.
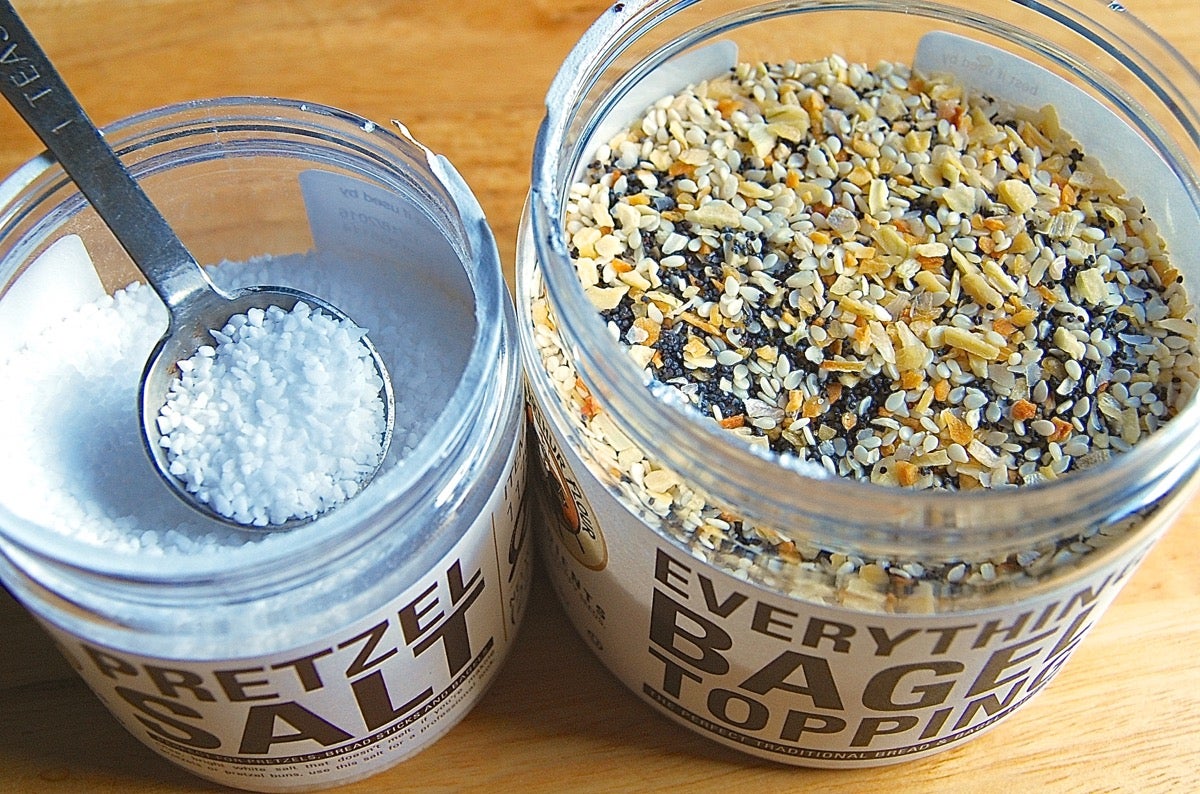
Coarse, bright white pretzel salt is classic. But coarse sea salt works, too, if you're looking for a salty bun. Everything bagel topping includes seeds, onion, and garlic in a salt base – it's both tasty and attractive.
To avoid salty toppings, stick to seeds: poppy, sesame, flax, and fennel (or a mixture) are all good.
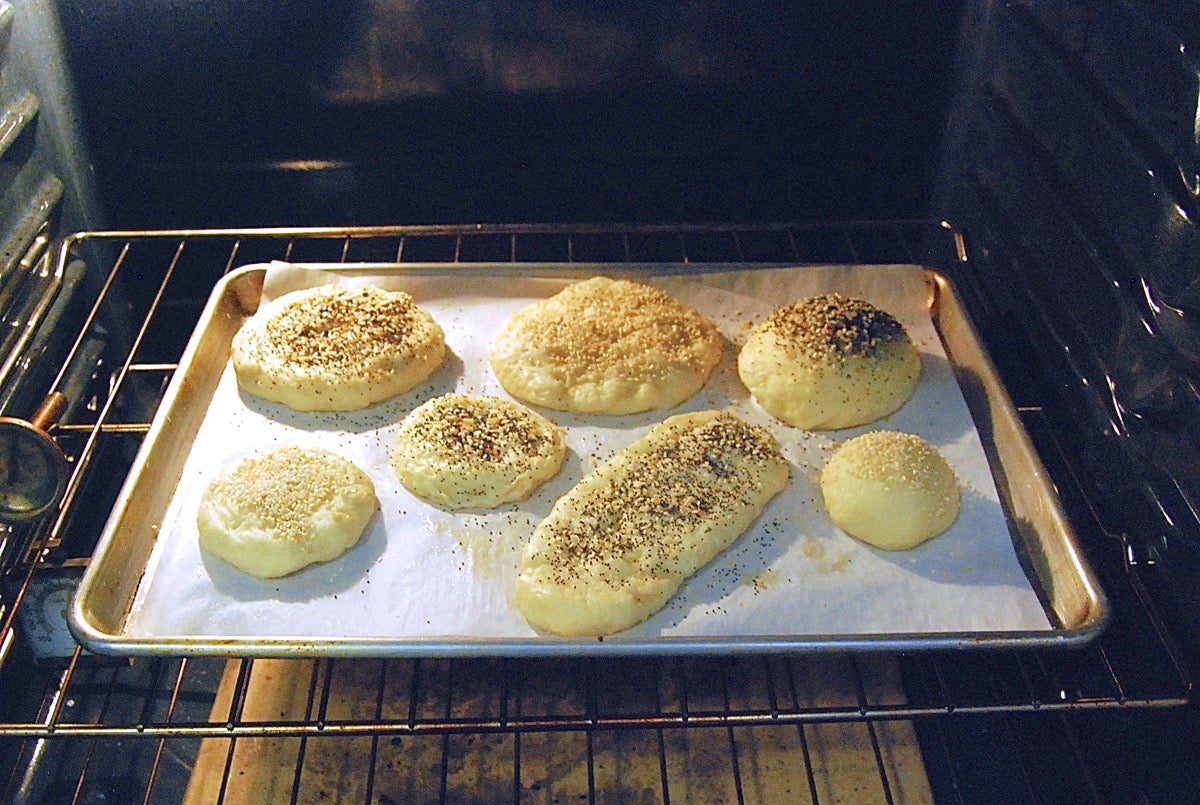
Bake the buns for 20 to 24 minutes. Thanks to the baking soda water bath, they'll brown more quickly than you may expect. You don't want them to become too dark before they're baked all the way through, though. Baking the buns in the middle to lower part of your oven will help prevent over-browning. If they still appear to be browning too quickly, drape a sheet of aluminum foil across the pan.
Bake smaller buns for the shorter amount of time; larger buns, longer. If you have a digital thermometer, the temperature of a perfectly baked bun will be 190°F at its center.
Since you're baking two pans of buns, and they both won't fit on a lower rack, it's OK to bake one while the other sits. The water bath has stopped a lot of the yeast action, so the waiting buns won't over-rise.
Remove the buns from the oven, and cool them on a rack.
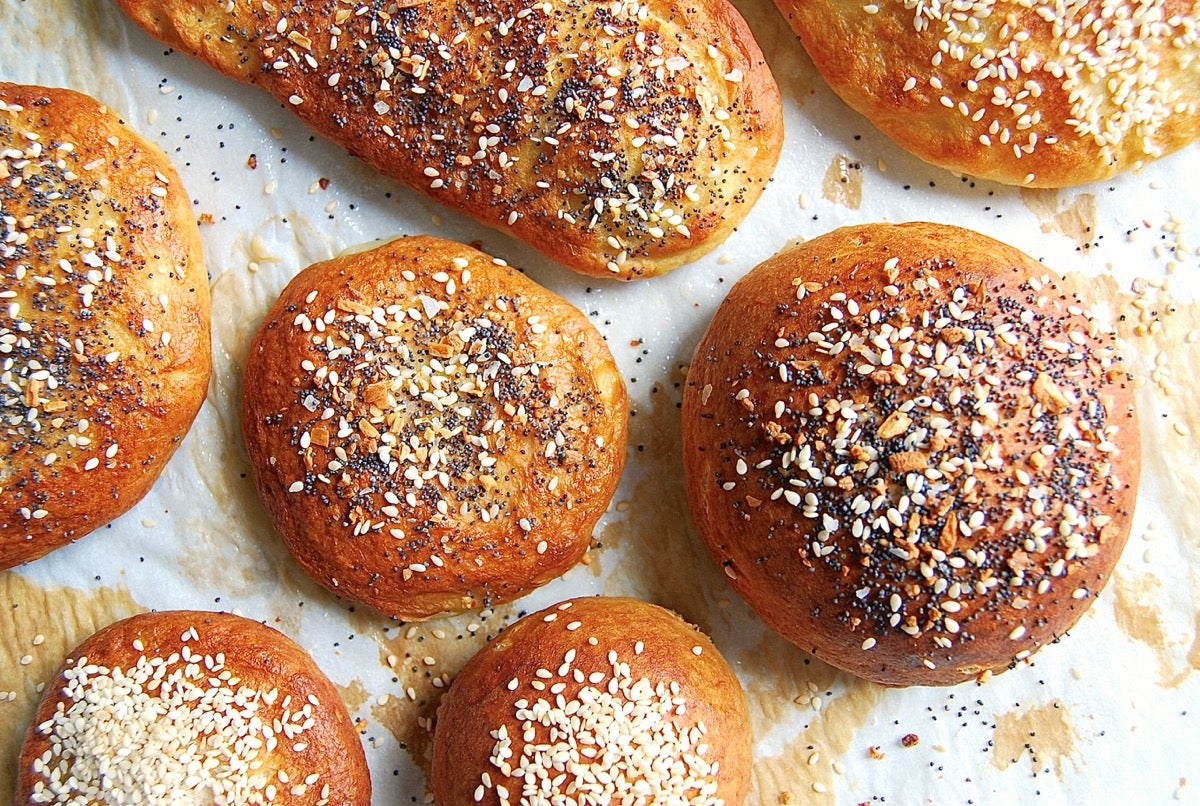
I'd say these are perfectly browned – wouldn't you? Ready for my favorite veggie burger or "saugy" (Rhode Islanders, you know what I'm talking about).
One caveat – salt-topped buns are best consumed the day they're made, especially if it's humid out. Within a day, the salt atop the buns will dissolve, drawing moisture to the buns' surface and creating a puckered appearance.
Buns topped with seeds rather than salt hold better, though they still suffer a little bit of puckering due to the salt in the water bath.
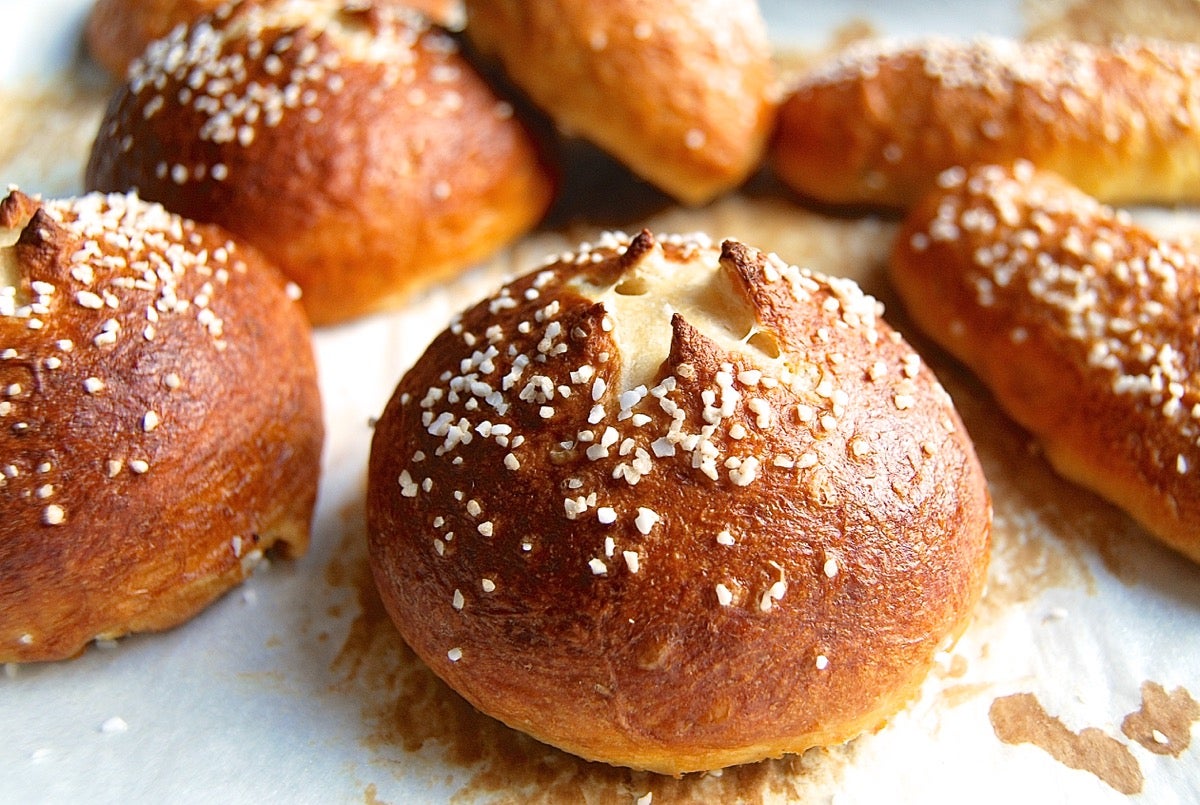
But that's a small price to pay for the golden mahogany-like gleam of a properly prepared pretzel bun – to say nothing of its classic "street food" taste!
