


I don't know the secret to never-fail popovers. Do you?
If so — if you're happy with your popovers — read no further. Who am I to mess with your good thing? If you can reliably produce towering, golden, buttery popovers, leaking steam from their eggy (but mostly naked) interior, then you don’t need any help from King Arthur.
But if your popovers are more akin to a wet sponge — you know, squishy and sodden — or if they capriciously blow up like a balloon one day, and lie sullenly in their pan the next — then read on.
I used to have a “never-fail” popover recipe that made pretty good popovers. These weren't the overblown, softball-sized beauties you get in fancy steakhouses, but they also didn’t require a special popover pan, and they popped reliably.
One problem: they started out in a cold oven. Which was fine when I had my old cast- iron Garland gas range. But many modern ovens preheat by getting the upper element white-hot, which effectively scorches anything sitting beneath them. I learned the hard way not to start anything in my cold electric oven here at King Arthur, courtesy of a delightful ebony-crusted loaf of oatmeal bread.
So, back to square one. I needed a new never-fail popover recipe. So, how hard could it be? Flour, milk, salt, eggs, and butter. Mix ’em up, bake… POP. Or not.
First, I tried the old reliable “whirl ingredients in a blender” method. Which resulted in the aforementioned sodden, heavy, doughy blobs. Then I thought, Ah-HA! I'll combine cream puff methodology with popover ingredients: cook the flour and butter together, then add the eggs, then milk at the end to make a liquid batter. Well... better than the blender; still lumpish.
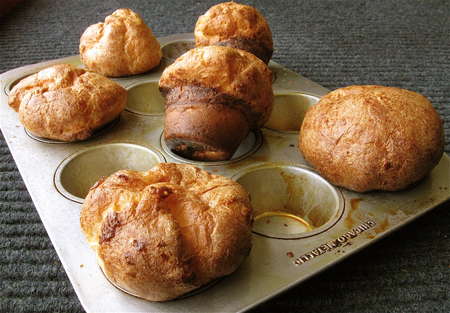
Left to right: blender method; whisk by hand (middle front); cream puff method.
Next, I figured I'd go back to the good old days and beat the ingredients by hand, with a wire whisk. Wouldn't you know, that method yielded gloriously tall popovers — so long as I whisked the batter to just the right consistency. Completely smooth? No. Big lumps? No. Small lumps? Popovers with POP.
Finally, thinking to simplify my lazy life just a tad, I beat the ingredients in my KitchenAid stand mixer. OK; better than the first two methods. But “OK” is a long way from “WOW!” Whisking by hand was the clear winner.
And that’s where you come in, dear reader. I think this recipe makes very good popovers. And I’d love your input. Once you make these, please post your comments here and/or review the recipe online. Let me know if your popovers popped. And how they tasted, too. I’ll examine your comments and see, by working together, just how close we can get these popovers to absolutely perfect, OK? Let’s get started.

First task: Before you do anything else, preheat your oven to 450°F. The oven MUST be hot enough when you put the popovers in. Once you've turned that dial, whisk together the milk, eggs, and salt. This is a good start, but don't stop here.
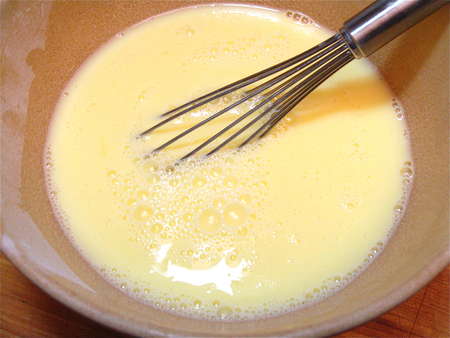
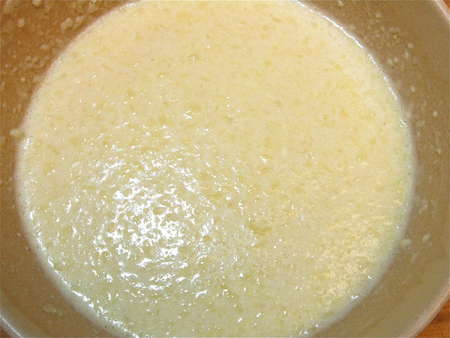
Keep whisking till the mixture is evenly yellow all over.

Add the flour all at once.
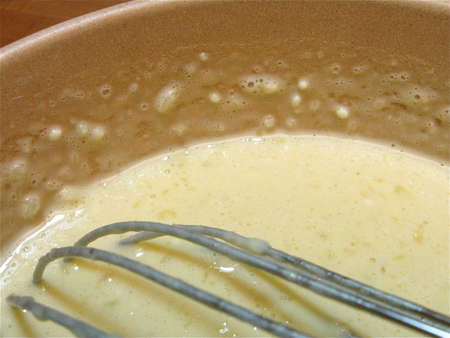
Whisk till all the big lumps disappear; smaller lumps are OK.
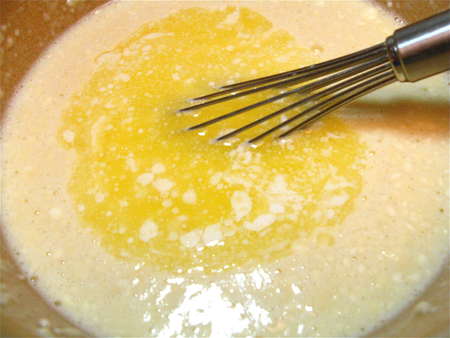
Whisk in the butter, and let the batter rest for 15 minutes.
After 15 minutes, the little lumps will have risen to the top.

Give the batter a few more good licks with the whisk to recombine.
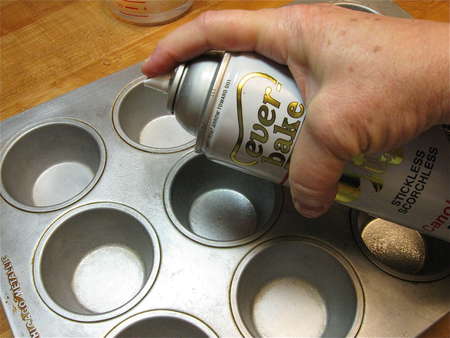
Grease a standard muffin tin. By standard, I mean one whose cups are close to 2 1/2” wide and 1 1/2” deep. If you use a pan with smaller wells, you can fill them a bit fuller, but don't fill them all the way to the rim. And be sure to grease not only the cups, but the surface around them as well. The popovers are going to balloon up and over the edges of the wells.
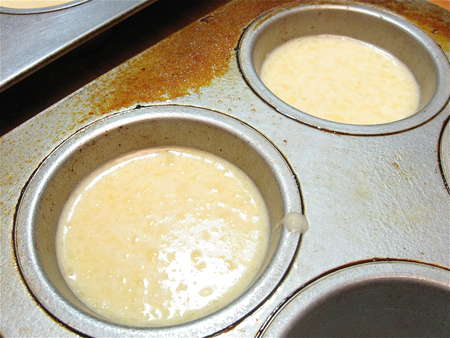
Fill the cups about 2/3 to 3/4 full.
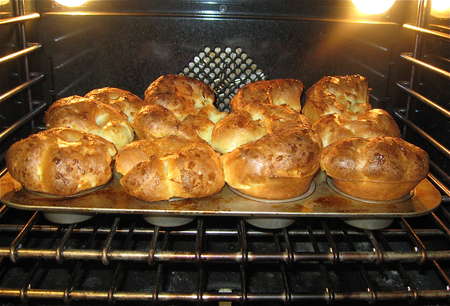
Put the pan in the oven, on a lower rack. Your goal is popovers whose tops come about midway up the oven. If you put the pan on an upper or even middle rack, the tops will be too close to the upper element, and they'll scorch. Shut the oven door, and bake the popovers for 20 minutes. After 20 minutes, reduce the heat to 350°F. Bake for an additional 15 to 20 minutes, until they're a deep, golden brown. If you can leave them in for the full 20 minutes, they have a better chance of holding their structure and not deflating as they start to cool. I opened the oven door to take this picture towards the end of the baking time. But leave the door shut, tempting as it is to peek inside, until very close to the end.
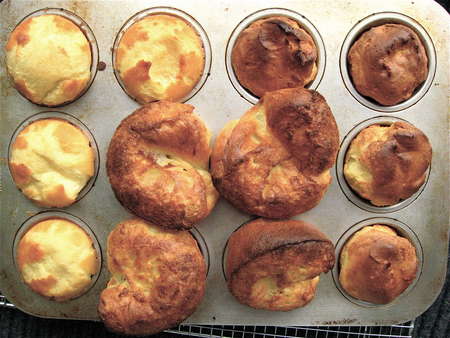
Remove the popovers from the oven. They'll settle a bit; expect this to happen and you won't be disappointed.
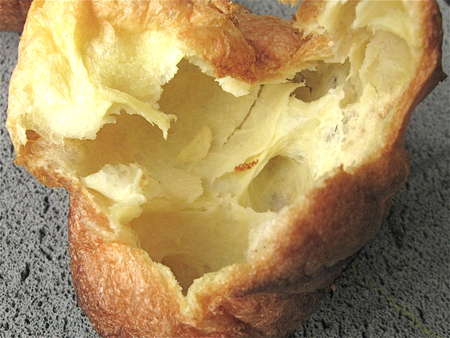
Look at that beautifully moist, eggy (and empty!) interior.
Here's a trick you can use for more evenly shaped popovers. Bake just six in a 12-cup muffin pan, spacing them out so they're able to expand without touching one another.
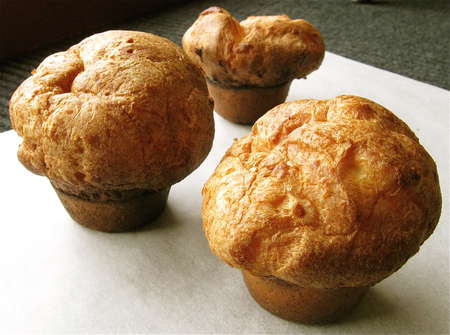
Here's the result: rounder, puffier popovers.
P.S. My fellow blogger, Susan, is on her honeymoon out West right now, but she read this post and sent me a response, as follows:
“On the popovers, did you try mixing the milk and flour into a slurry, then adding the rest of the ingredients? That would eliminate the lumps and hydrate the flour a little more effectively; it might be good for an infinitesimal increase in popover height if you had a spectrometer to measure it with ;-).
“The reason none of your preferred mechanized whirliness is doing the job is that the gluten is getting torn up even as it's formed by the action of the blade, methinks.”
Ah, bakers' minds are always at work... even during a honeymoon! Thanks, Susan. Readers, see how it works with Susan's advice about the flour and milk, if you like. Bet it helps.
Later — Tried the flour/milk slurry. As Susan said, maybe if I had a spectrometer... But to the naked eye, no difference than the other method. Ah well, worth a try.
Later still — After Matt educated me in popover chemistry (scroll down to see his comment below), I changed my method: room-temperature ingredients, and no wait before baking. The result: high-rising, light popovers. So either method will work. The online recipe reflects this most recent version.
Read, review, and rate (please!) our recipe for Popovers.
