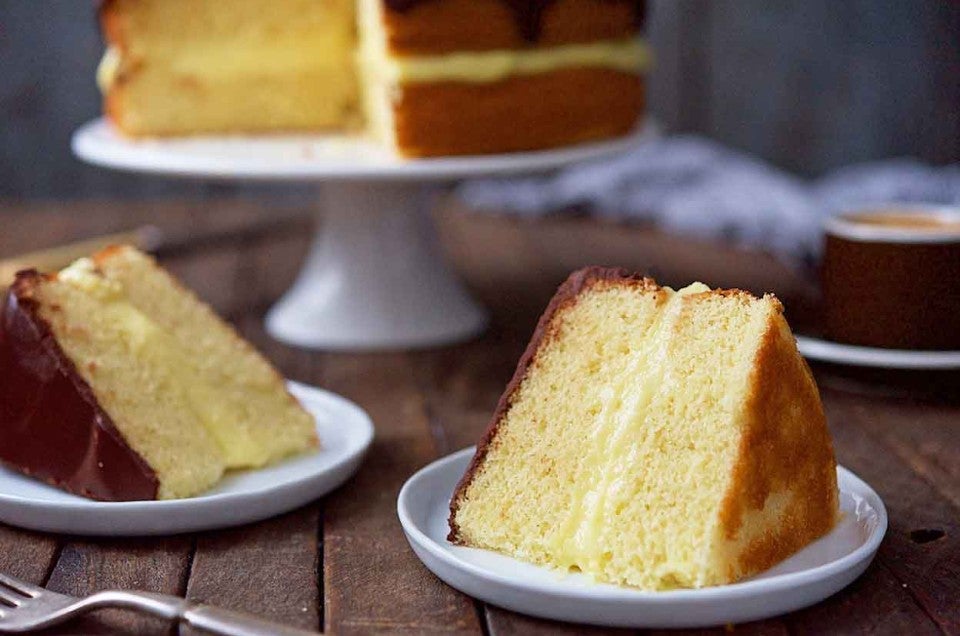


Here in the King Arthur Flour test kitchen we often get folks poking their head in the door, asking quite literally, "What's cookin'?"
The responses to what we're making that day can range from "Yeah, chocolate!" to "Oh. Thanks anyway." The day I made this Boston Cream Pie, though...
...I was completely surprised by the number of exclamations of "My FAVORITE," and "I LOVE Boston Cream Pie."
So many folks were so excited to see this classic dessert coming down the line, it made me wonder why we don't see it in restaurants and bakery cases more often. Do bakers think it's too difficult? It isn't really. Too time consuming? It's faster than many other layer cakes. Too old-fashioned? This, in my opinion, is the culprit behind the decline of Boston Cream Pie in the limelight.
In a world of triple chocolate cakes with three kinds of mousse filling, cupcakes with filling, frosting, and fondant, and gourmet ice creams galore, the humble Boston Cream Pie has been lost to modern technology.
Well, no more I say, no more. Pick up the banner, my friends, we're going to bring this vintage delight back to glory. No one puts Boston Cream Pie in a corner.
The original Boston Cream Pie, created at Boston's Parker House hotel in the 19th century, featured sponge cake layered with cream and iced with vanilla and chocolate fondant. Our updated recipe reflects most Americans' idea of this cake: based, in fact, on a boxed mix from the 1950s!
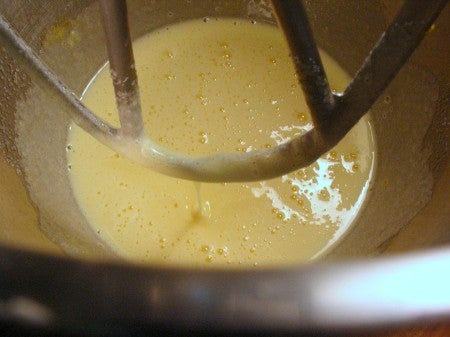
Combine 4 large eggs and 2 cups (397g) sugar in your mixer, and beat on high speed until pale yellow and thick. When you lift the beater, the egg should run off in a thick stream. In the photo, you can see we aren't quite there yet.
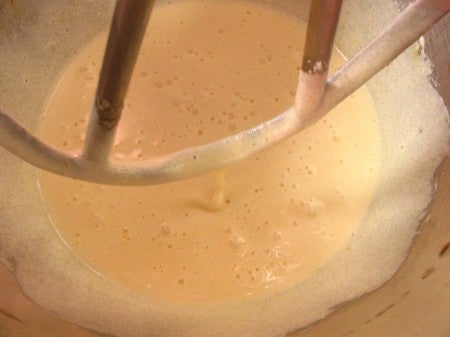
Ah, that's the sign we were looking for: a nice, thick ribbon of batter falling off of the beater.
Slowly beat in 1/3 cup (67g) vegetable oil.
Add 2 cups (241g) King Arthur Unbleached All-Purpose Flour, 1 1/4 teaspoons salt, and 2 teaspoons baking powder to the egg mixture in the bowl, beating just enough to combine. Scrape the bottom and sides of the bowl, then beat again, to fully incorporate any sticky bits.
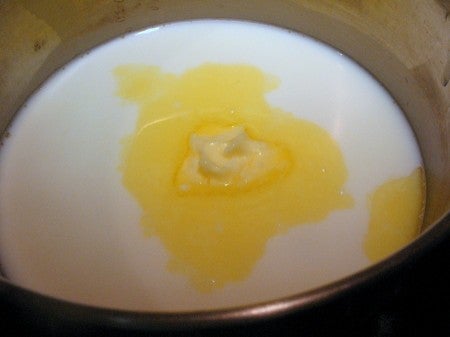
In a small saucepan, bring 1 cup (227g) milk and 4 tablespoons (57g) butter to a simmer. You should just see bubbles beginning to break the surface all over, but not become a vigorous boil.
Blend in 2 teaspoons vanilla. Remove the pan from the heat, and stir the mixture until the butter is completely melted.
Ed. note: Hi, this is P.J. – MaryJane, thanks for letting me get my 2¢ in here! Vanilla Bean Crush is one of my favorite products. It has a wonderful aroma, with pure vanilla flavor. And, since the pods are crushed during the brewing process, it includes both seeds, and gorgeous flecks of the bean itself.
It's also nice that, for every bottle of Vanilla Crush sold, Sonoma Syrup donates 10% of the retail price to Susan G. Komen for the Cure, a foundation supporting breast cancer research. As an 11-year cancer survivor – I appreciate that! – P.J. Hamel
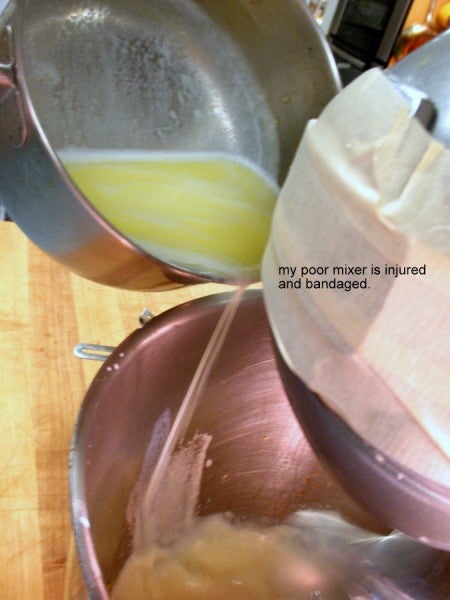
Time to add the hot milk.
Slowly add the hot milk mixture to the cake batter, mixing until everything is well combined. Scrape the bowl and mix briefly, just until smooth. The batter will be very thin.
...And yes, my poor mixer has an injury. The PTO cover has come loose and tends to drop into the bowl at random times, mostly when I'm making buttercream. Clang!
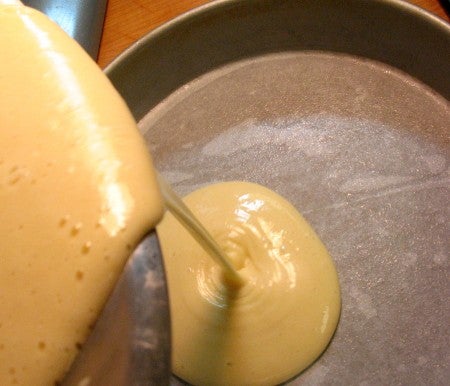
Pour the batter into a 9" x 2" round parchment-lined cake pan. The pan must be 2" deep or your batter will overflow and make a mess of the oven. Break out the ruler for this one if you have any doubts.
Editor's note: This recipe has since been updated to bake in two 9" round pans, instead of one pan as demonstrated here.
Also, check for any lumps of flour as you pour the batter. Remove them with a small spoon and discard.
Bake the cake at 325°F for 30 to 35 minutes, until a toothpick inserted into the center comes out clean, and the top feels set.
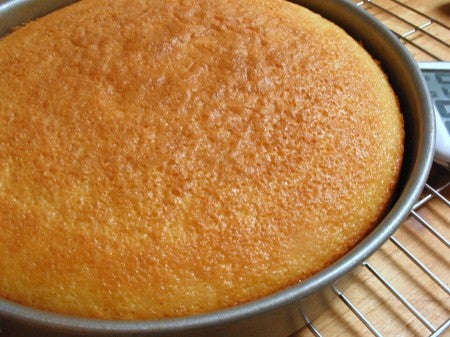
When done, the cake will be a deep golden brown and will pull away from the sides of the pan. See what I mean about the pan needing to be deep enough? This cake rose nearly to the upper rim, so better safe than sorry.
Cool the cake in the pan for 10 minutes, then turn out onto a cooling rack to cool completely.
To assemble the cake you'll need about 1 1/2 cups of prepared pastry cream. You can use our Pastry Cream recipe or even a good vanilla pudding mix made with heavy cream instead of milk.
If you want to make the filling, here's how:
In a medium-sized saucepan, stir together 2 cups (454g) milk, 1/2 cup (99g) sugar, and 1/4 teaspoon salt. Bring to a simmer over medium heat, stirring to dissolve the sugar.
Meanwhile, whisk 1/3 cup (39g) cornstarch, 3 large egg yolks, and 1 whole egg with 1/2 cup (113g) milk.
Whisk some of the hot milk mixture into the egg yolks/cornstarch to temper the yolks. This keeps them from turning to scrambled eggs when you add them to the simmering milk.
Pour the egg/milk mixture back into the remaining simmering milk in the pan, pouring it through a strainer to capture any bits of egg.
Bring the mixture to a low boil over medium heat (this may happen very quickly), stirring constantly with a whisk, and cook for 2 minutes; the mixture will thicken significantly. Remove the filling from the heat and stir in 2 teaspoons vanilla extract.
Transfer the filling to a heatproof bowl, and top it with a piece of buttered plastic wrap (make sure it touches the top of the filling so it doesn't develop a skin). Refrigerate until cool, then prepare to fill your cake.
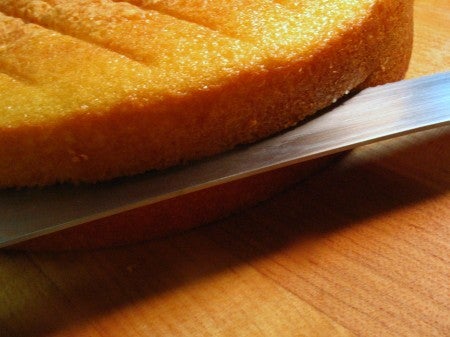
Using a long sharp serrated knife, divide the cake into two equal layers. Slow and steady wins the race when it comes to torting, cakes so take your time.
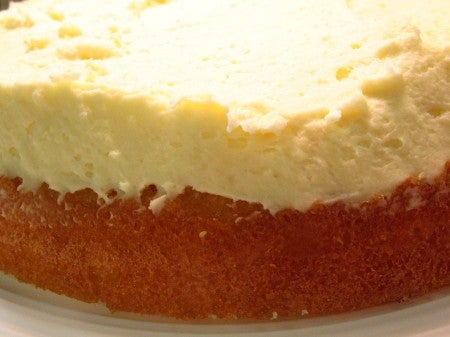
Heap the bottom layer with the cold pastry cream and spread right up to the edges. Use an offset spatula to smooth the pastry cream to an even layer.
P.S. You can never have too many offset spatulas. They solve so many kitchen woes. Treat yourself, you won't regret it.
Why spread right up to the edges? Why not leave a little space, like you do with fillings or buttercream?
Two reasons. One, pastry cream is much thicker than buttercream and won't squash out the sides as easily when the top layer is added.
And two, a little bulbous ridge of pastry cream around the equator of a Boston Cream Pie is pure perfection. You know you won't miss out on one bite of creamy goodness when the center is so full.
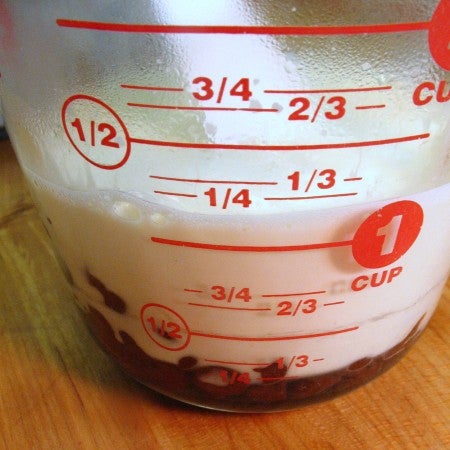
The perfect chocolate glaze is the hallmark of a great Boston Cream Pie. Not too sweet, not too thin or thick. It isn't a fluffy frosting, for sure, but a thick ganache.
In a measuring cup with a pour spout combine 1/4 cup (57g) heavy or whipping cream, 1/3 cup (57g) chopped dark chocolate or chocolate chips or wafers, and 1/2 teaspoon vanilla extract.
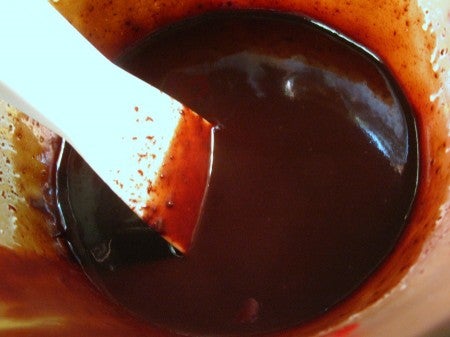
Heat in the microwave for 1 minute, or until the cream is very hot and the chocolate is beginning to melt. Stir together until the chocolate is completely melted and the mixture is very smooth.
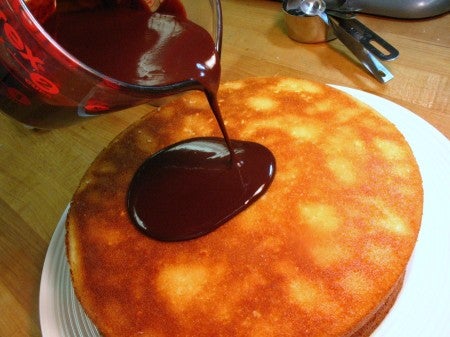
Let the glaze sit for about 10 minutes to cool a bit and to thicken just a touch.
Pour the warm glaze over the cake very slowly. Use an offset spatula to help coax the chocolate towards the edges. Allow the chocolate to flow, rather than try to force it. You want some to dribble down the sides a little, but more of the glaze should remain on top of the cake.
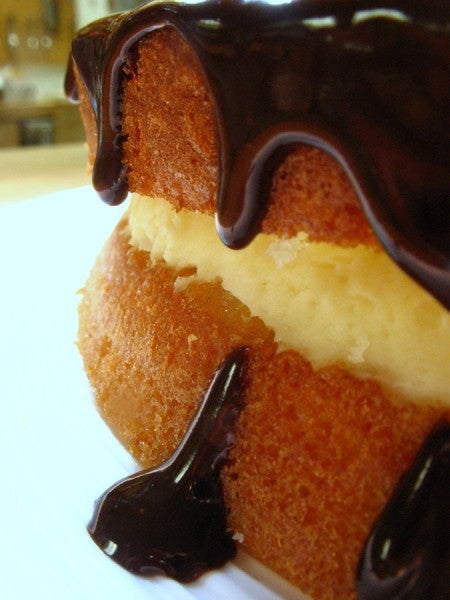
Oh yes, that will do very nicely, thank you.
For easier slicing, allow the cake to sit in the fridge for 10 to 15 minutes to firm up the glaze. If you don't have the patience, it's fine to serve right away, too.
Personally, I'm looking forward to sharing this cake with my husband. We both grew up in families with big Sunday dinners, and this kind of dessert just takes me back to those days.
How about you? Does Boston Cream Pie hold any special memories in your family? Perhaps this is your first time making it? Share your stories with us in the comments section below; we'd love to be part of your baking memories.
Please bake, rate, and review our recipe for Boston Cream Pie.
Check out these other classic Sunday dinner desserts: Carrot Cake , Lemon Glazed Pound Cake, Favorite Fudge Birthday Cake.