


![]()
Tick... tick... tick... That's the timer ticking down to Thanksgiving, and you know what that means: pie. How are your pie crust skills? Are you roll, roll, rolling your own — or unrolling one from the supermarket? If the latter, our November Apple Pie Bakealong will give you the confidence (and step-by-step instructions) you need to make homemade pie start to finish — including the crust.
Pumpkin and apple vie for top spots on the pie chart at Americans' Thanksgiving tables. And while pumpkin pie can be pretty formulaic, apple pie is a great opportunity to express your creativity.
Which apples do you use? What spices? Is vanilla extract your secret filling ingredient, or do you add a couple of slugs of heavy cream (or boiled cider)?
And then there's the top crust. Do you cover your filling with an artistically slashed solid crust, or weave a lattice? Maybe you've developed a special crimping technique, or you decorate your pie's top with intricately fashioned pastry apples and leaves.
Whatever your skill level, apple pie is a super opportunity to get imaginative. And our Apple Pie Bakealong encourages you to share your pie with the world! Take a photo, tag it with #bakealong, and post.
Let's begin with the crust.
There are lots of techniques for making tender, flaky pie crust — and I'll bet I've tried most of them! Over the years, my crusts have ranged from hard as shoe leather, to wonderfully tender but impossible to roll out, to just this side of perfect.
I've tried crusts with vinegar and lemon juice, supposedly to tenderize the gluten but, in reality: bogus. I've made crust with vodka; it was easy to roll out, but I saw no difference in the final product.
I've made no-roll vegetable oil crust (not flaky, but tender and tasty); whole-grain crust; and all-butter crust (YUM, but doesn't hold a crimp very well).
The crust I'm making here is a simple but effective combination of all-purpose flour, salt, butter, shortening, and water. The key technique is knowing how much water to add: too little and your crust won't hold together. But too much and it'll be hard and tough. Experience is your best teacher here; make enough pie crusts and you'll know by look and feel when you've added just enough water.
If you're not quite there yet, though, follow along with me here. And for more great tips, be sure to read our complete guide to perfect pie crust.
Combine the following:
2 1/2 cups (298g) King Arthur Unbleached All-Purpose Flour
3/4 teaspoon salt
1/3 cup (60g) vegetable shortening
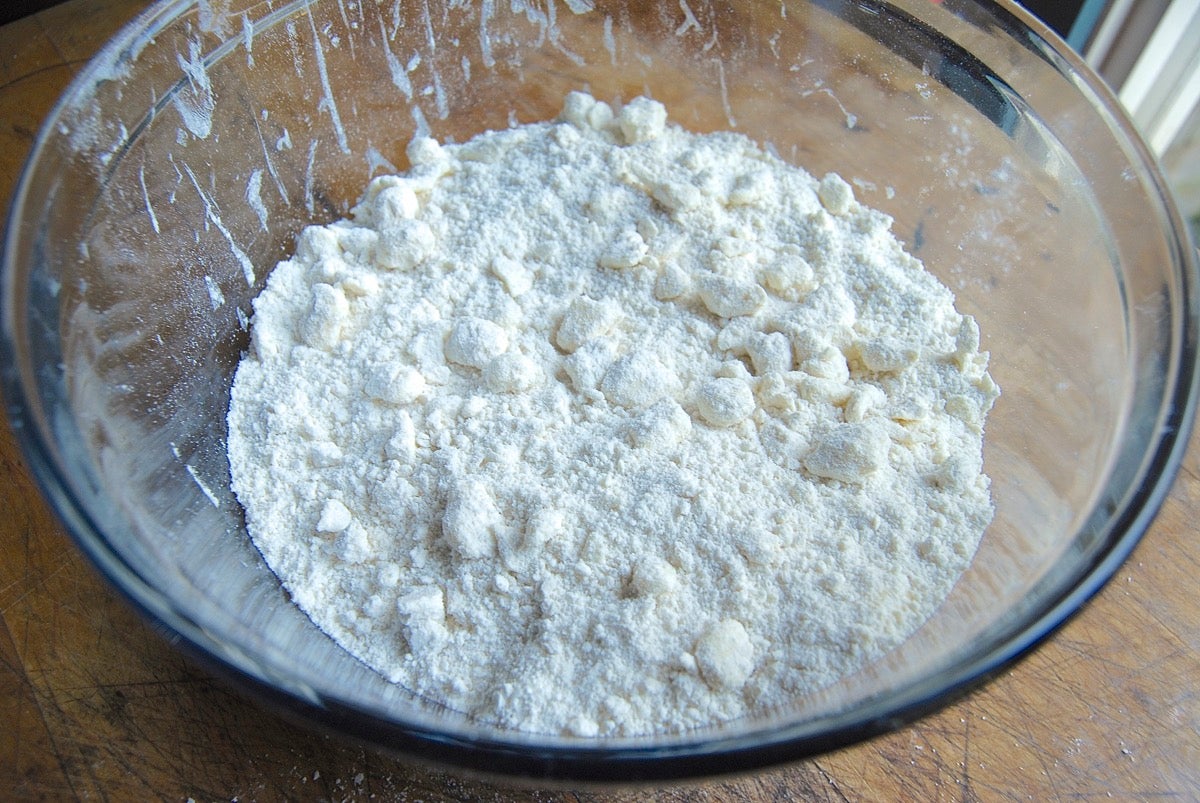
Work the shortening into the flour and salt until the mixture is evenly crumbly.

Dice 8 tablespoons (113g) cold unsalted butter into 1/2" or so pieces.
Work the butter into the flour mixture until you have fat flakes of butter the size of a dime. Do this by hand, using a pastry blender, or check out our post, How to make pie crust in your stand mixer.
Next, you're going to add 7 to 10 tablespoons (99g to 142g) ice water. Use the greater amount in winter, the lesser in summer, and something in between during the fall and spring.
Why the flexible water amounts? Because flour is like a sponge. It absorbs moisture from the atmosphere, and thus is "wetter" (and requires less liquid) on humid summer days, and drier when it's cold and dry out.
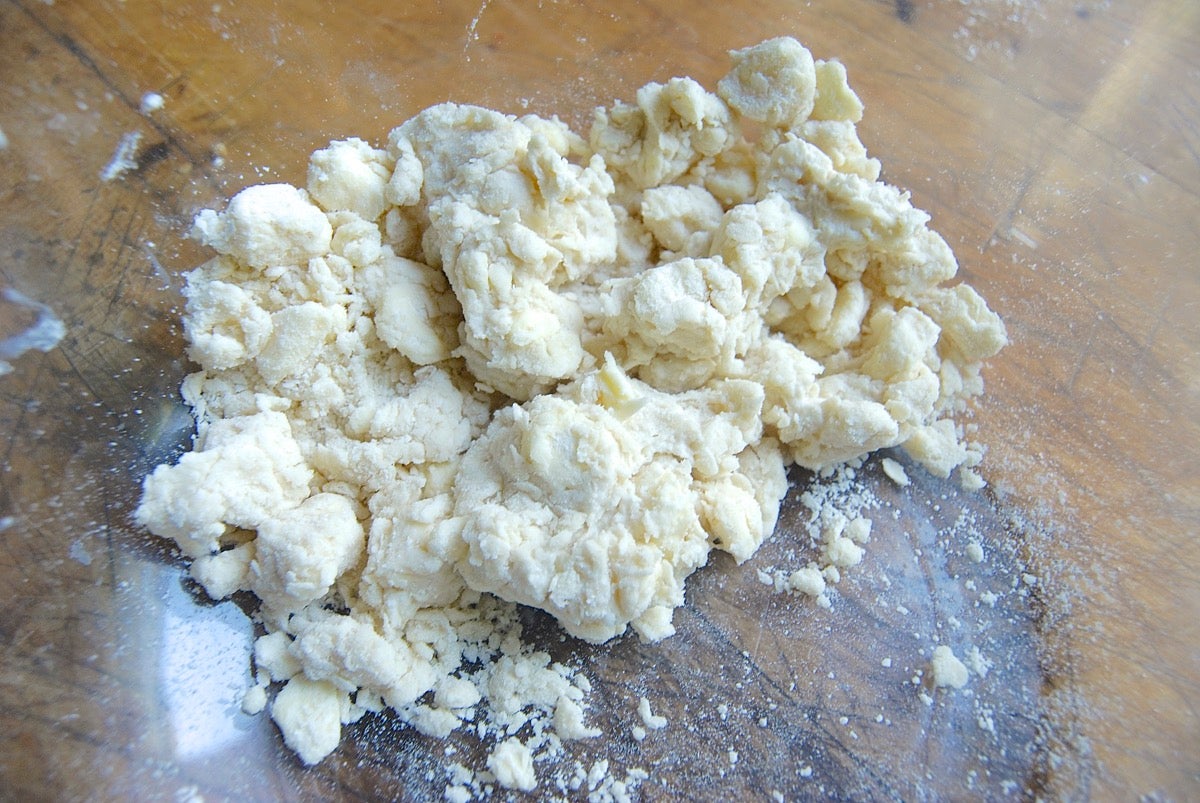
When the flour mixture starts to clump but hasn't yet come together, stop adding water and assess the situation.
When you grab a handful, does it hold together easily, or does it fall apart and crumble in your hands?
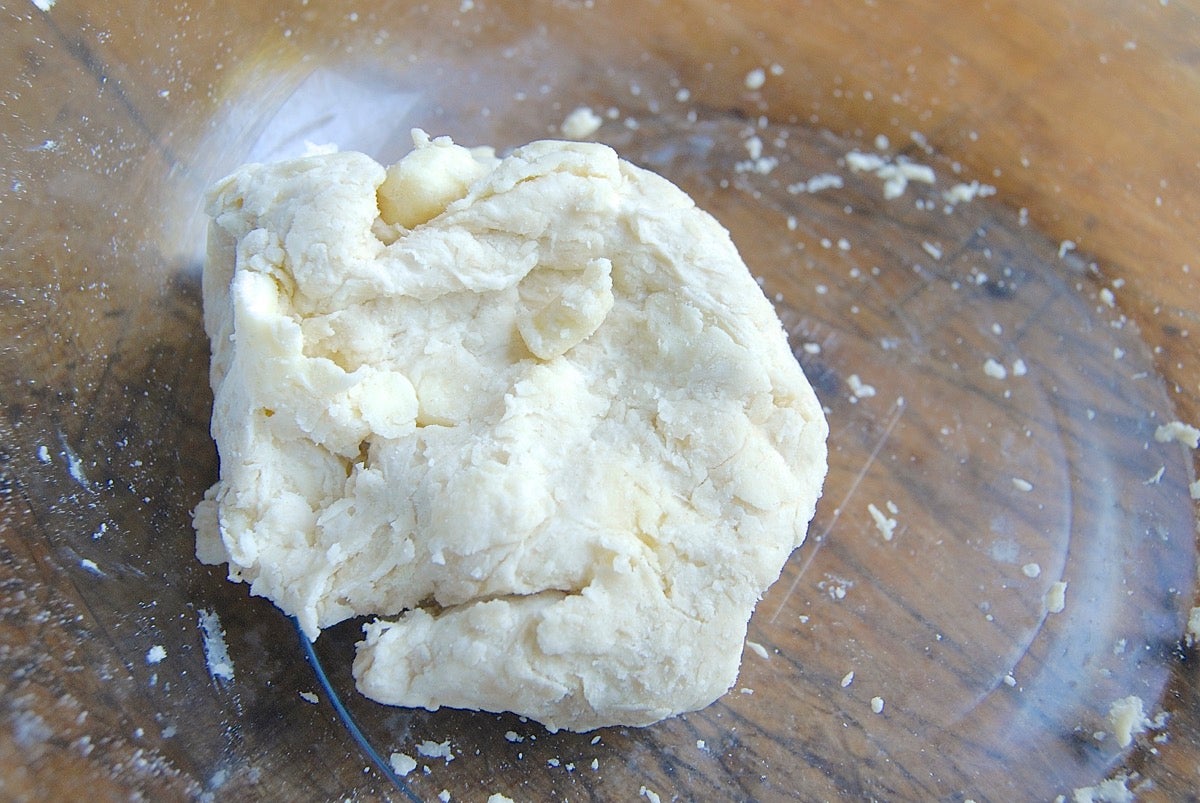
If it holds together easily, the dough is ready.
Note: Check out how to use a spray bottle to add just the right amount of water to pie dough, outlined in our apple pie recipe online.
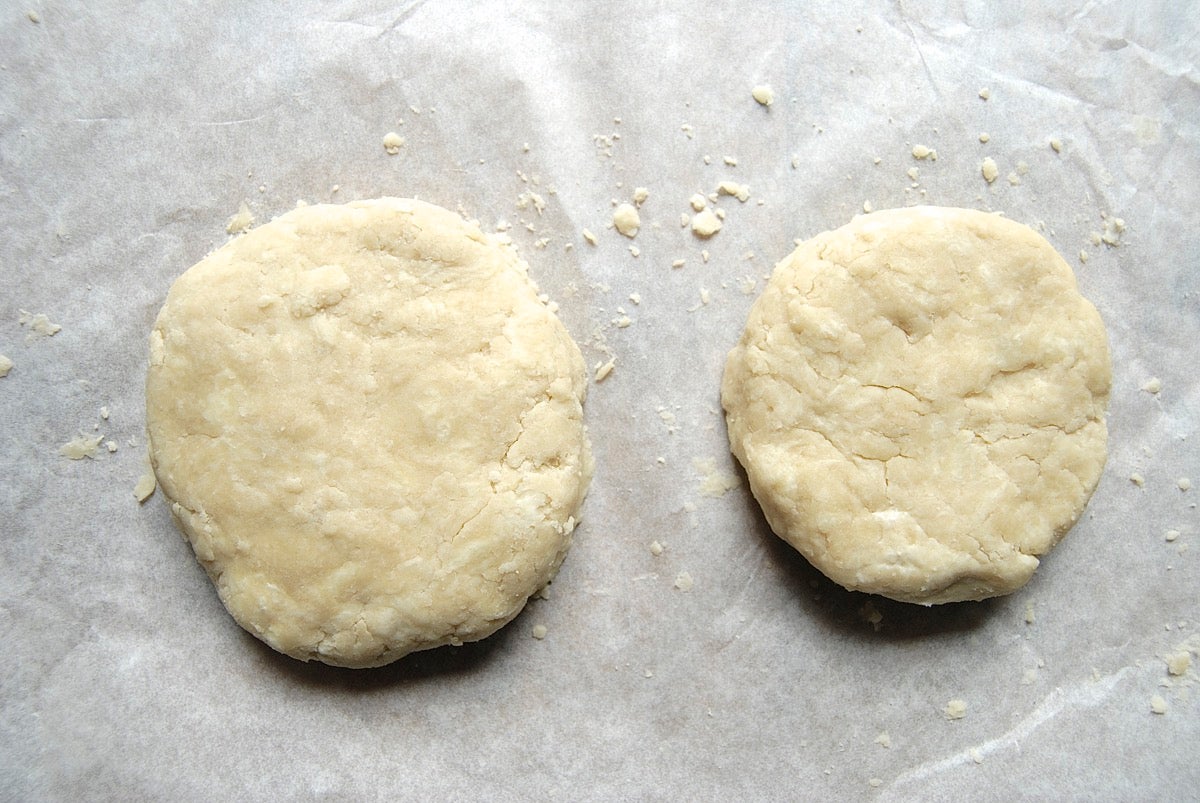
Divide the dough in two pieces; one should be about twice as large as the other. The larger piece will be the bottom crust; the smaller piece, the top crust. Pat each piece of dough into a disk about 3/4" thick.
Roll each disk on its edge, like a wheel, to smooth out the edges. This step will ensure your dough will roll out evenly, with fewer cracks and splits at the edges later. Wrap in plastic and refrigerate for 30 minutes before rolling out.
While the dough is in the fridge, make the filling.
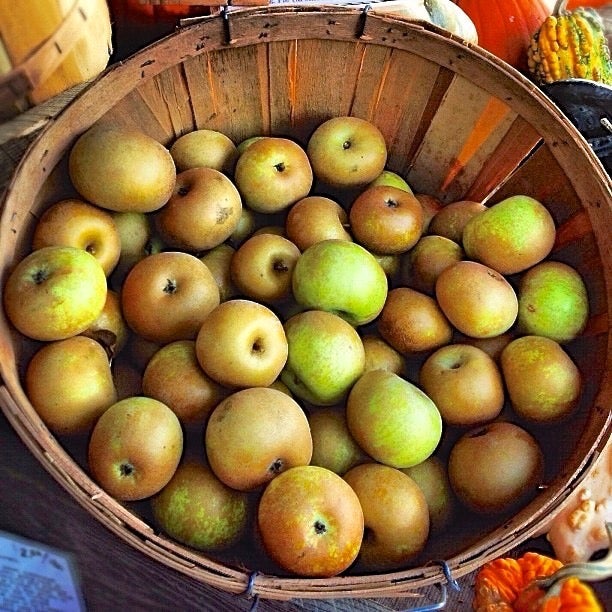
So many apples to choose from! I love baking with these Golden Russets, often in combination with Northern Spies. For more advice, see our post, The very best pie apples.
Here's what you'll need for your pie filling:
8 cups (964g) peeled, sliced apple (from about 3 1/4 pounds whole apples)
2 tablespoons (28g) lemon juice
3/4 cup (149g) sugar
2 tablespoons (14g) King Arthur Unbleached All-Purpose Flour
2 tablespoons (14g) cornstarch
1/4 teaspoon salt
1 teaspoon cinnamon
1/4 teaspoon nutmeg
1/4 teaspoon allspice
1/4 cup (78g) boiled cider or undiluted apple juice concentrate
2 teaspoons vanilla extract, optional
2 tablespoons (28g) butter, diced in small pieces, to sprinkle atop filling once it's in the crust
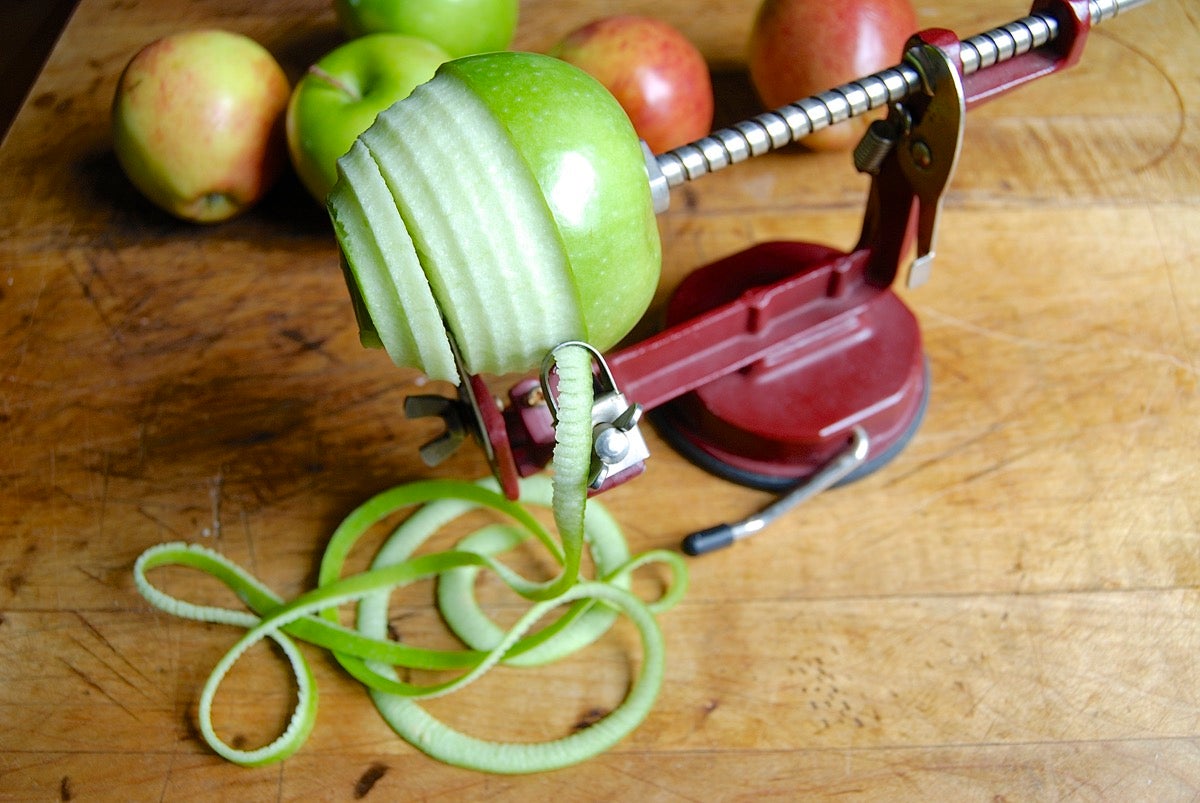
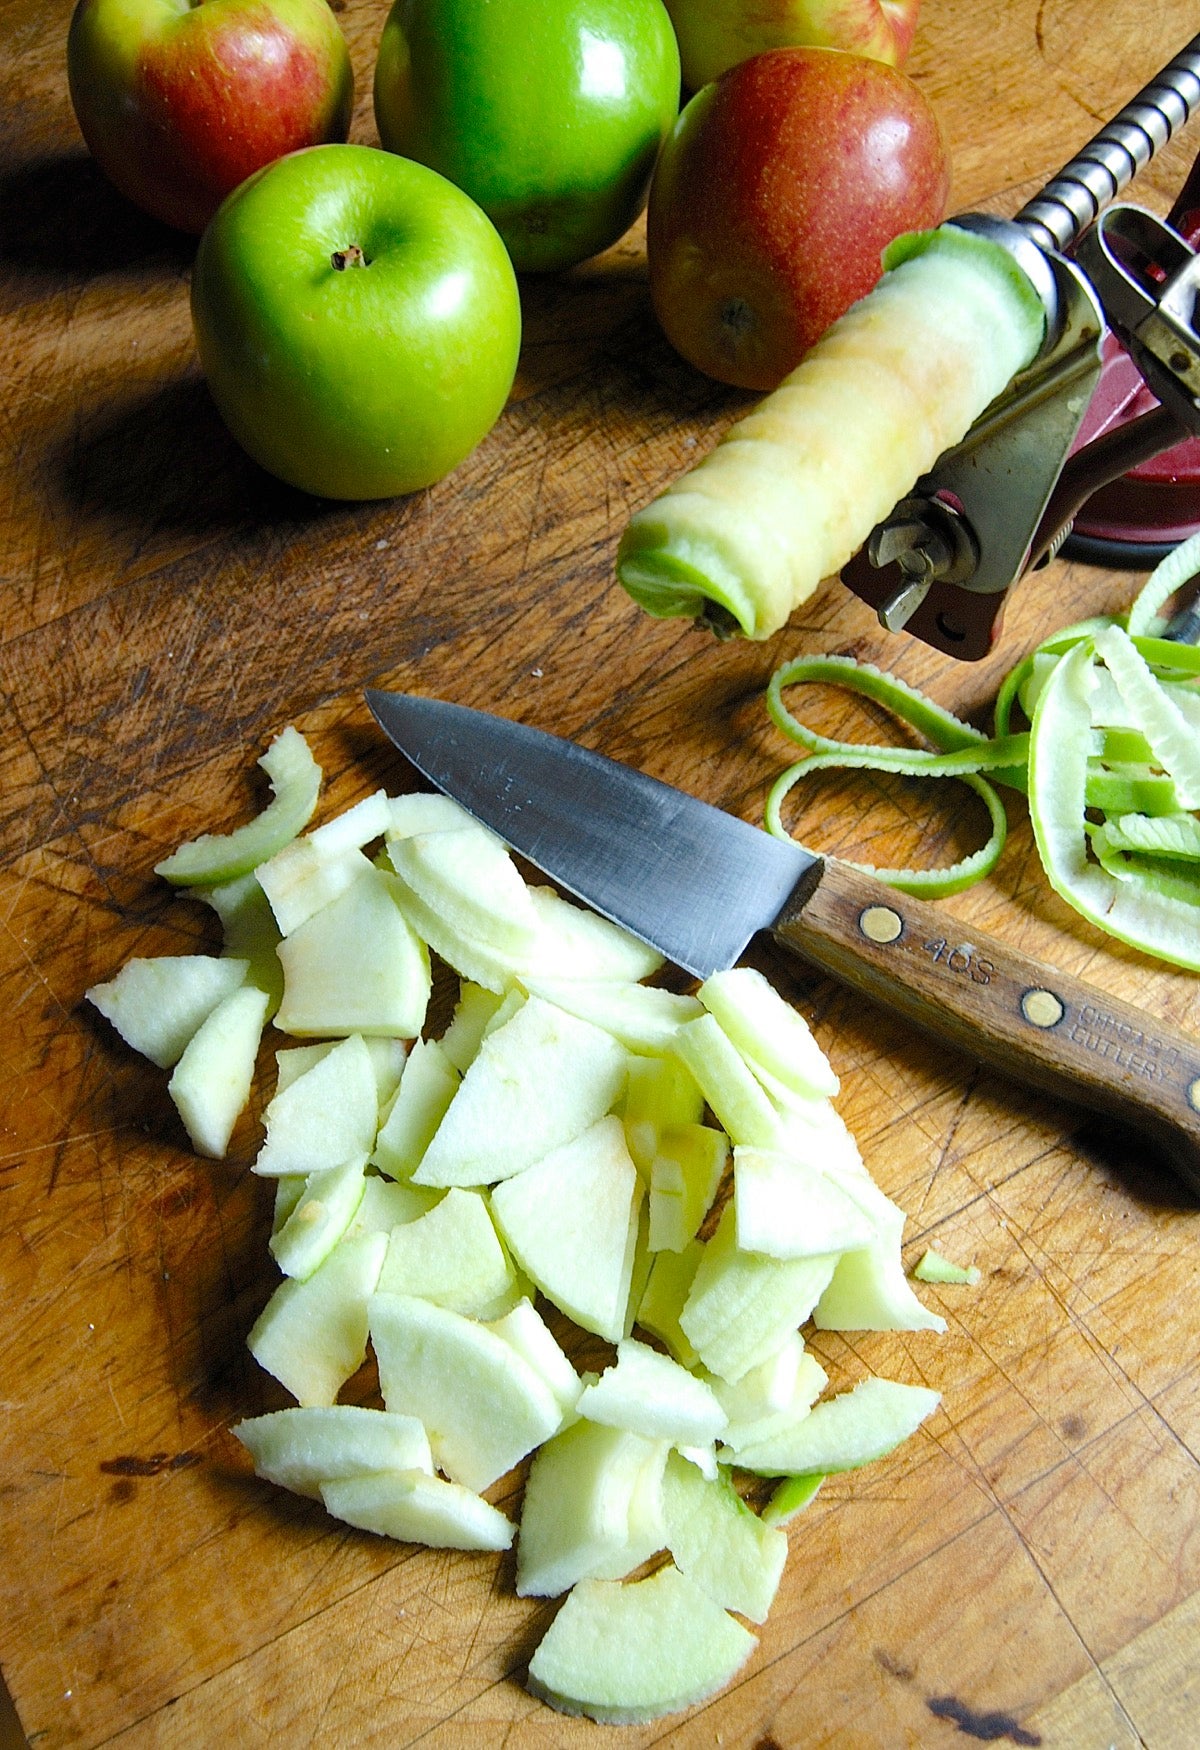
An apple peeler/corer/slicer makes short work of apple prep — like 15 seconds from whole apple to peeled slices!
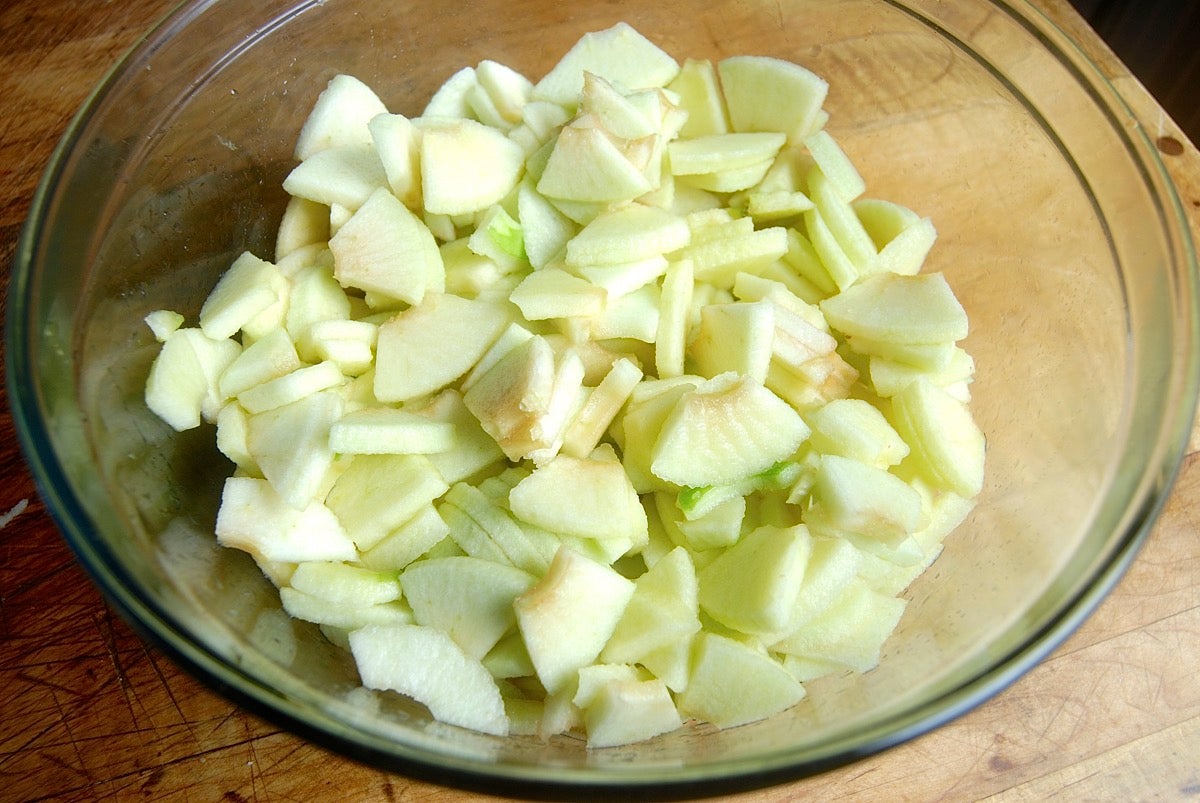
Put the apple slices in a bowl, and toss them with the lemon juice.
Next, combine the sugar, flour, cornstarch, salt, and spices.
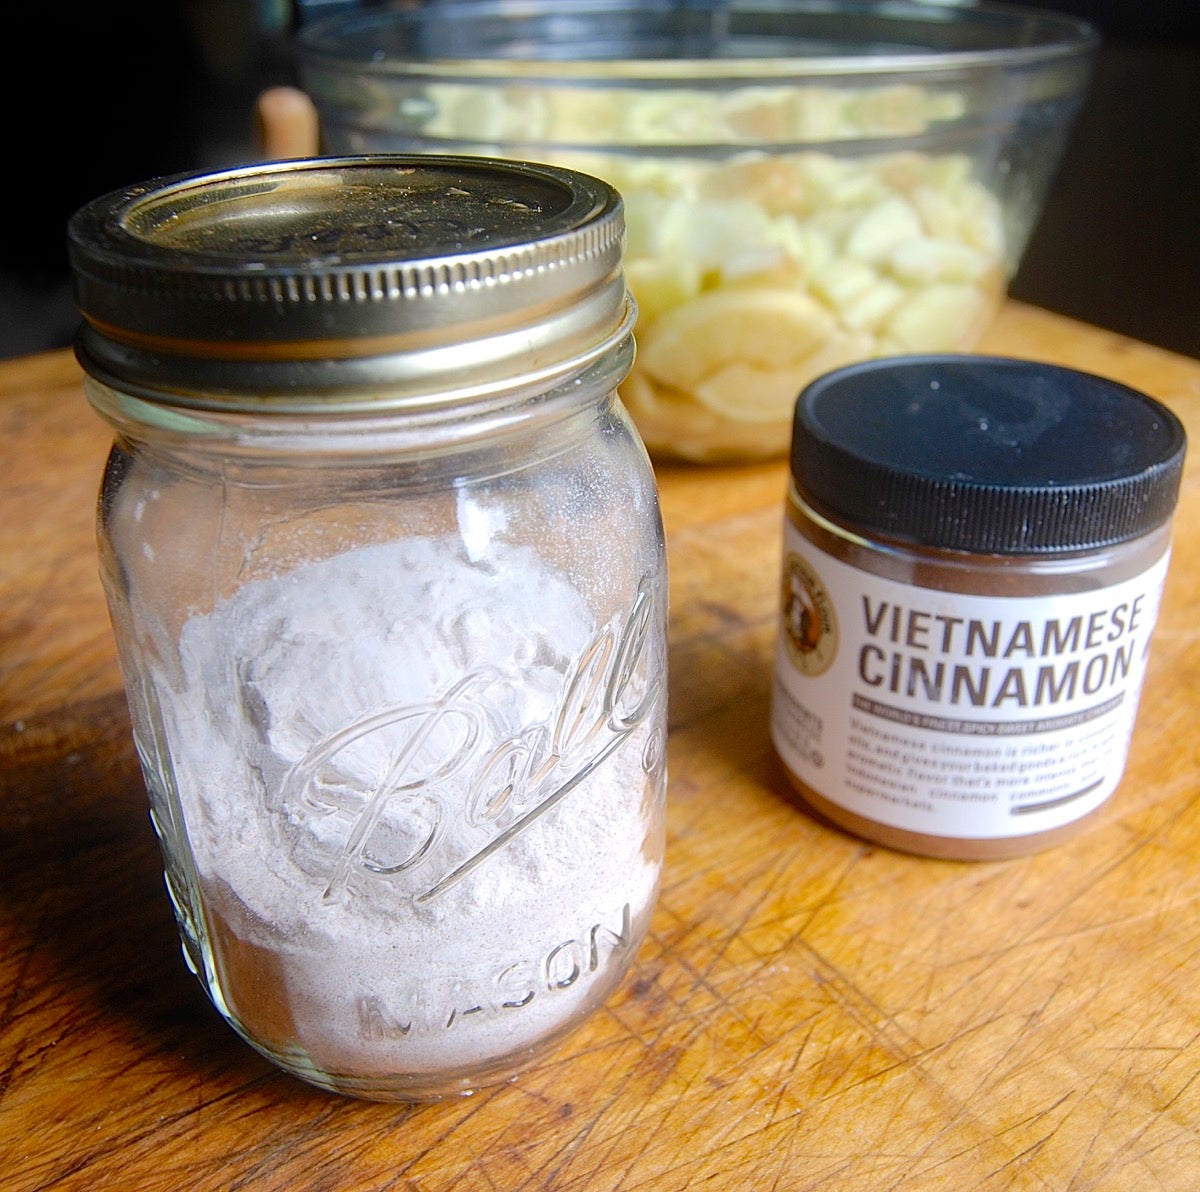
Easiest way? In a lidded canning jar. Shake 'em up, baby!
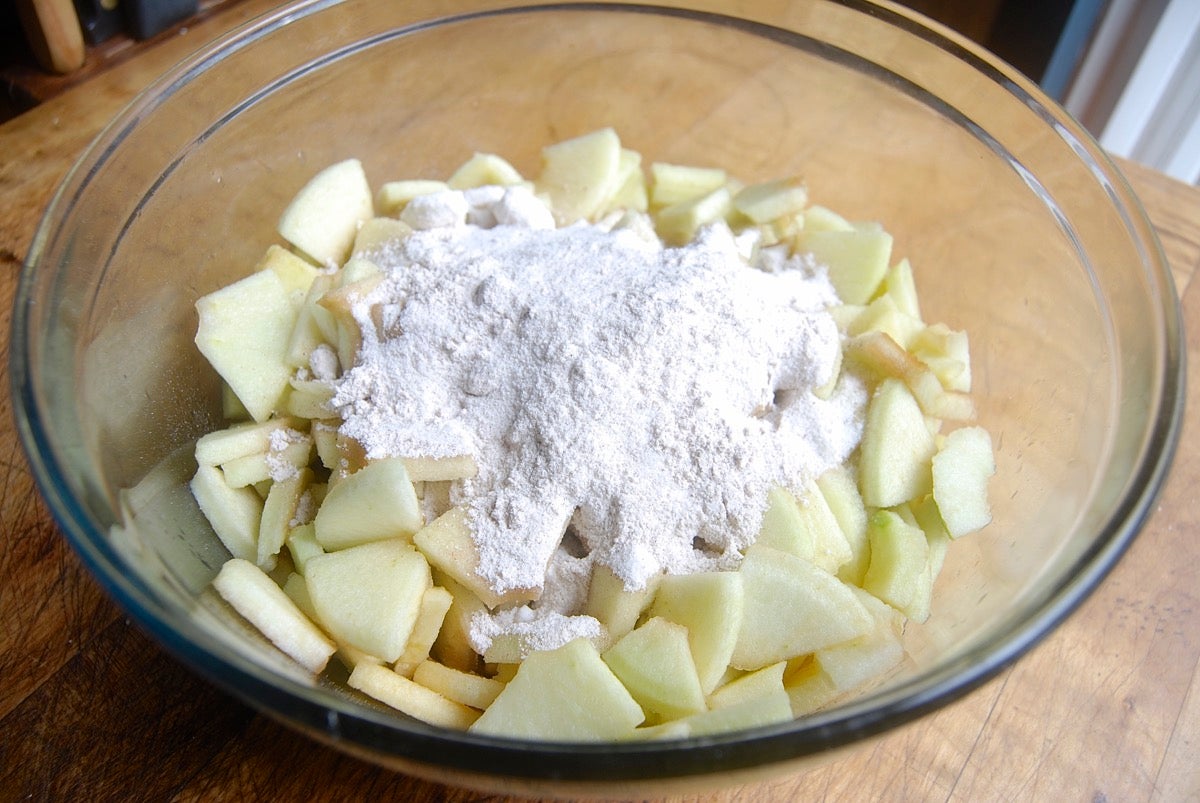
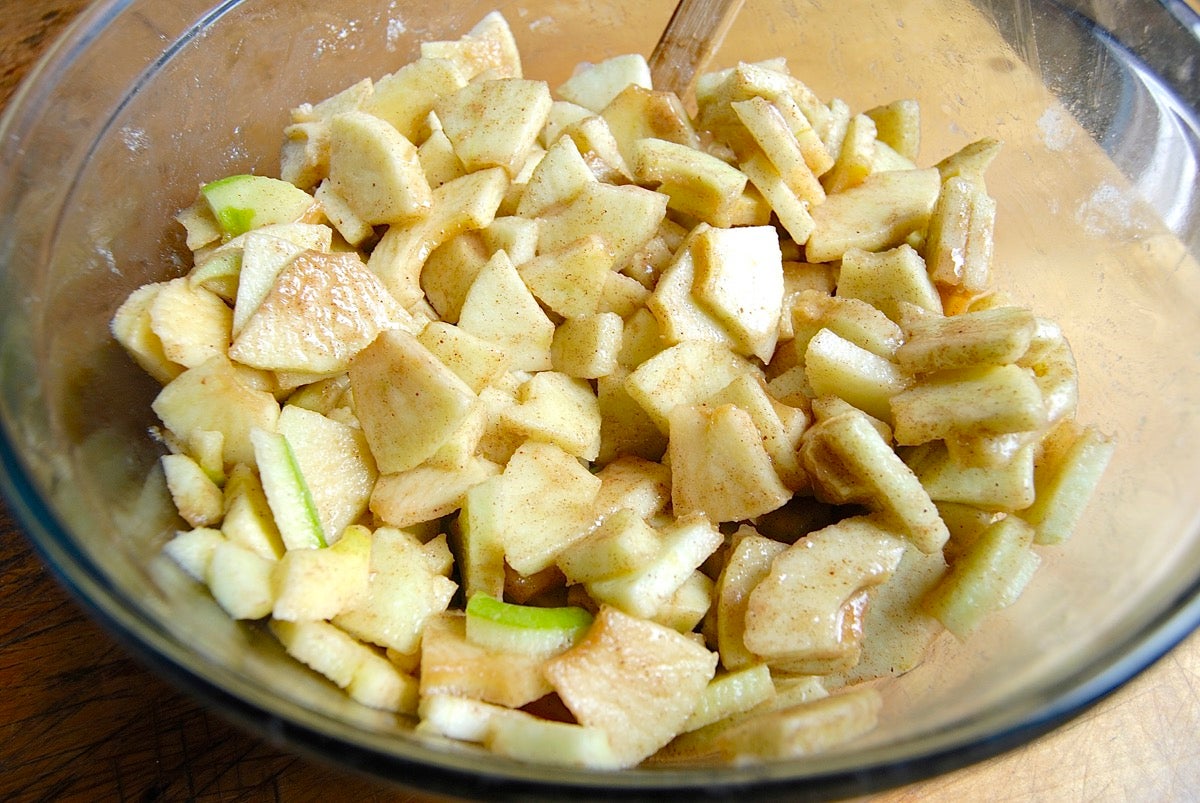
Sprinkle the mixture over the apples, and stir to coat them. Stir in the boiled cider or apple juice concentrate.
Lightly grease a 9" pie pan that's at least 1 1/2" deep. Greasing the pan will make it easier to dig out that awkward first serving.
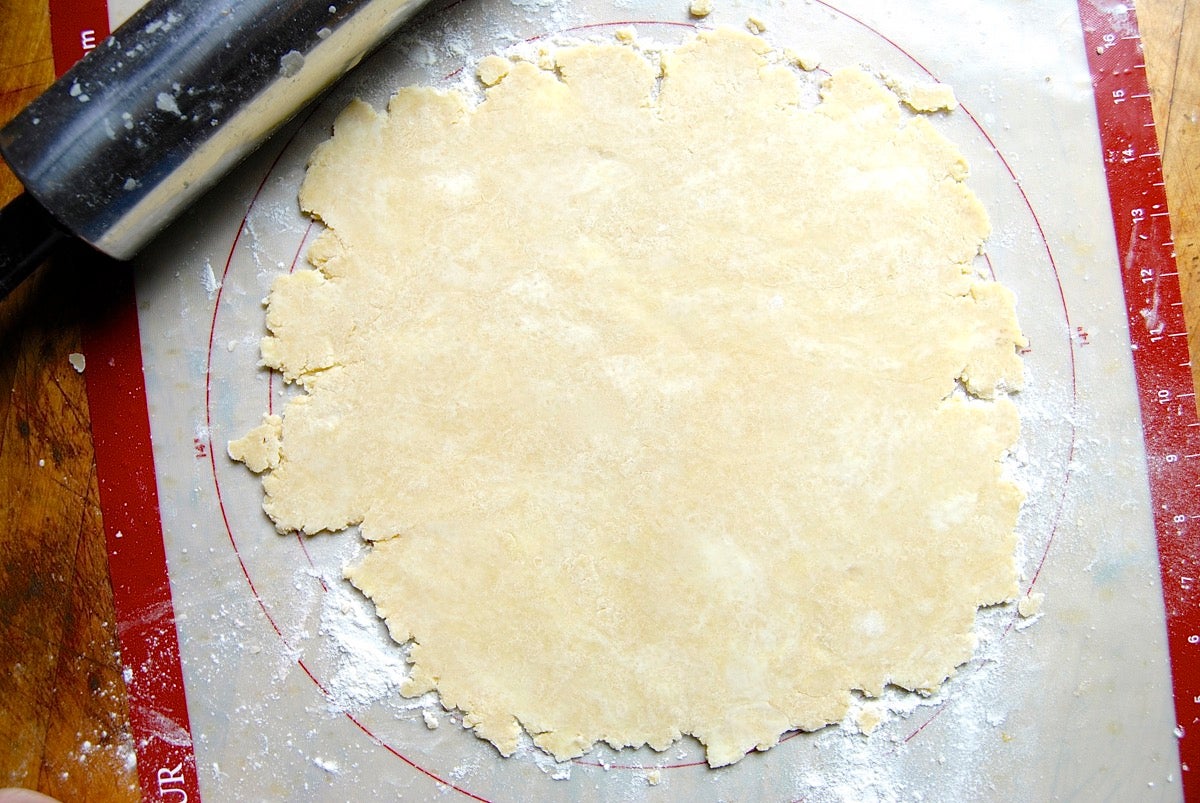
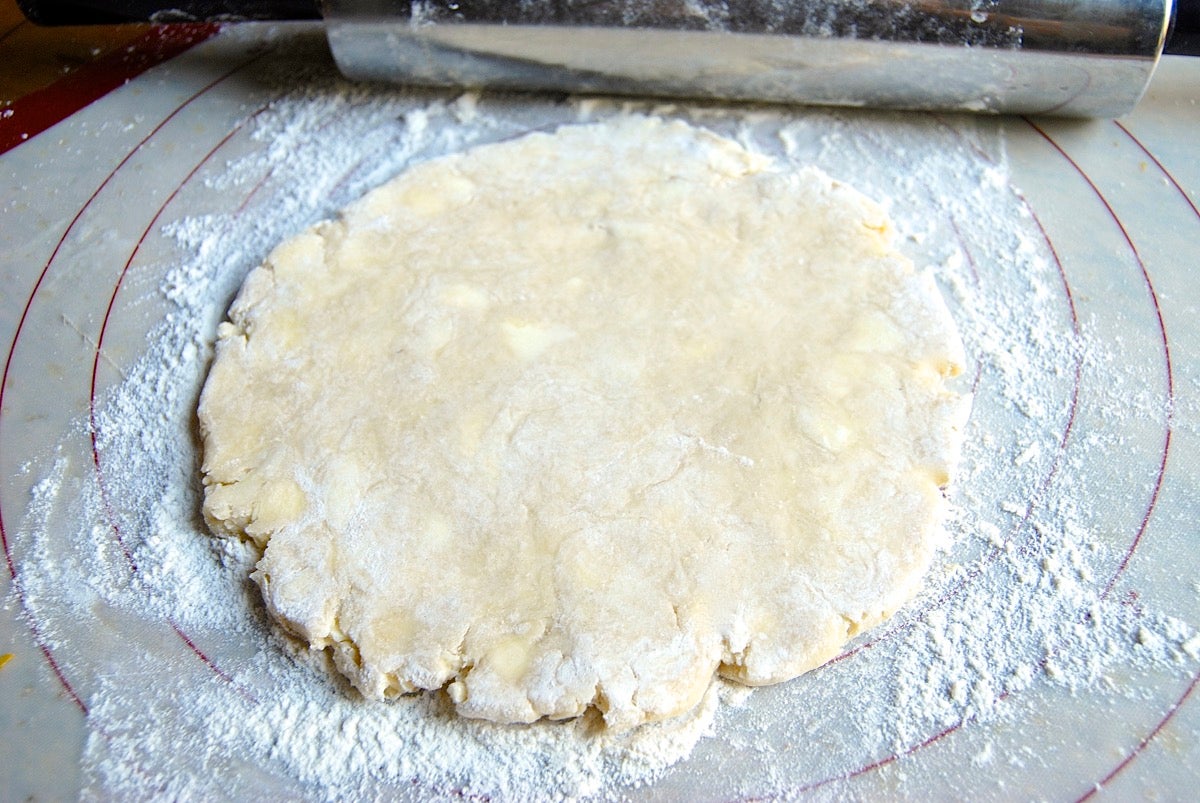
OK, back to the crust. Remove it from the fridge. Roll the larger piece of pastry into a 13" circle. I'm using a silicone rolling mat here: easy rolling, hassle-free cleanup!

Transfer the crust to the prepared pan, and trim the edges so they overlap the rim of the pan by an inch all the way around.
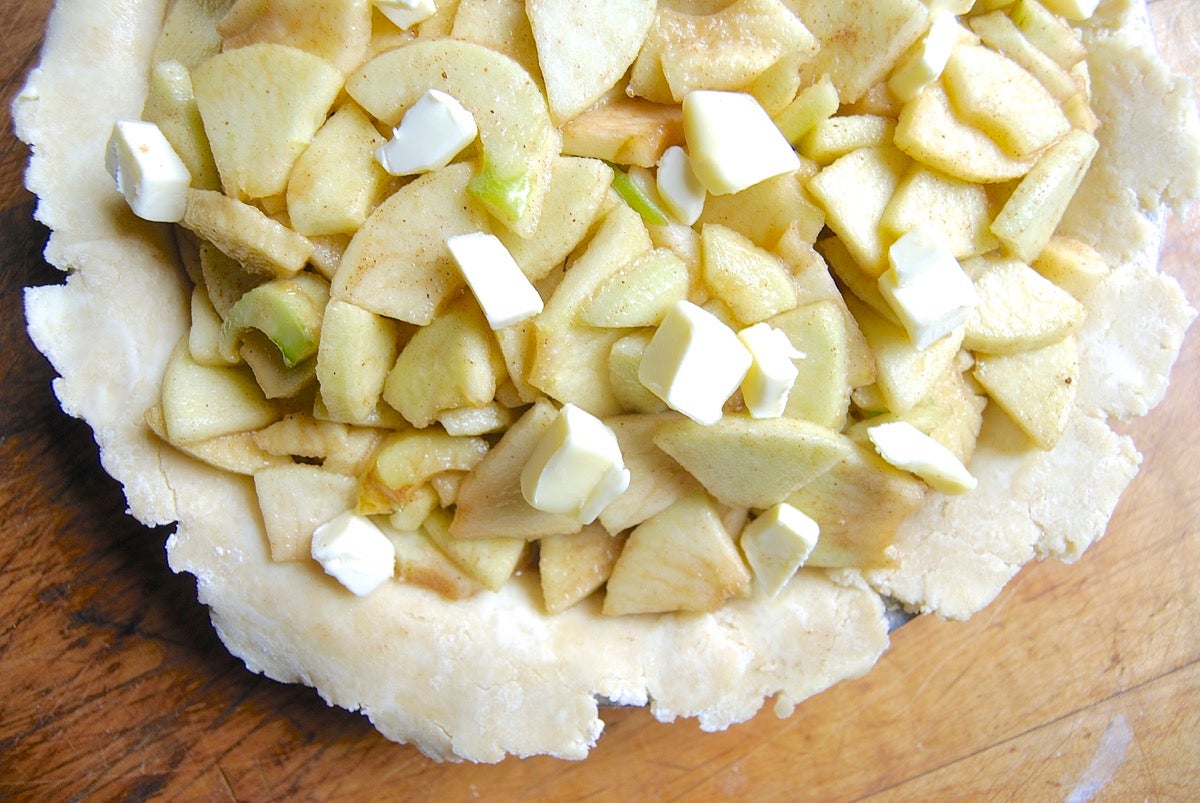
Spoon the apple filling into the pan. Dot the top with the 2 tablespoons diced butter.
Roll out the remaining pastry to an 11" circle. If you'd like a plain top, transfer the dough to the top of the pie, sealing it to the bottom crust. Crimp the edges, and cut a few vent holes to release steam as the pie bakes.
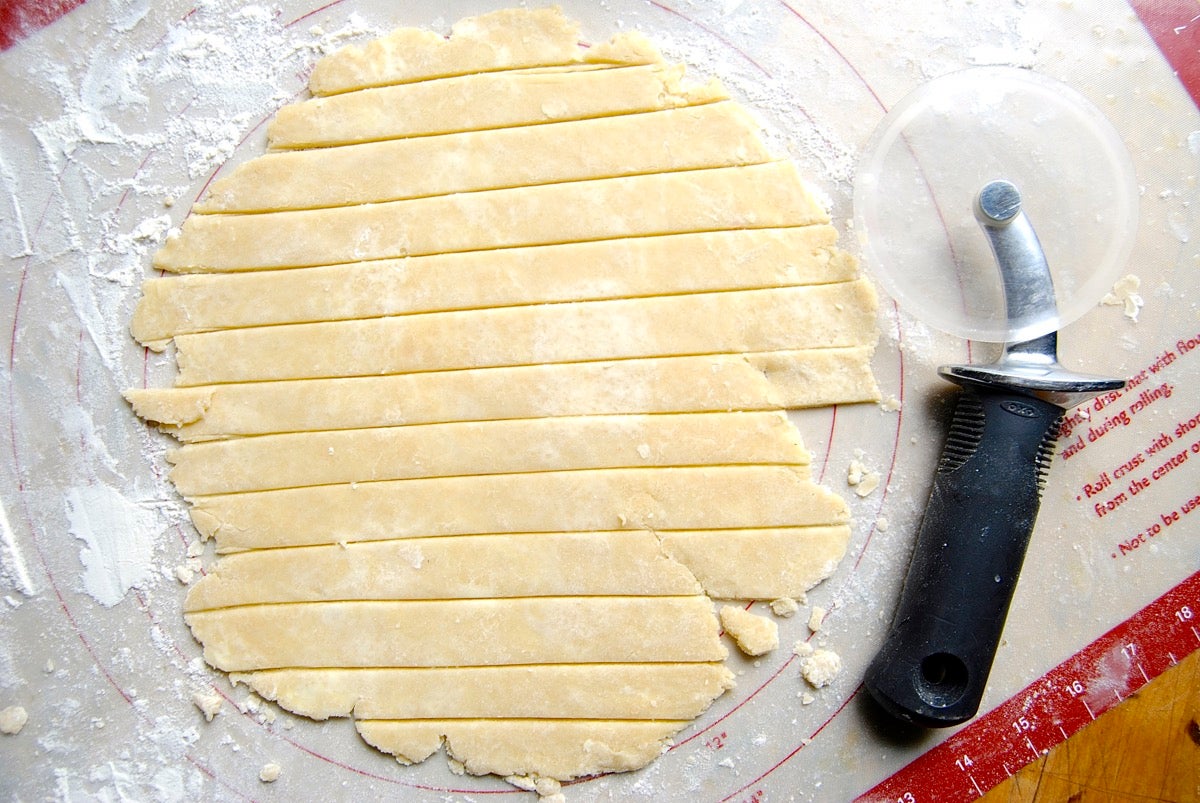
If you choose to make a lattice crust, cut the rolled-out pastry in 3/4" strips.
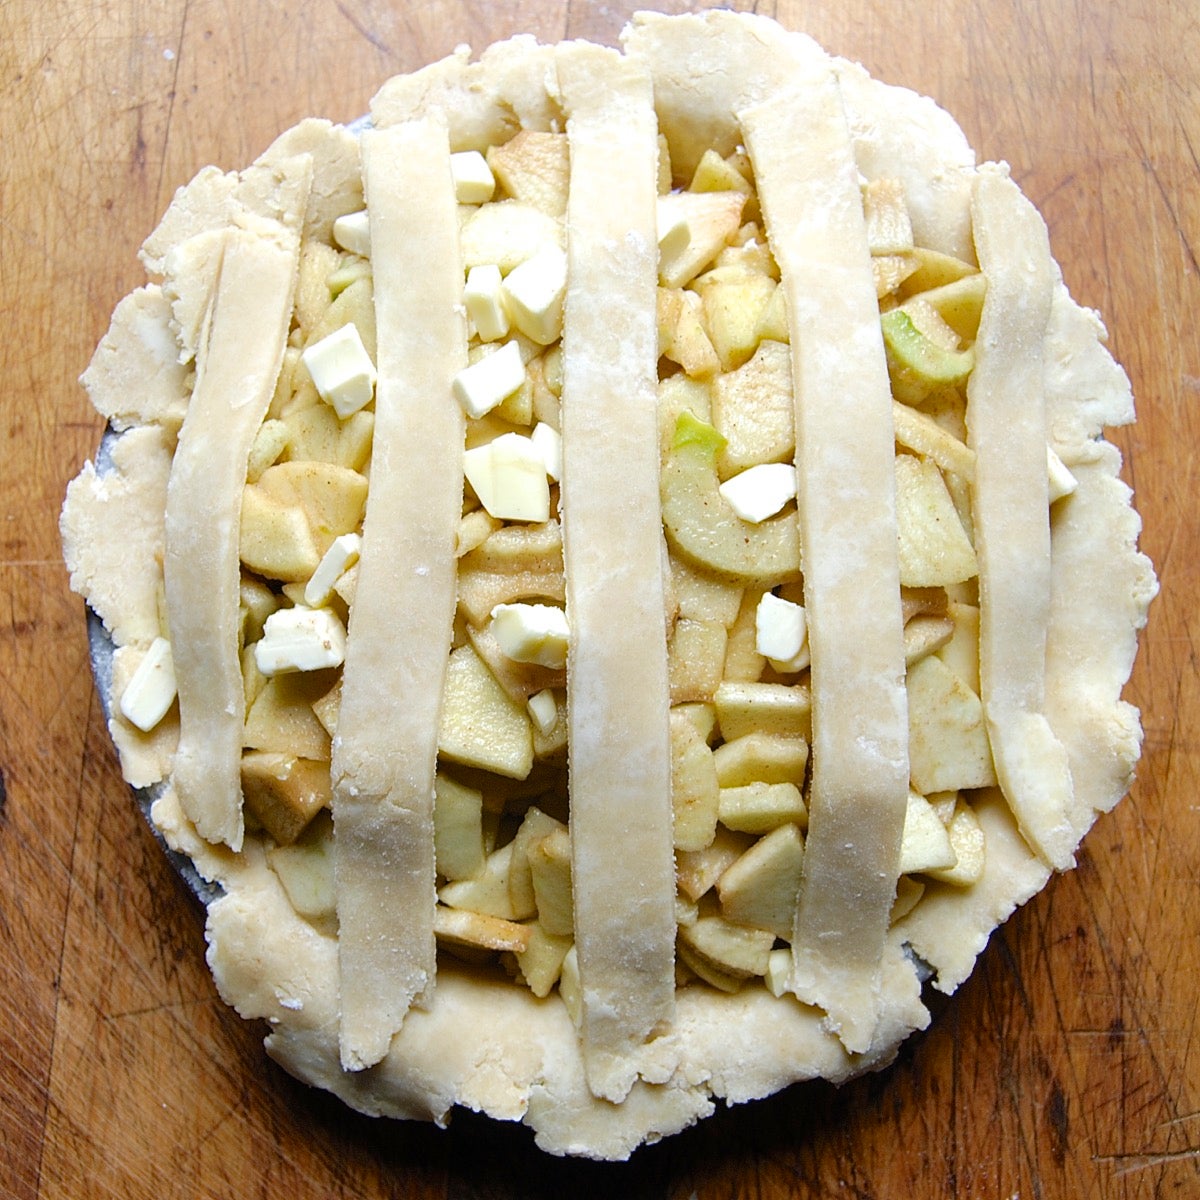
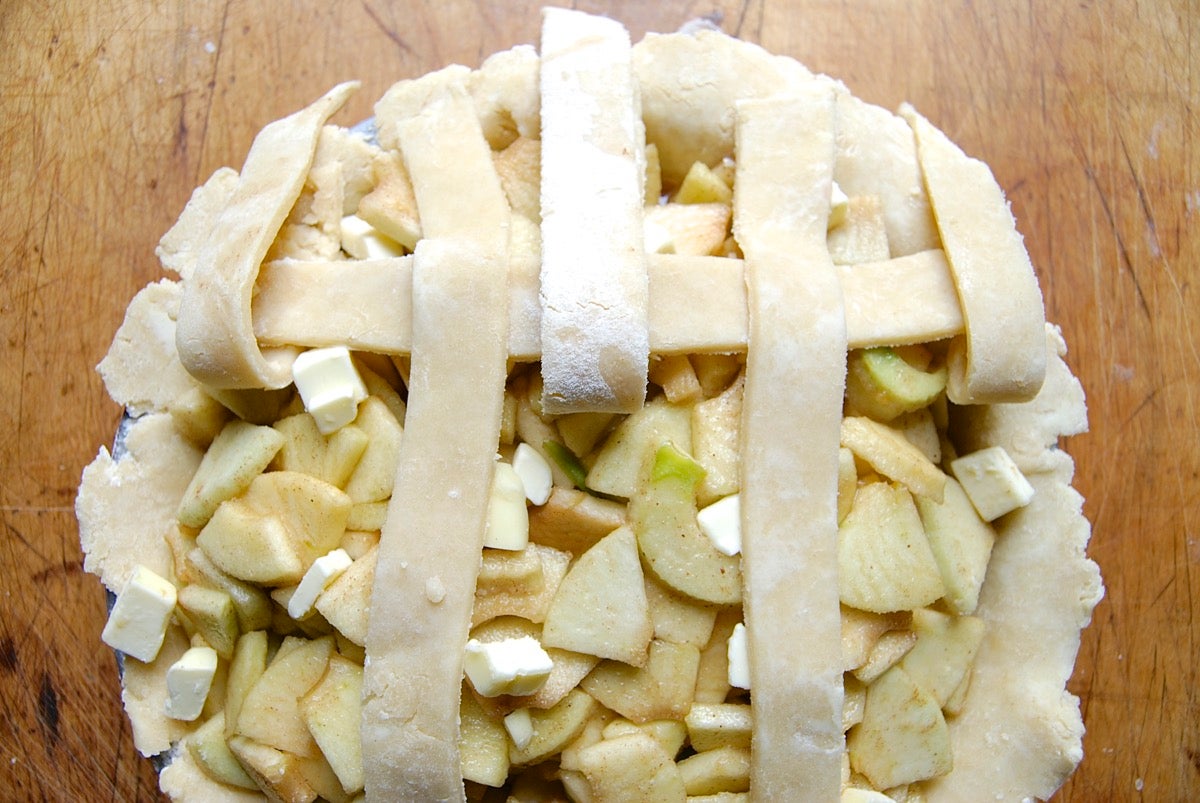
Use the strips to weave a lattice, which is easier seen than explained; please watch our video, How to weave a lattice pie crust.
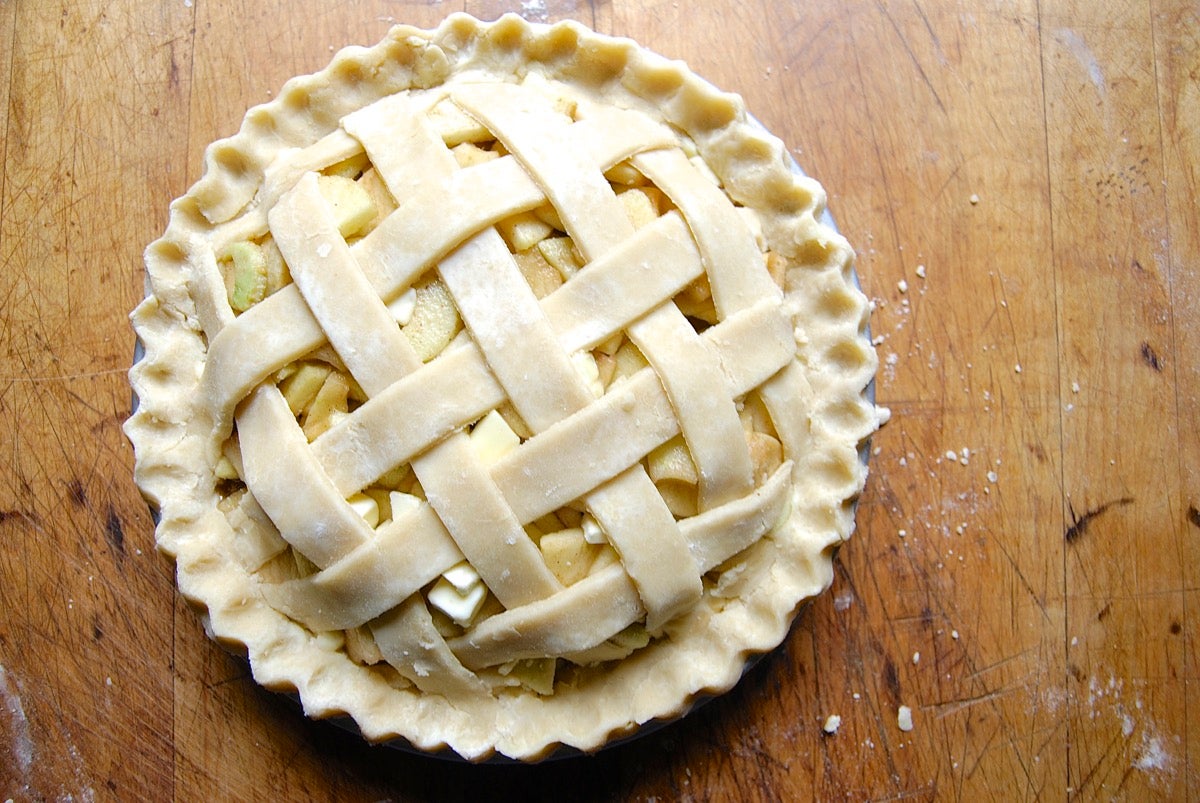
Believe it or not, in all the decades I've been baking, I'd never made a lattice crust. Pretty nice, huh?
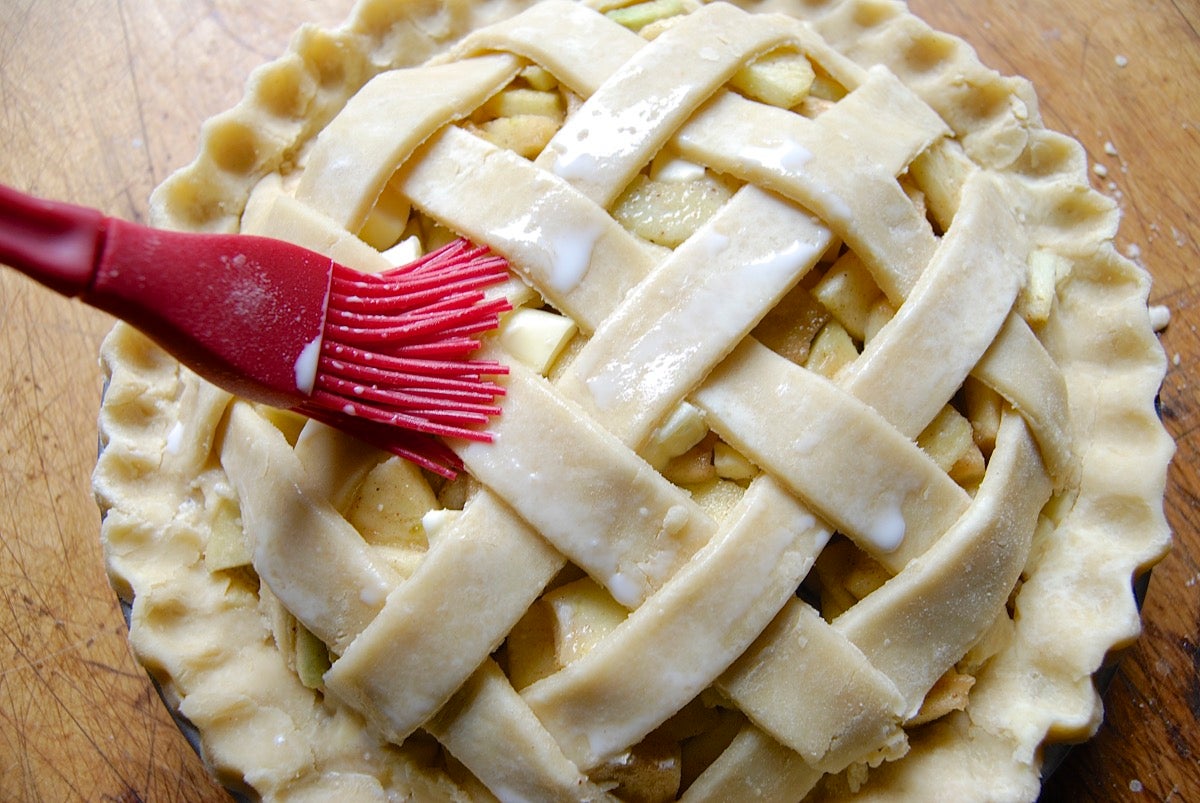
Brush the crust with water, milk, or cream; milk or cream will give the crust a darker finish.
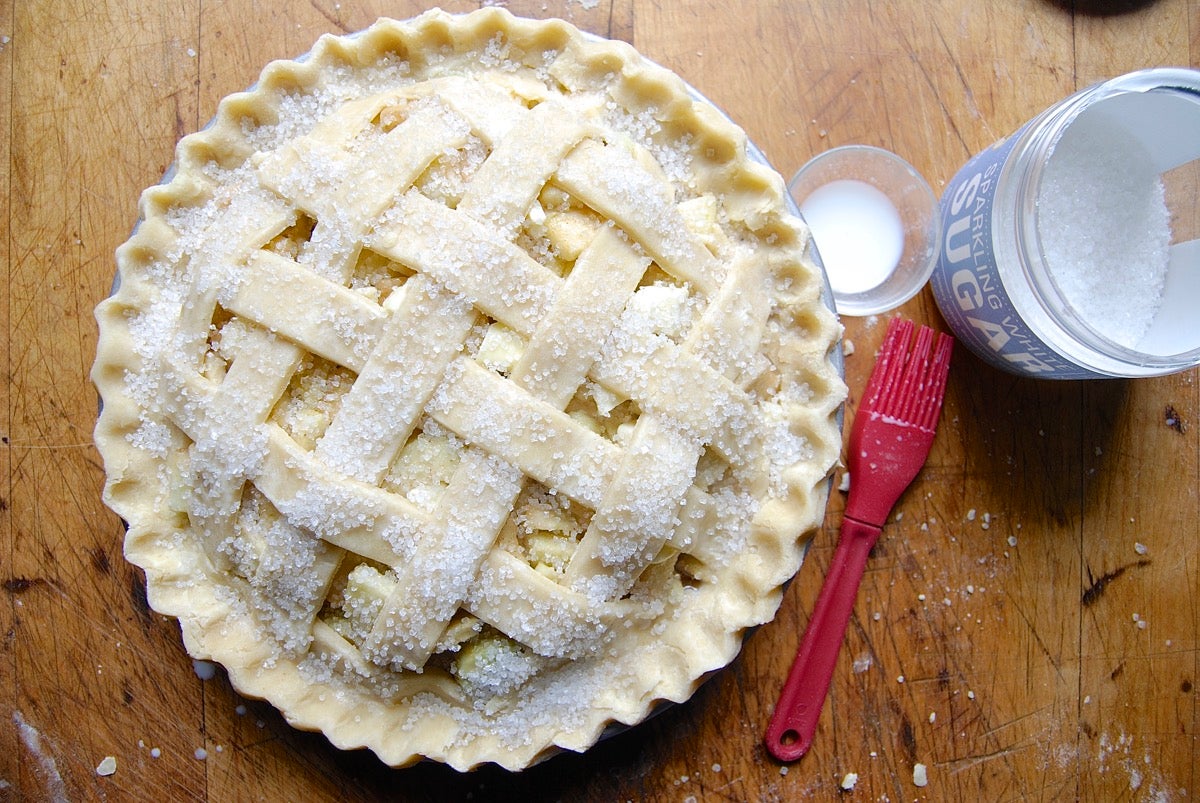
Sprinkle the crust with coarse white sparkling sugar, if desired; this will give it a pretty, glittery finish. Put the pie in the refrigerator to chill for about 30 minutes.
Preheat the oven to 425°F while your pie is in the fridge. If you have a baking stone, put the stone on the floor of the oven, or on the lowest shelf.

Put the pie on a parchment-lined baking sheet to catch any drips. Then put the pan on the baking stone (or on the lowest rack of the oven).
Bake the pie for 20 minutes, then reduce the oven temperature to 375°F and bake for 40 minutes more, until you see the filling bubbling inside the pie. Let the filling bubble for a good 10 minutes; this will ensure it thickens properly.
If the edge of the crust appears to be browning too quickly, shield it with aluminum foil, or a pie crust shield.
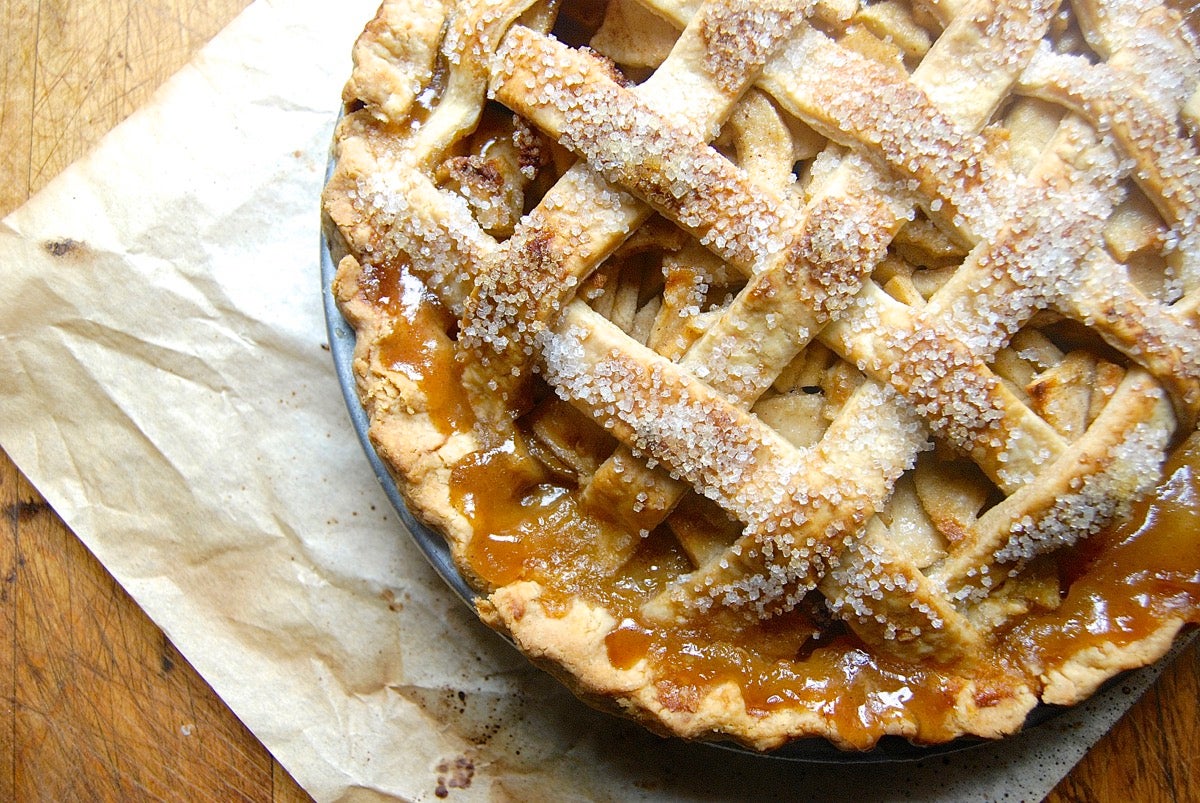
Remove the pie from the oven. Don't be dismayed by the syrup pooled around the edges; that's exactly what your pie should look like, evidence of sufficient baking to thicken the filling.
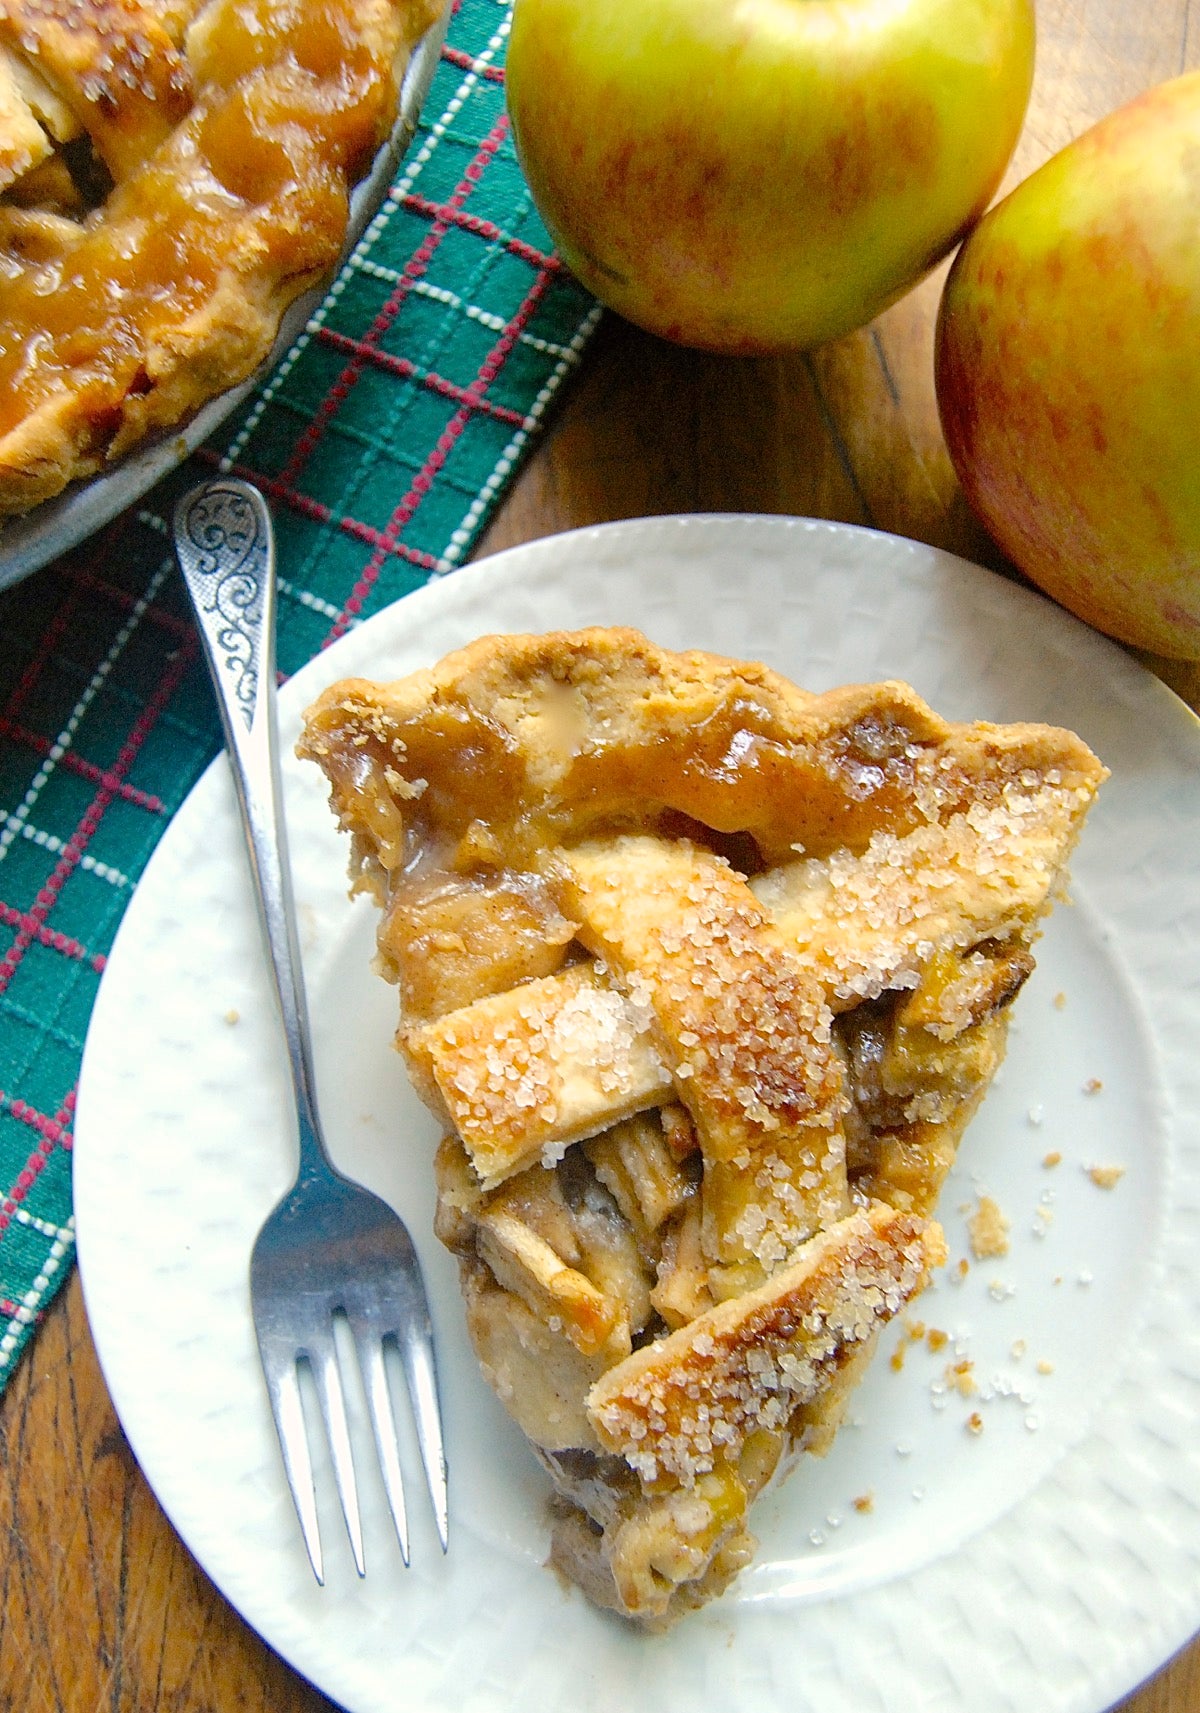
Wait until the pie cools completely before cutting and serving. If you cut into the hot pie immediately, the juices will seep from the filling into the bottom of the pan; some of the apples may slump out, too.
If you want to serve warm pie, let it cool, then reheat individual slices in the microwave; or reheat the entire pie in a 350°F oven for 20 minutes or so. The apples will have reabsorbed their juice, and a short reheat in the oven won't result in any further filling floods.
There! Are you ready to bake an apple pie? Give it your best, then share via #bakealong. To get you started, here's a printable copy of our Apple Pie recipe. We can't wait to see your stellar creation!
Interested in more? See our complete collection of Bakealong recipes.
