


Sam Fromartz, a Washington, D.C. author, writer, editor, and passionate home baker, spent four years traveling the U.S. and Europe on a quest for great bread.
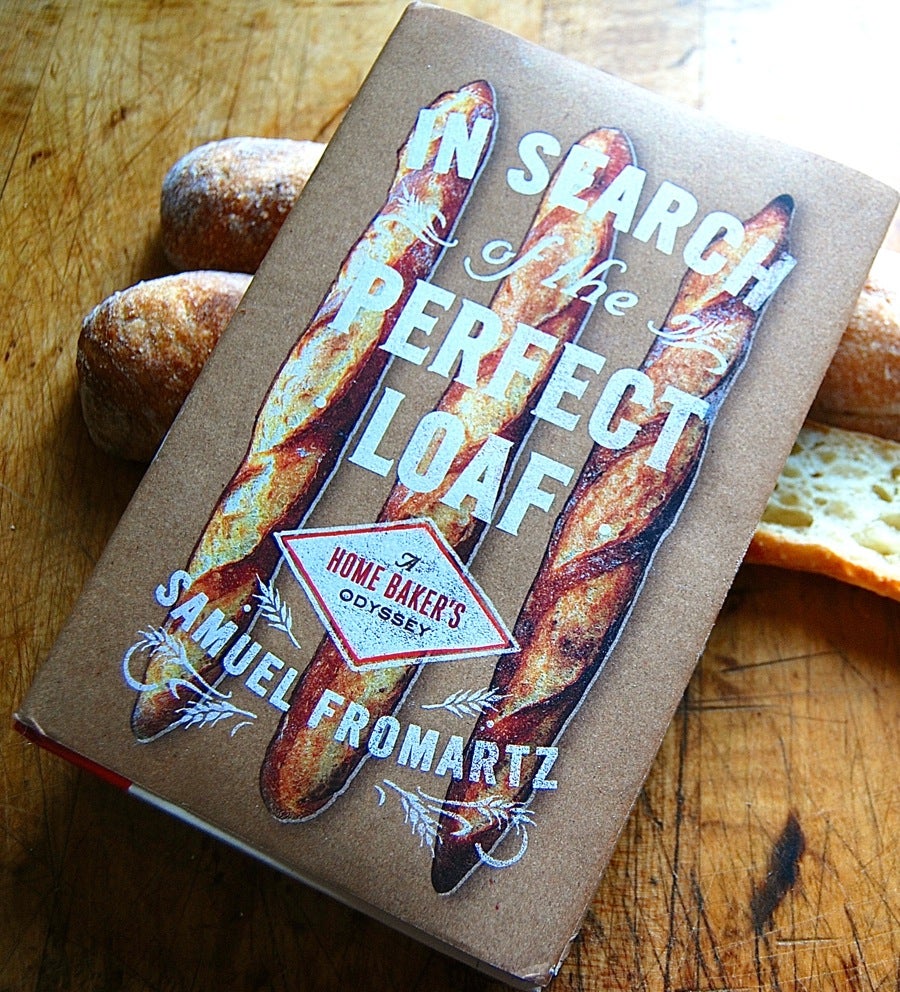
The result? A dazzling new book, In Search of the Perfect Loaf, a Home Baker's Odyssey.
As with any account of an odyssey, the book is as much about the journey as the destination; in the end, Fromartz selects just nine exquisite recipes to detail. But if you're a bread lover, you must read this book: it'll speak just as eloquently to your heart as to your mind.
Recently, deciding to go on my own mini-odyssey, I opened the book at random and started flipping through the pages.
The first recipe I came to was Stirato, which Fromartz describes as "like an easy-to-make baguette."
An easy-to-make baguette with a five-page recipe, that is. But if you love yeast baking as much as I do, it's like diving into a great novel; the details are there to drive the story, and this bread tells a wonderful story by the time it's done. Crunchy and chewy, with great "bite," each long, skinny loaf is filled with those large, irregular holes all of us home bread bakers strive for in our baguettes and country breads.
I'll share a simplified version of Stirato here, with just enough information that you can experience the kind of great bread Fromartz features among his nine recipes. When you read the book, you'll find MUCH more detail. Trust me: if you can read, you can successfully bake this bread.
The odyssey is about to begin – let's travel together, shall we?
Here's what you need; Sam uses strictly metric measurements, but I'll give volume measurements that are as close to the original as feasible.
500g unbleached all-purpose flour (4 cups + 2 tablespoons, measured by fluffing the flour and sprinkling it into your measuring cup, then sweeping off the excess)
375g water, 80°F (1 1/2 cups + 2 1/2 tablespoons)
1/2 teaspoon instant yeast
1 tablespoon sourdough starter (optional)
10g sea salt (2 teaspoons)
semolina flour, for dusting the loaves (and your work surface)

Yes, 80°F. Do what the man says. A digital thermometer helps.
As does a scale. Fromartz's recipes all use metric weights, for utmost accuracy.
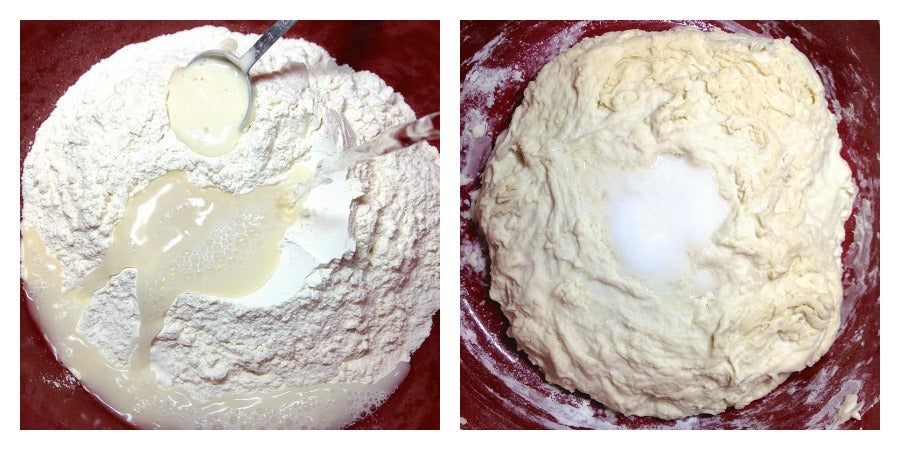
First, combine the flour, water, yeast, and starter, if you choose to use it. I'm using it because I have a jar of starter in my fridge at all times. Remember, I'm a breadie.
Make a little well in the center of your soft dough, and put the salt in the well, along with an additional tablespoon of water. Don't mix it in. Cover the bowl, and let everything rest for 20 minutes.
After 20 minutes, uncover the bowl, and get to work.
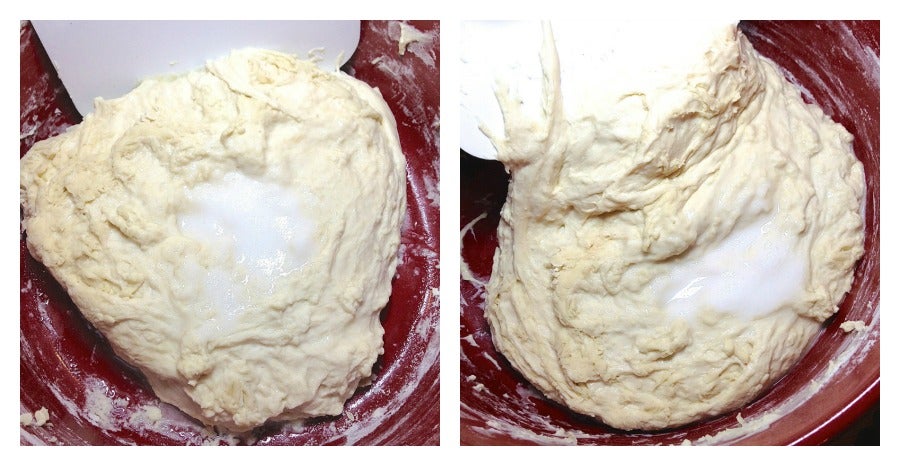
Now, you're not going to knead so much as fold the dough over on itself; a bowl scraper works well here. Use the scraper to loosen one edge of the dough, and fold it into the center. Turn the bowl 90°, and repeat.

Do this stretching/folding for about 1 minute, then cover the bowl, and let the dough rest for 20 minutes. It'll relax and settle into the bowl.
Do this stretch, fold, and rest-for-20-minutes process three more times.
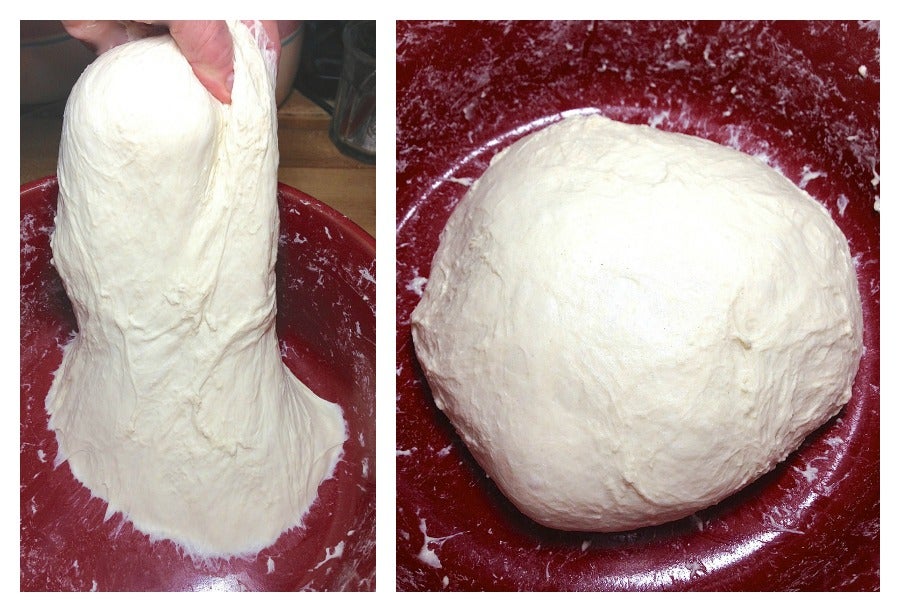
By the third or fourth time, you'll notice you can set aside the bowl scraper and actually grab the increasingly elastic dough with your fingers. It becomes subtly smoother as you go through the process.
After your fourth stretch-and-fold, cover the bowl and let the dough rest at room temperature for 6 to 7 hours, until it's about tripled in size.
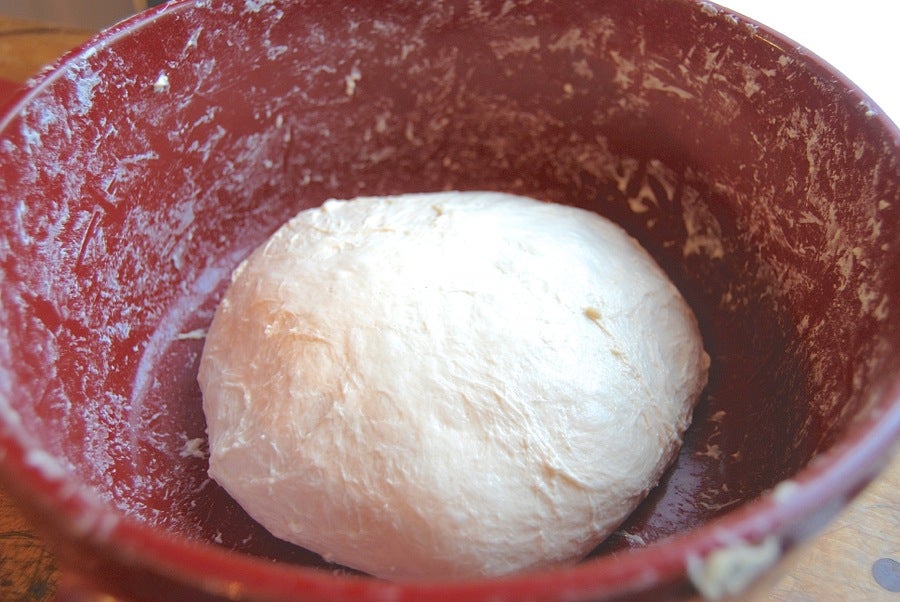
My schedule can't handle completing this bread all in one day, so I break up the process. I settle the dough into my bowl (actually my Emile Henry stoneware crock, which I use interchangeably as a baking vessel and mixing bowl), cover the crock...
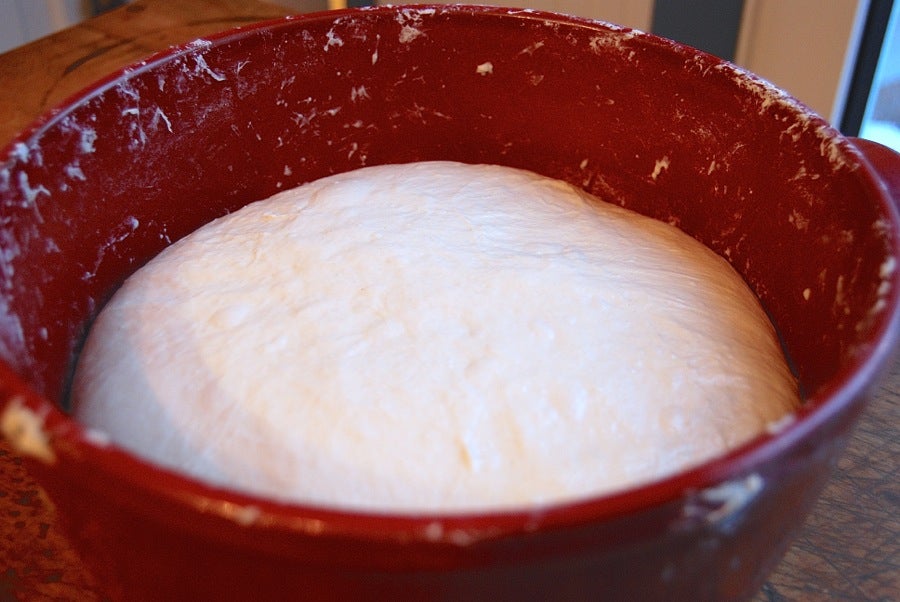
...and let it rise for 4 hours. Then I stick it in the fridge overnight (yes, covered).
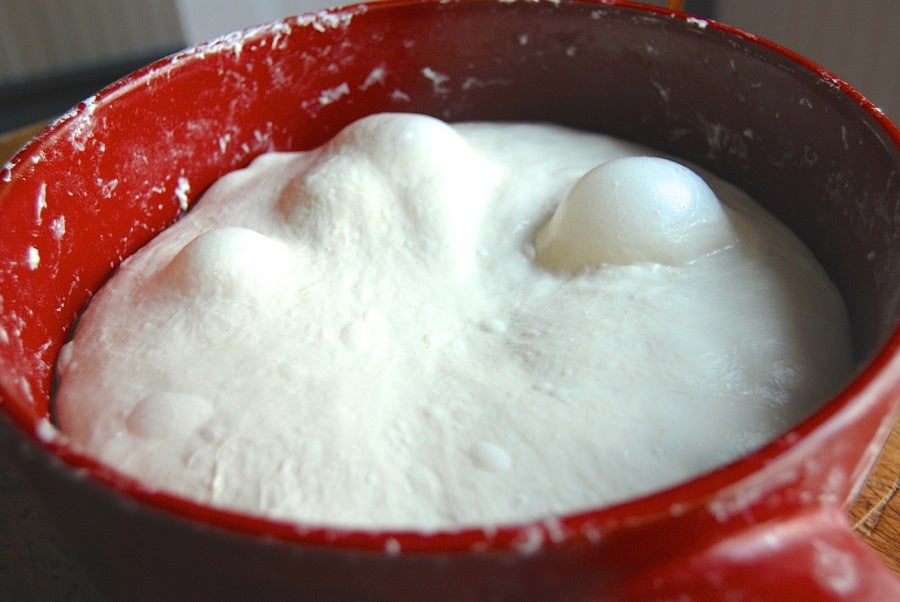
Next morning, holy mackerel! Big air bubbles. The yeast is obviously happy.
I leave the dough warming to room temperature while I hit the gym. This takes a couple of hours.
Next: shaping and baking the loaves.
Preheat your oven to 470°F with a baking stone on the middle rack. Don't have a stone? You'll bake these on a pan instead.
Make sure your oven is truly up to heat by the time you're ready to bake; most ovens will take at least 30 minutes, maybe more. Fromartz recommends preheating for a full hour, which gives the stone a chance to get nice and hot.
Put a metal or cast iron pan onto the floor (or lowest rack) of your oven. This will be your steam generator.
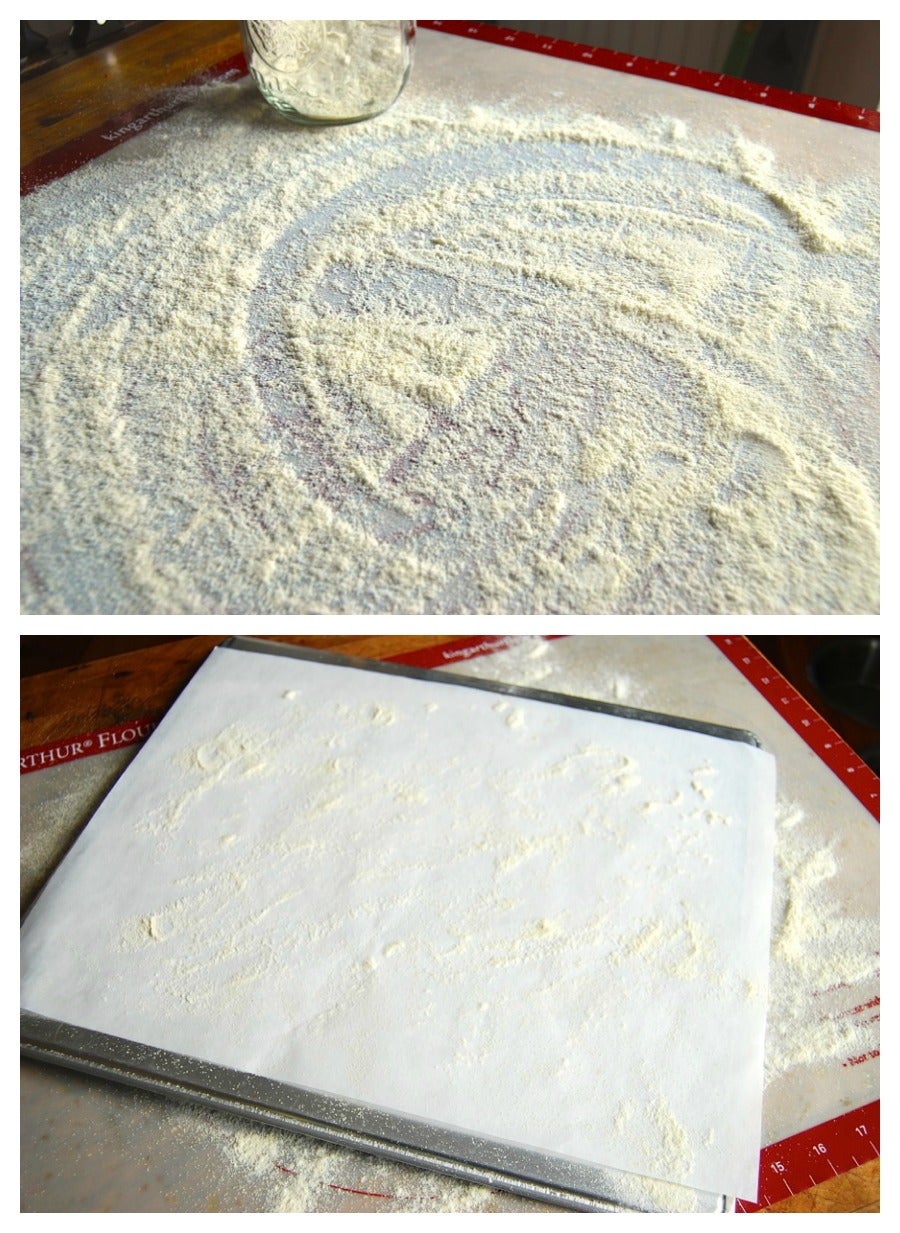
Flour your work surface with flour, or with a 50/50 mixture of semolina and flour, which is what I choose.
Flour a piece of parchment basically the same size as your baking stone (assuming you have a baking stone), and put it on an overturned baking pan. This will be your baker's peel.
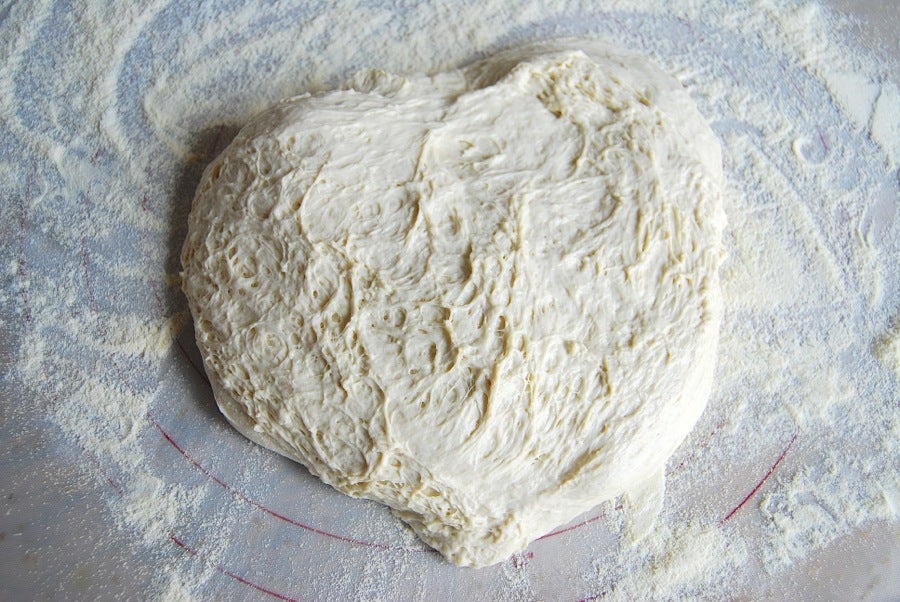
Gently turn the dough out onto the floured work surface. Try not to deflate it; this is not the kind of dough you "punch down." Jeesh; I don't know why you'd ever want to punch dough, anyway. If you want to deflate it, a squeeze is sufficient!
Pat/shape the dough into a 10" x 16" rectangle. Don't make yourself crazy; these are approximate measurements.
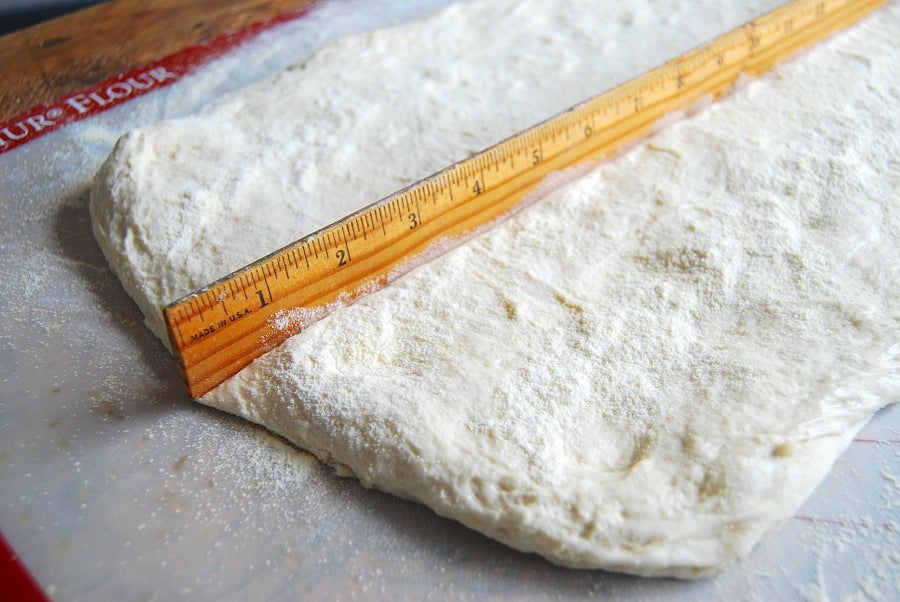
Divide the rectangle into four longer, skinnier rectangles, using a "thick, dull tool." I'm using a wooden ruler here. Fromartz explains that, rather than cutting the loaves, you want to simultaneously divide them and compress their edges to seal.
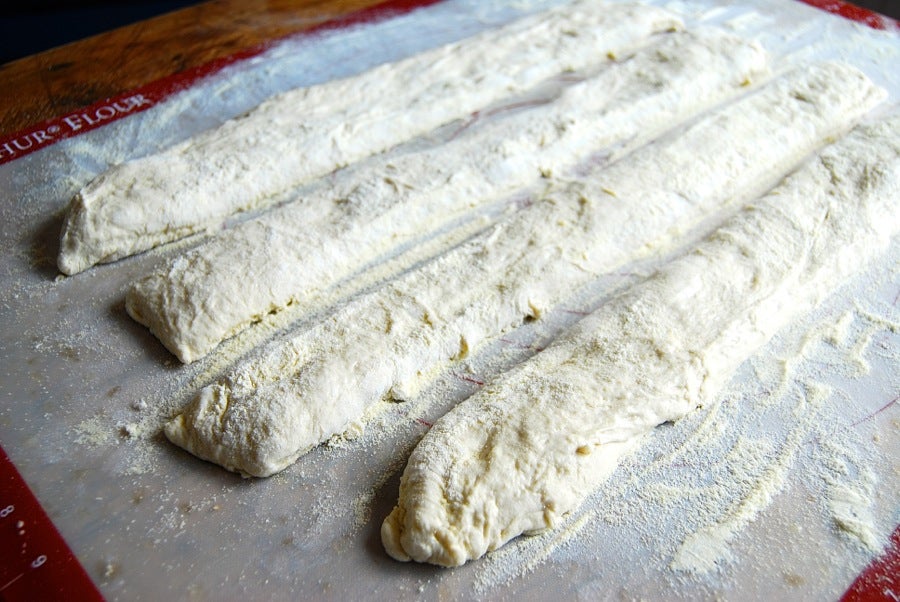
Your loaves will look entirely unprepossessing; flat and saggy. I could make a joke about late middle age here, but it would be hitting too close to home!
Let the loaves rest, lightly covered, for 20 minutes.
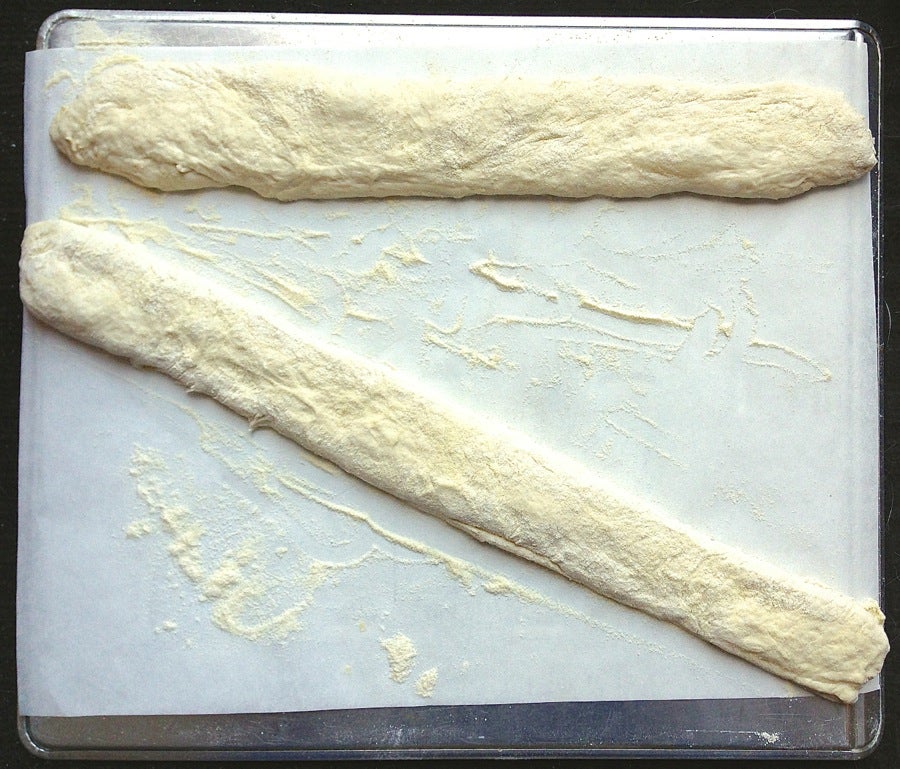
Place two of the loaves onto your homemade peel. They'll want to stretch as you handle them, so do this quickly.
Get 1/2 cup water ready; you're going to make steam.
Transfer the loaves with their parchment to the baking stone. If you're not using a stone, just put them, on their pan, into the oven.
Add the water to the hot pan down below; close the oven door quickly.
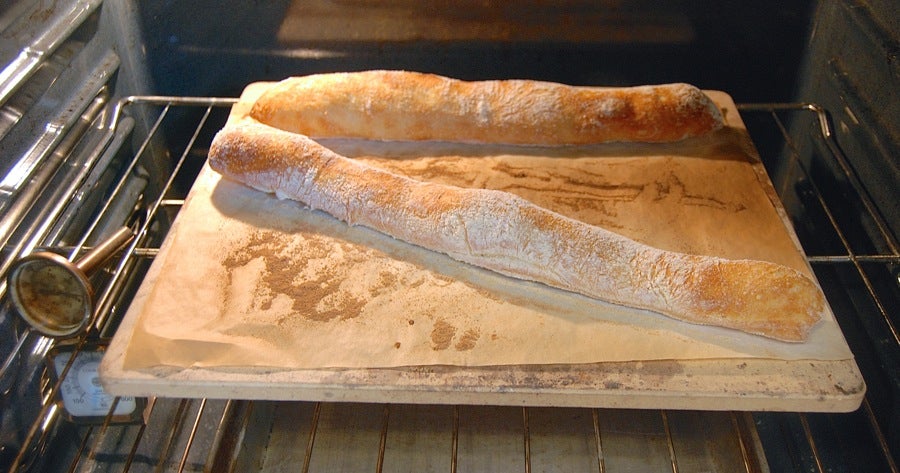
DO NOT open your oven door for 18 minutes; you want to trap that steam.
After 18 to 22 minutes, when the loaves are a deep, golden brown, remove them from the oven, and transfer them to a rack to cool.
Repeat with the remaining two loaves.
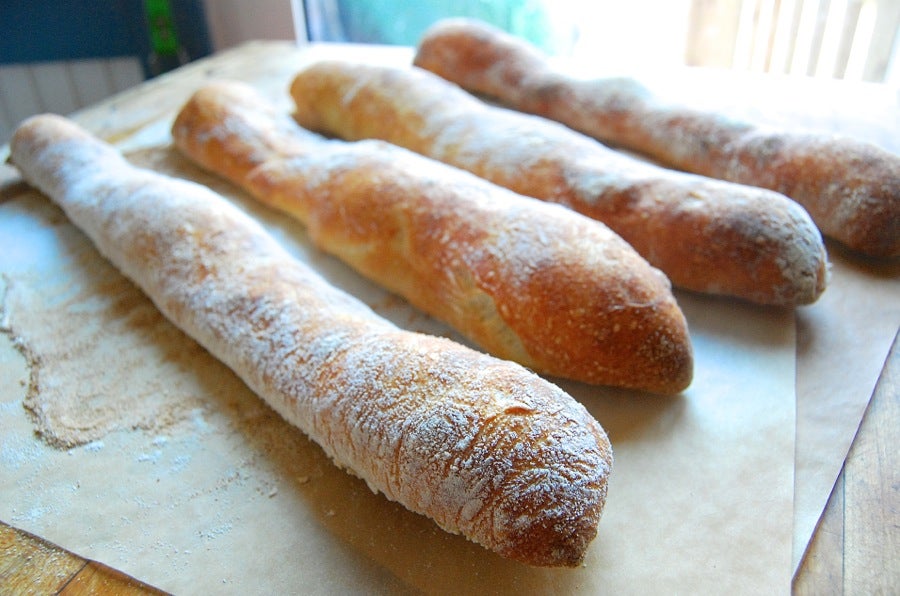
Pat yourself on the back.

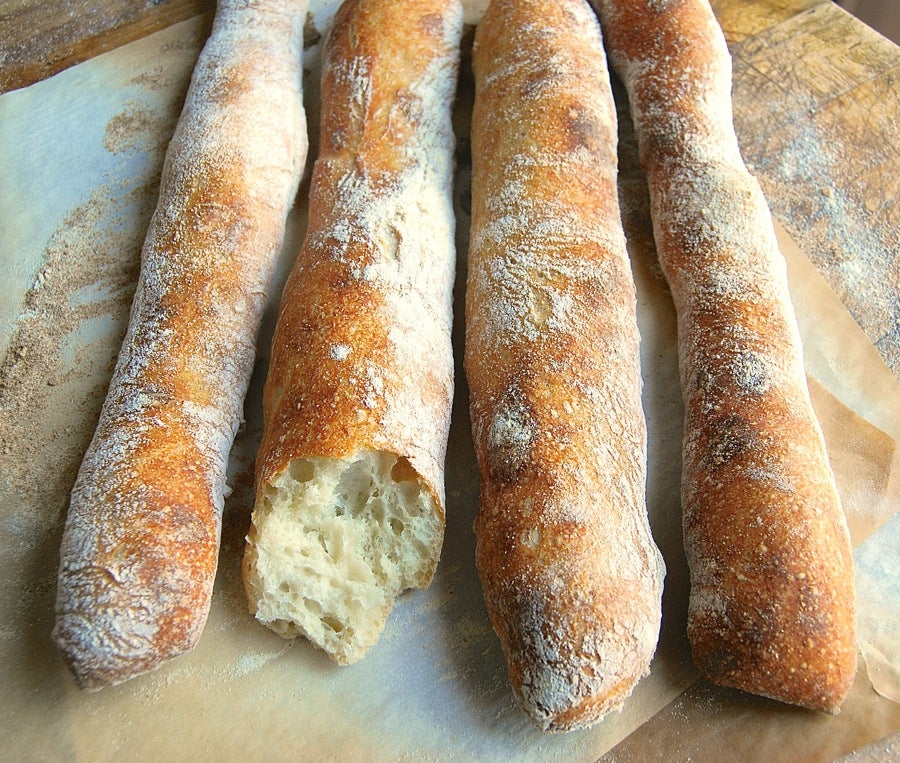
You've made four stunning loaves!
Oh, and remember those large, irregular holes?
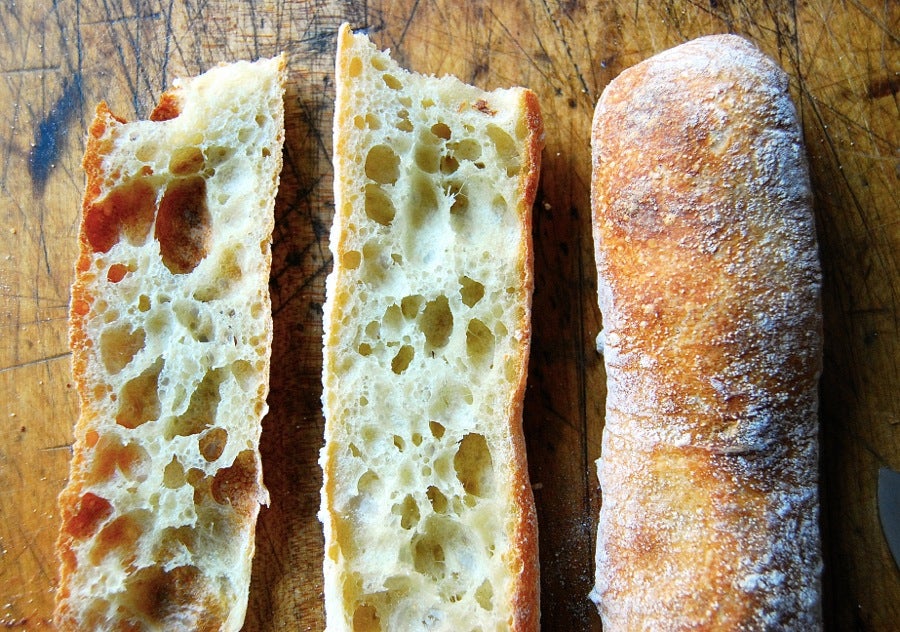
Why, it's ever so nice to see you! The perfect loaf, indeed.
As Sam notes, this is an "easy-to-make baguette." Interested in a more traditional baguette? Sam's your man for that one, too. Check out his classic baguette.
And check out his blog: ChewsWise, Musing on Food, Farming, and Bread. If you're a bread "apprecianado," you'll want to bookmark it. You never know where he'll take you next!
Looking for a printed recipe for the Stirato above? Check out Sam's book – your local library may have a copy, or find it at any major bookstore.
