


If you've never traveled to Europe, you've probably never experienced a true continental breakfast.
A Continental breakfast.
In America, continental breakfast conjures up visions of freebies at the motel, with little boxes of cold cereal, perhaps a few pastries, a bowl of bananas, and maybe, if you're lucky, hot oatmeal. Or a real live make-your-own waffle station.
But on the Continent – especially in Germany – oh, my, breakfast is truly a course of a different color.
I've been to Germany once: to Frankfurt, where I attended Ambiente, an international housewares show. Details of the show itself escape me, though I remember being surprised at the number of show attendees smoking – many stubbing out their lit butts right in the carpeted aisles.
But I remember well the breakfast we were served each morning at the hotel. No bland white toast or oatmeal, thanks. Here's a snippet from a diary I kept on that trip:
Friday, February 23, 1996 – We landed in Frankfurt at 7:30 a.m. to a gray, 24°F day, with a very light spit of snow swirling across the sea of concrete runways. The plane landed out in the middle of the tarmac; the Frankfurt airport is Europe’s busiest, and it was swarming with planes from all different countries. We were bussed into the terminal, and went through some very minor formalities – one passport check, a stop to change our money to deutschmarks – and we were out onto the street and into a taxi to our hotel, the Arabella Congress, on Lyonerstrasse, on the outskirts of the city.
The area around the hotel looked like any medium-sized American city – office buildings, blocks of small stores, bus and trolley stops – not at all “European-looking.” We decided to try to stay up for awhile, to get onto the new time schedule, so checked into the hotel and went to have breakfast, which came with the price of the room.
And what a breakfast! We entered a small, sunny room, and were confronted with a buffet featuring an array of sausages and wursts, cheeses and smoked fish; three flavors of yogurt, various fruit toppings, cereal, granola, and muesli; muffins, breads (both light and dark), and good hard rolls; salads; eggs, bacon, and breakfast sausage; jams and butter; and juice and coffee. It was a bit overwhelming. We sat next to two young women speaking German, dressed to the nines and obviously businesswomen. Neither was overly heavy, but they packed away about four heaping platefuls of food each!
Now that, dear readers, is a REAL continental breakfast.
A breakfast where I wouldn't have been at all surprised to spot these rolls. Made with rye flour, stuffed with golden sautéed onions and crisp bacon, they're the perfect accompaniment to scrambled eggs or an omelet.
Speaking of omelets – well, my tales of Parisian breakfasts will have to wait for another day.
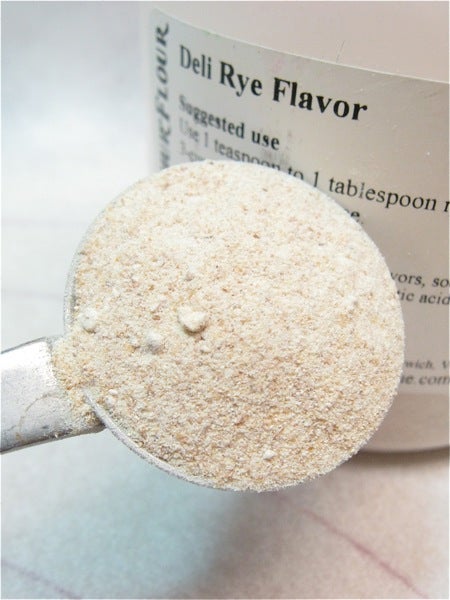
Let's face it, rye flour on its own doesn't have much flavor. Unless you're making sourdough rye, your bread will have a certain whole-grain flavor, but it won't shout RYE at you.
The solution to this baking conundrum? Deli rye flavor, for adding distinctive "New York" deli rye flavor to your bread.
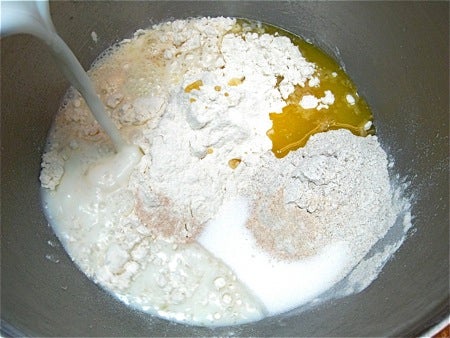
1 cup (227g) milk, lukewarm
4 tablespoons (57g) butter, melted
1 large egg + 1 large egg yolk; reserve the white for the filling
3 3/4 cups (447g) King Arthur Unbleached All-Purpose Flour
1/2 cup (64g) rye flour, white rye, medium rye, or pumpernickel flour
1/2 teaspoon Deli Rye Flavor, optional but good
2 tablespoons (28g) sugar
2 teaspoons instant yeast
1 1/2 teaspoons (9g) salt
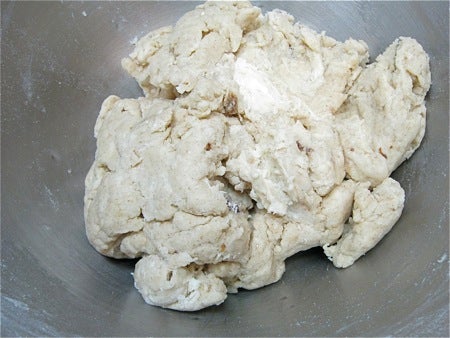
Mix until the dough starts to leave the sides of the bowl. (If you're using a stand mixer, use the flat beater for this step.)
I decided right off that I'd guessed wrong on the amount of liquid; see how "gnarly" this dough looks? I knew that a short rest would allow the flour to absorb the liquid and give me a truer picture, but still – experience told me this was just too dry. So I added a tablespoon of water...
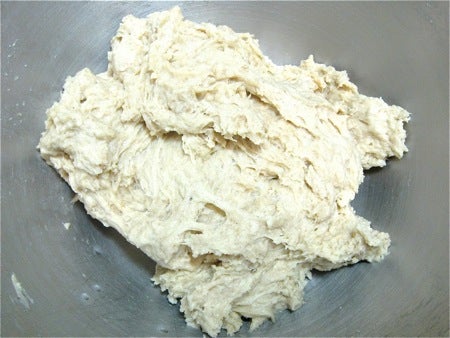
...ah, much better.
Cover the bowl and let this shaggy mass rest for 15 minutes or so, to absorb the liquid and make it easier to knead.
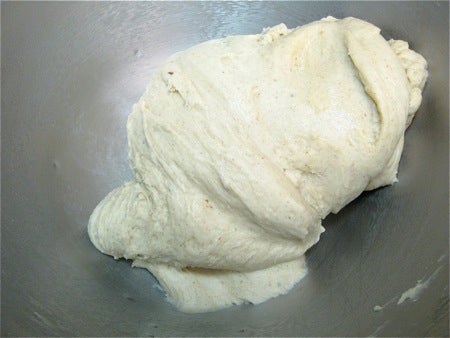
Knead the dough until it's smooth and slightly sticky, about 7 minutes in a stand mixer equipped with a dough hook.
You can also make the dough start to finish with a bread machine set on the dough cycle. Or you can knead it by hand, of course.
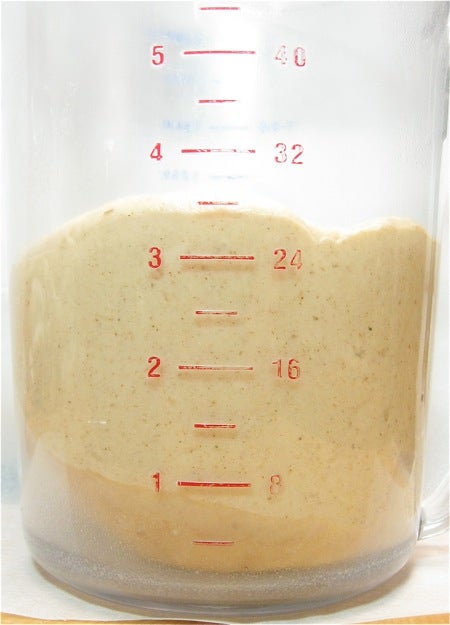
Place the dough in a lightly greased bowl or 8-cup measure, cover the container with plastic wrap, and let the dough rise for 1 hour, or until it's increased in volume by at least a third.
While the dough is rising, make the filling.
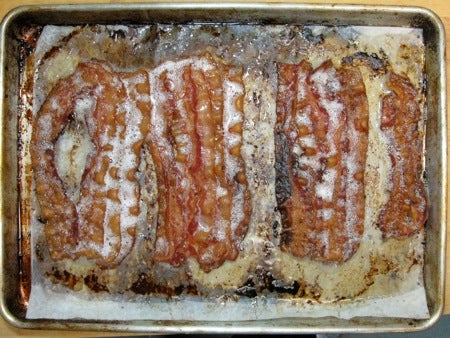
Fry 1 pound of bacon (or bake it in a 350°F oven for about 35 minutes, as I've done here), until it's crisp and light brown.
I love baking bacon; it saves having to stand at the stove and get showered with splattering fat as you turn bacon in a pan.
And notice the parchment – it really helps with cleanup. For less greasy bacon, bake the strips atop a heatproof cooling rack, set over the parchment/pan.
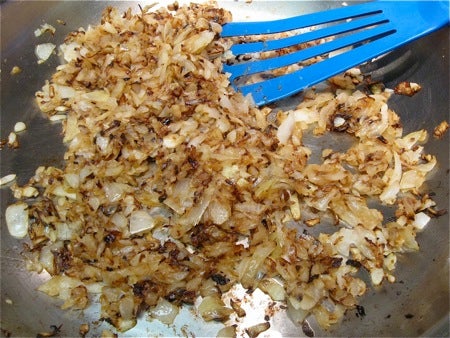
Peel and chop 2 large onions; you want about 4 cups chopped onions, more or less.
Fry the onions until they're a rich, golden brown in some of the bacon fat, if desired; or fry them in olive oil. They should brown nicely in about 20 minutes.
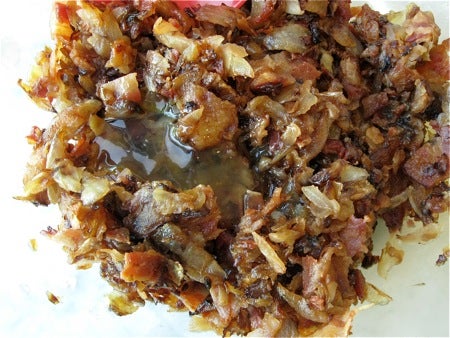
Crumble the bacon, and combine it with the onions. When barely lukewarm, stir in the reserved egg white.
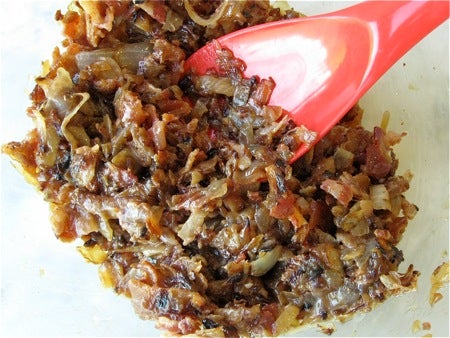
The white will help "cement" the filling together, and keep it from spilling out of the rolls.
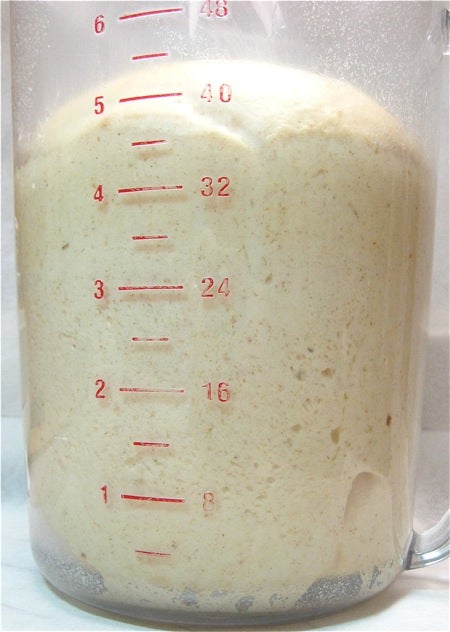
Ah, back to our rising dough. It's grown more than a third, wouldn't you say? Time to make rolls.
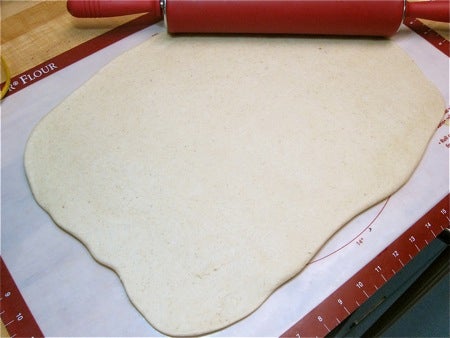
Gently deflate the risen dough, and roll it into a 12" x 18" rectangle.
Don't spent too much time trying for an absolutely straight-edged rectangle. Ain't gonna happen, unless you're a better baker than 99% of us. And, it's not necessary. So just make something approximating a rectangle.
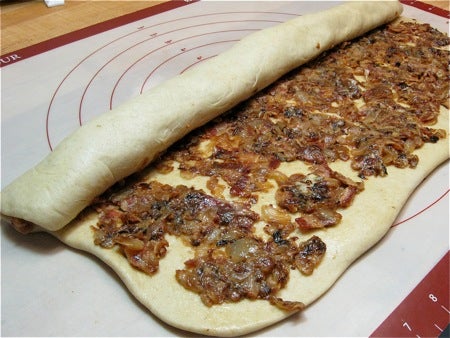
Spread the filling over the dough, and roll it up the long way, to make a log that's a generous 18" long.
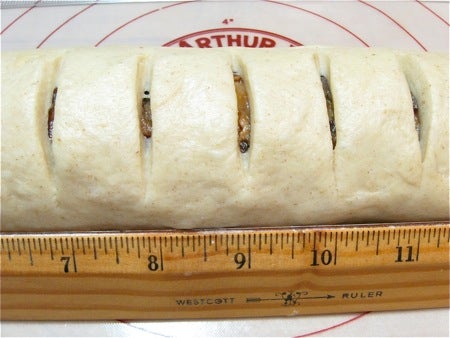
Cut 1" slices. It helps to score the log at 1" intervals.
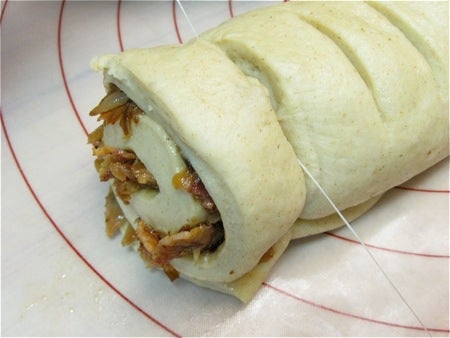
I'm using dental floss as a cutting tool here, to preserve my silicone rolling mat. Simply loop the floss around the log, cross the ends, then pull – works like a charm! Floss slides nicely through the filling and dough without squashing anything, like a knife would.
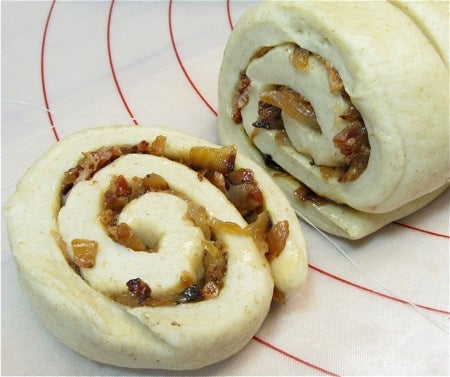
Nice, eh? Typical of a dental floss cut.
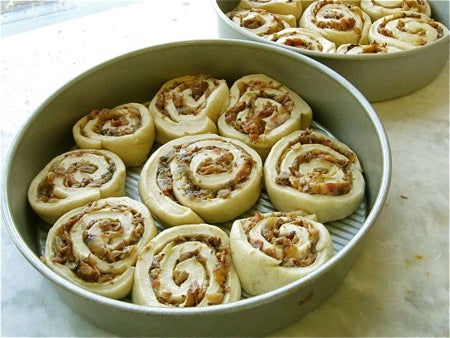
Place 9 rolls in each of two lightly greased 9" round cake pans.
Cover the pans, and let the rolls rise for about an hour...
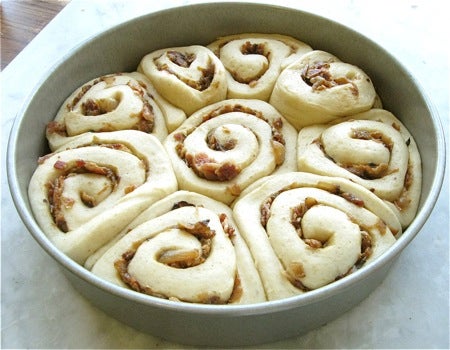
...until they're nicely puffy.
Toward the end of the rising time, preheat the oven to 375°F.
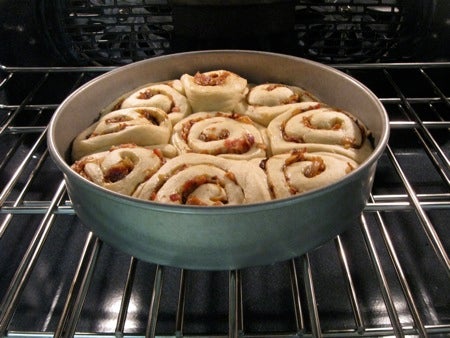
Uncover the rolls, and bake them for about 25 minutes...
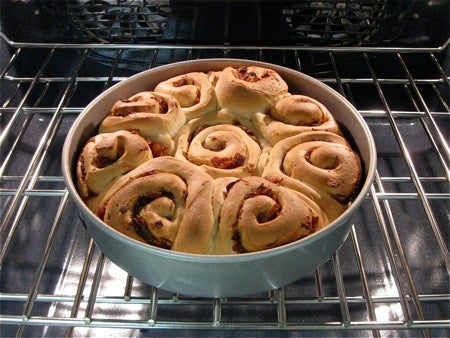
...until they're golden brown.
So, how come there's only one pan of rolls baking? Where's the other pan?
I decided to refrigerate them overnight, and bake the next day. Worked fine; I just had to bake them a bit longer, to account for the fridge chill.

Remove the rolls from the oven, and brush them with melted butter, if desired.
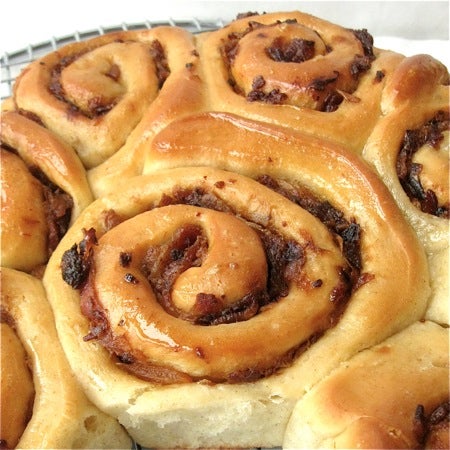
The butter will soak in and give the rolls a satiny sheen.
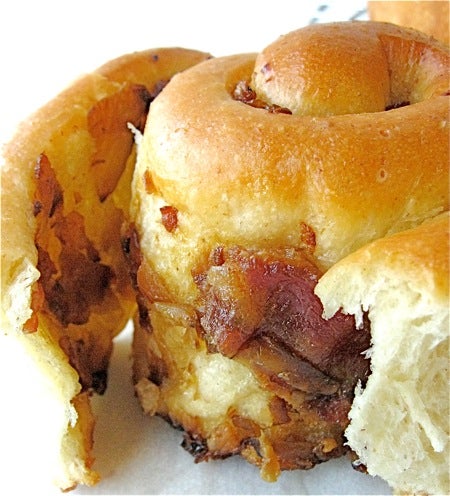
See how the egg white keeps the filling in place? You can pull these rolls apart without all the good stuff falling out.
Serve warm.
With eggs, and sausage, and muesli, and yogurt, and granola, and fruit, and muffins, and cheese, and...
Read, bake, and review (please) our recipe for Bacon-Onion Rye Rolls.