


The elusive perfect baguette.
Beautifully browned, crisp/crackly crust, fabulous flavor.
Can you make baguettes at home as good as those that come out of the oven at your local bakery?
Well, it depends on the bakery.
Can you make baguettes as tasty and gorgeous as those from a bakery with talented artisan bakers, using the best ingredients (namely, water, flour, salt, and yeast - period), and baking in a steam-injected, imported French brick oven?
No, probably not.
But wait; don't despair. Can you make baguettes as tasty and gorgeous as those from a bakery using previously frozen loaves, filled with chemicals, distributed from a commissary a thousand miles away from the bakery?
Or baguettes equal to the soft bread wands labeled "baguette" in the supermarket bread section?
Absolutely.
As the artisan bakers in our King Arthur bakery do, we'll use just four ingredients – King Arthur Flour, yeast, water, and salt – to make a baguette that'll do any home baker proud. A rest in the fridge gives the dough terrific flavor. And, since this recipe makes enough dough for four baguettes, you can tweak your technique baguette by baguette, one day at a time.
In the end, making baguettes at home is always a work in progress. The more you bake, the more you learn, the more you hone your skills.
And trust me – no baguette you bake at home is ever a complete bust. It may not be as light as you want, as crisp-crusted, as flavorful – but that's why croutons and crostini were invented.
So, let's dive in. This isn't a classic baguette recipe; it's an easier-for-beginners, no-knead formula.
Well, ALMOST no-knead; I find a minute or so in a stand mixer (or under your hands) does wonders for the baguette's texture. Enjoy!

Let's start by measuring the dry ingredients into a bowl. The key ingredient in any baguette is flour. In this version, we use King Arthur Unbleached All-Purpose Flour - which is, in fact, the closest American flour to what a typical French baker would use for baguettes.
How do we know? Because France's "godfather of bread," the late Prof. Raymond Calvel, chose KA in a "bakeoff" as replicating most closely his preferred French flour.
The flour/liquid ratio is important in this recipe. If you measure flour by sprinkling it into your measuring cup, then gently sweeping off the excess, use 7 3/4 cups. If you measure flour by dipping your cup into the canister, then sweeping off the excess, use 6 3/4 cups. Most accurate of all (and guaranteed to give you the best results), weigh the flour: you'll need 33 ounces.
And, here's another monkey wrench: flour absorbs moisture from the atmosphere. This dough, made in the dead of winter, will be much stiffer than it is at the end of a long, hot, humid summer. With that in mind, I'd suggest increasing the flour to 34 or 35 ounces in summer, to avoid dough that's unworkably sticky.
Note: If you follow this recipe on our recipe site, you'll notice it calls for 8 cups (34 ounces) of flour. That's because Sue Gray, my longtime fellow test kitchen baker, and the author of this recipe, prefers a very slightly stiffer dough. Go either way; your choice.
Combine the flour with 1 tablespoon of regular salt (or 1 1/2 tablespoons kosher salt); and 1 tablespoon of instant yeast.
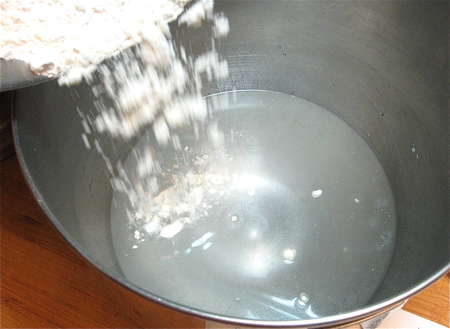
Put 3 cups (24 ounces) of lukewarm water in a mixing bowl, and add the dry ingredients.
This is where the "almost no-knead" part comes in. Rather than just stir the ingredients together, as most no-knead recipes ask you to do, I actually beat them together to make a rough, sticky dough...
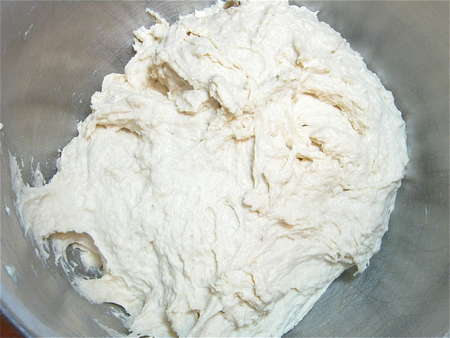
...like this...
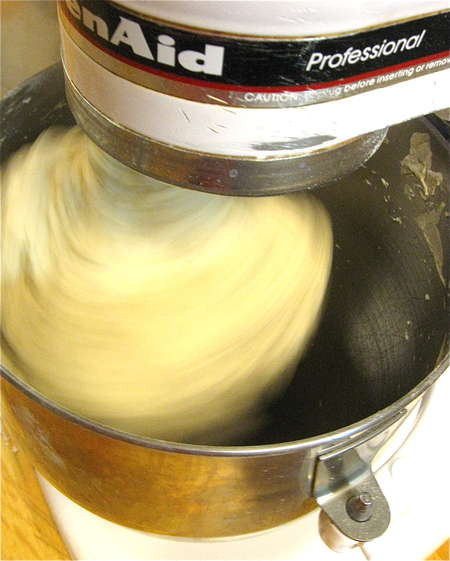
...then switch to the dough hook and knead very briefly, just 1 to 2 minutes. STICKY but cohesive...
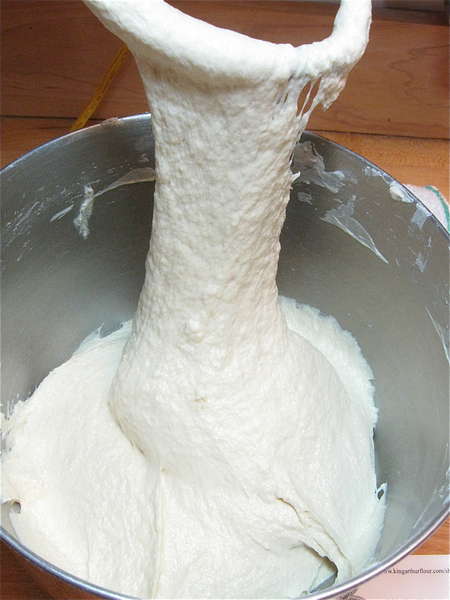
...and look how the gluten has developed, just from that short knead.
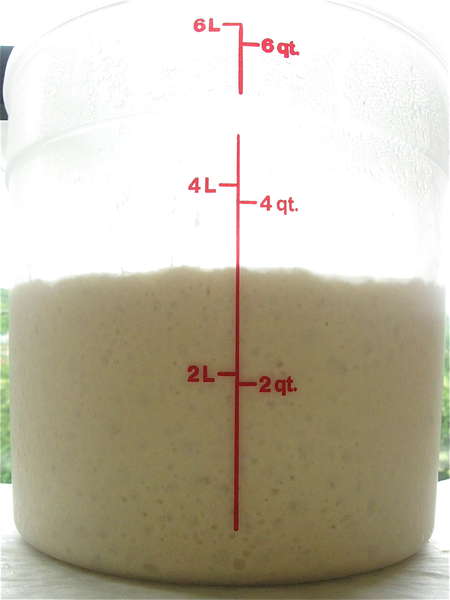
Next, put the dough in a large, lightly greased bowl or bucket; I'm using a 6-quart dough-rising bucket here.
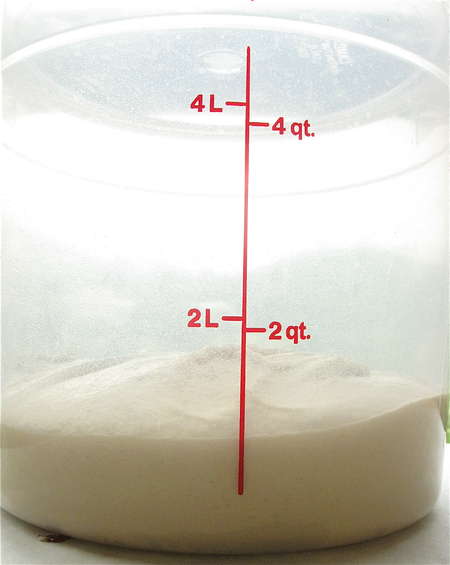
Why did I use such a big bucket for this small amount of dough?
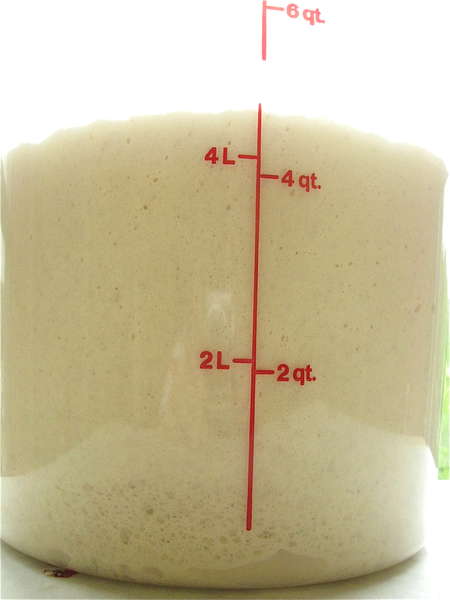
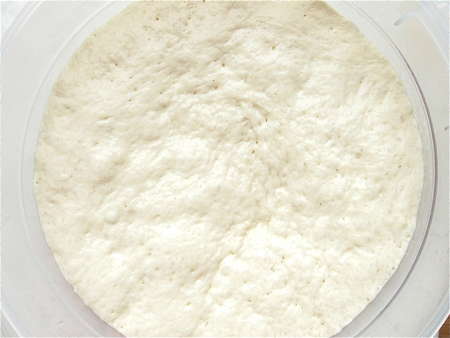
Because within about 2 hours at room temperature, it'll look like this.
Next, I'm going to refrigerate the dough overnight. This improves the baguette's flavor. Here's what it looks like going into the fridge; notice how close it is to the circular ridge in the bucket.
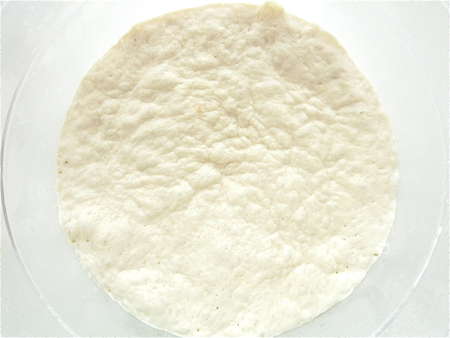
And the next morning - check out that same ridge in the bucket. See how the dough has shrunk?
That's fine; it reached its maximum height, fell, and as long as you leave it in the fridge it'll remain fairly dormant – up to about 7 days, after which the yeast will start to lose its stuff. Try to use all the dough within a week; or plan to freeze some when it's at this point.
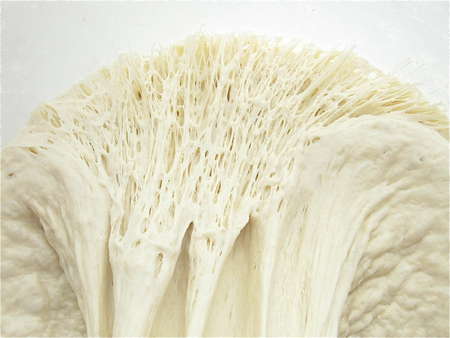
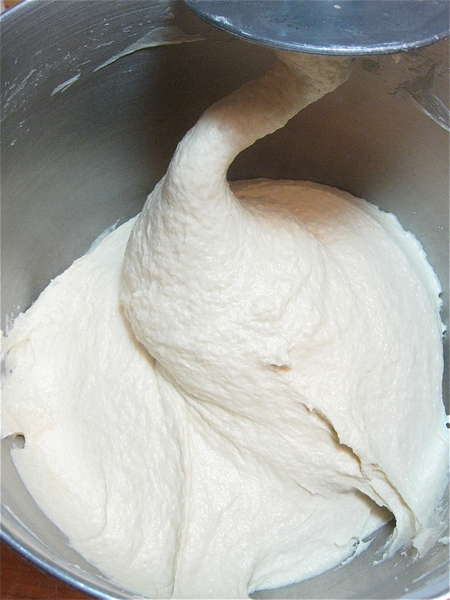
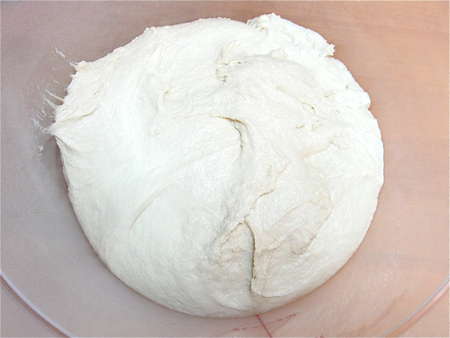
Next, grab a scant 1 pound of dough (about 1/4 of the batch, 14 1/2 ounces) out of the bucket. It helps to oil or wet your hand first. Look how the gluten has continued to develop overnight – nice!
Want to make two baguettes? Grab two pieces of dough.
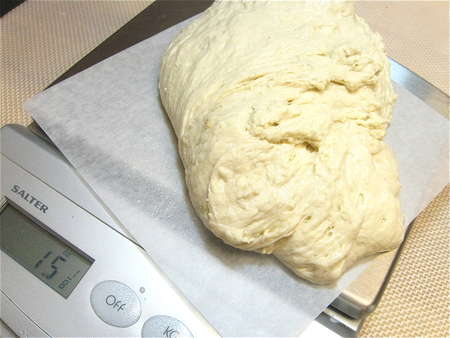
A scale helps you assess your "eyeballing" accuracy skills. Pretty close!
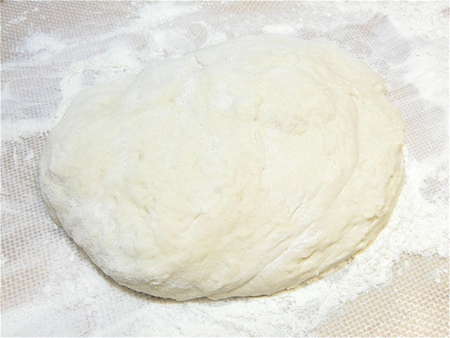
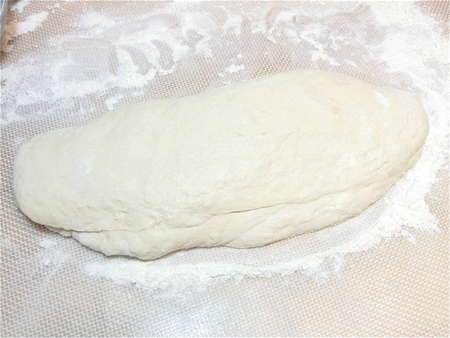
Place the dough on a very well floured surface, and shape it into a rough oval. I'm using our silicone mat here; it makes cleanup easy.
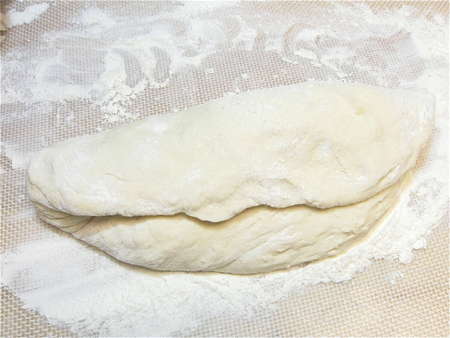
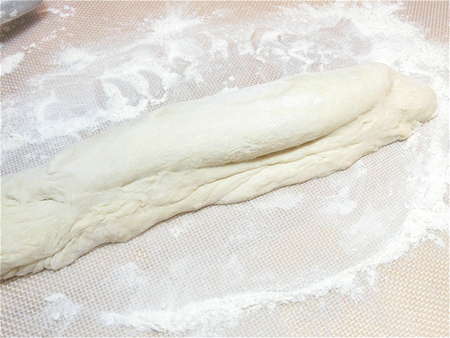
Fold the dough in half the long way.
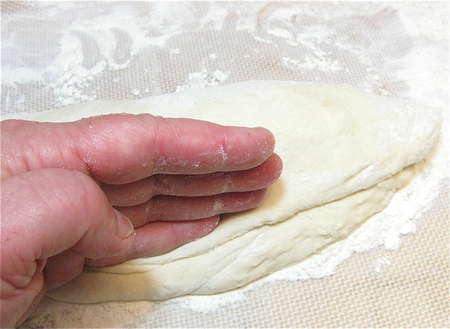
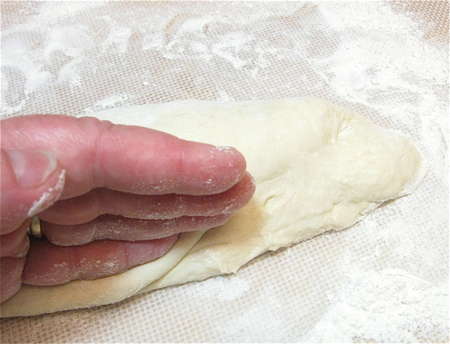
Press the edges together, using the heel of your hand.
Flatten it into an oval again...
...fold...
...and press the edges together again.

Notice how the dough has automatically lengthened itself from an oval to a preliminary baguette shape. This fold/seal, fold/seal shaping method is classic, and it works; if I skip it, and simply roll the baguette to size under my hands, the finished loaf doesn't rise nearly as well. The folding adds needed structure, particularly in this very slack (wet) dough.
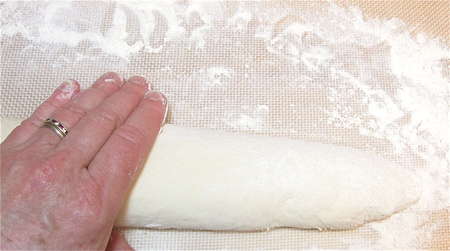
Now it's time to gently roll the dough under your cupped fingers to form the classic baguette shape: about 15” long, with tapered ends.
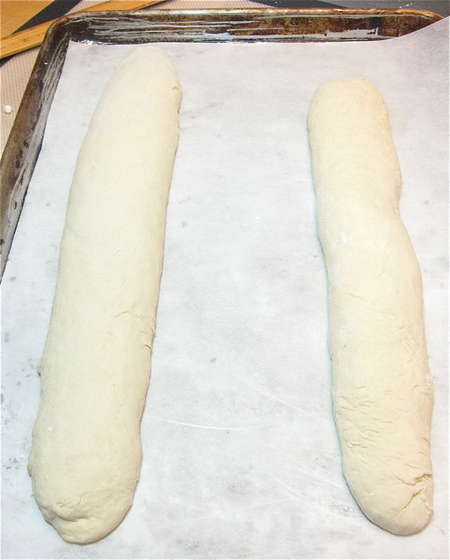
Put the baguettes on a parchment-lined (or lightly greased) baking sheet. Or, if you're using a pizza stone, simply place on a piece of parchment.
I didn't do a great job tapering these ends... sigh. Could be better, but I'm not into fussing with dough endlessly for the sake of perfect appearance.

Let the baguette(s) rise, covered, for about 90 minutes. They should get pretty puffy. Don't worry if they spread outwards rather than up – they'll ”pick up” when they hit the oven.
Speaking of, towards the end of the rising time, preheat your oven to 450°F.

Use a sharp knife to quickly, and assertively-but-gently make 3 or 4 diagonal slashes in the loaf. Hold the knife at a 45° angle, rather than perpendicular.
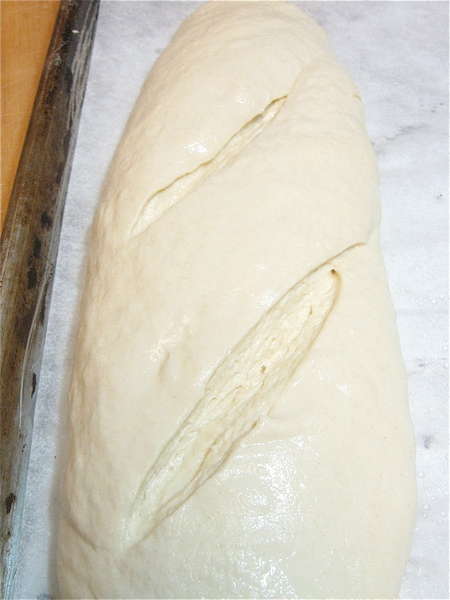
The cuts should be fairly deep. Your baguette(s) will start to deflate. Don't panic! Quickly spritz with warm water, and get them into that hot oven.
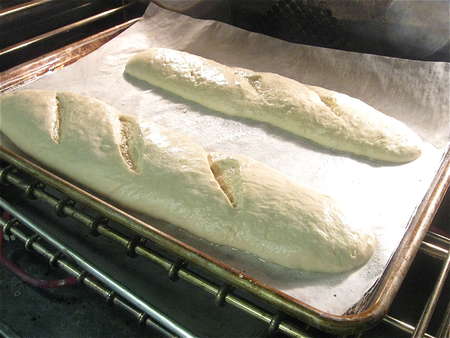
Notice how a deflating baguette responds to 450°F heat! Kind of flat...
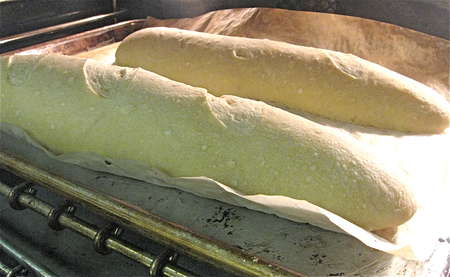
...quickly becomes nicely fat! Bake for 25 to 30 minutes.
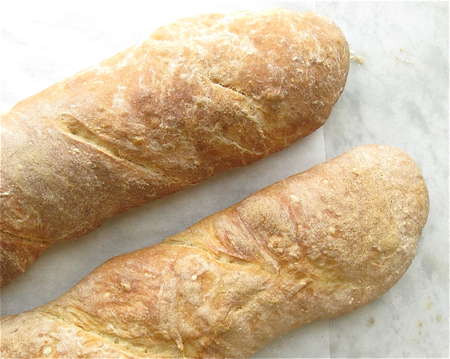
The loaves should be nicely browned; actually, I pulled these out a bit prematurely; they should be darker than this. And see what I mean about those non-tapered ends?
Oh well... Baguettes are always a work in progress for me.
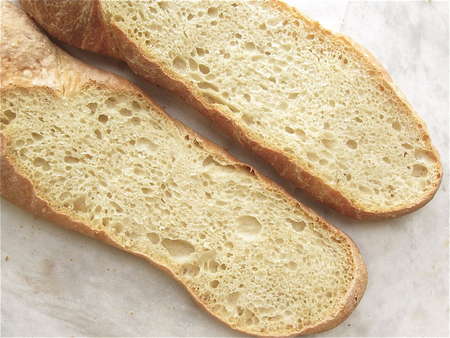
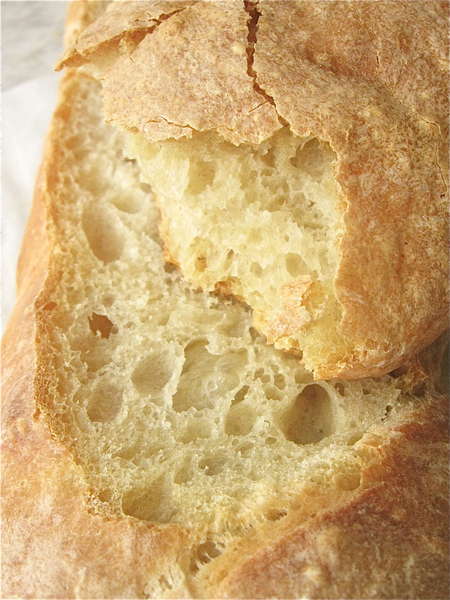
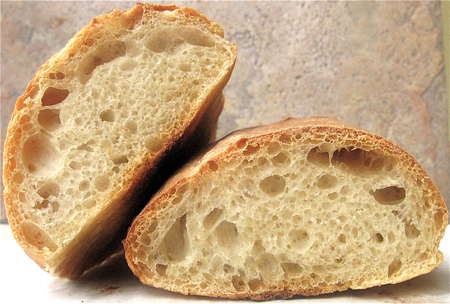
Nice interior, though.
A good, crackly crust...
...and trust me. These taste great! Perfect for sandwiches, or simply dipping in seasoned olive oil.
Read, rate, and review (please!) our recipe for The Almost-No-Knead Baguette.
