If you’ve ever overbeaten whipped cream, you’re not alone. It only takes a few seconds of excess mixing to turn fluffy whipped cream into a dense, clumpy mess. The good news? You can learn how to fix whipped cream and save a broken batch in no time at all.
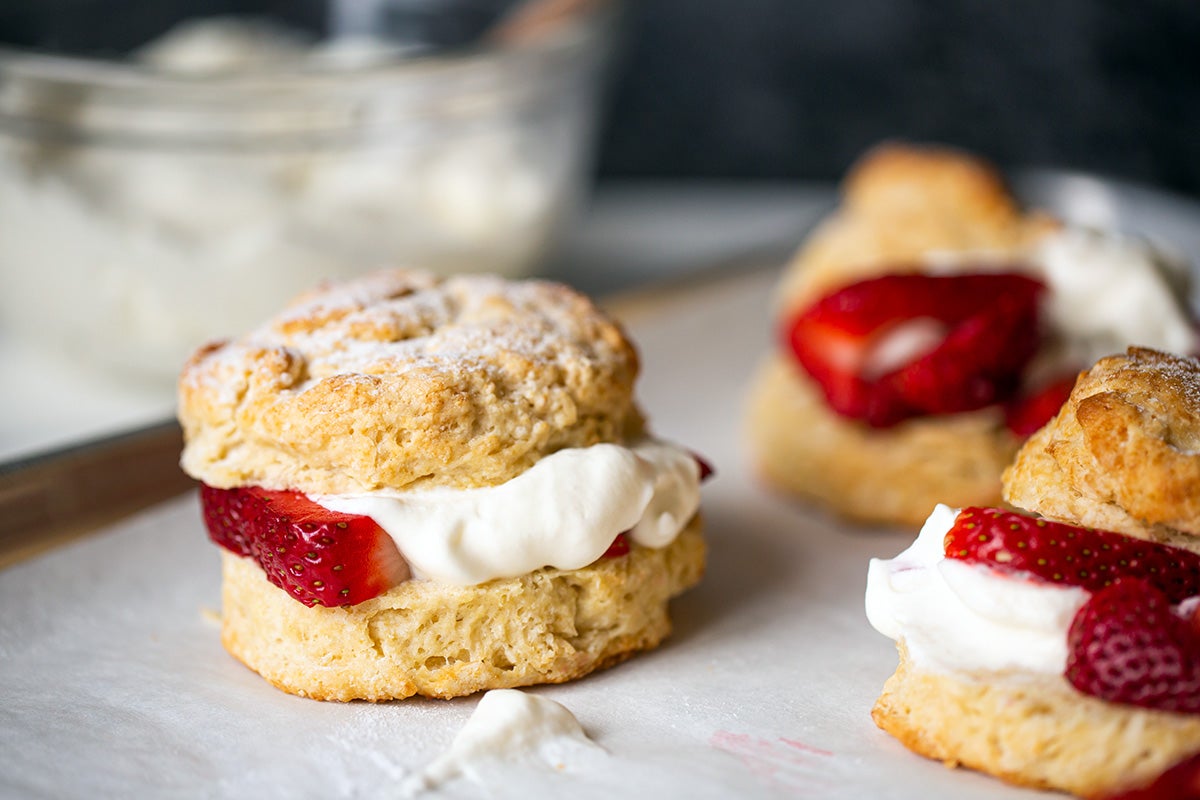
The next time you’re serving strawberry shortcakes or garnishing a pie with spoonfuls of whipped cream, you’ll end up with a perfect, fluffy topping. Even if the mixing gets away from you and the cream starts to deflate, you’ll know how to fix whipped cream with an easy, clever trick.
We’ll show you how.
If you're looking for a quick refresher about how to make homemade whipped cream, start with our blog post: How to whip cream. It covers the basics you need to know, from the kind of cream to use, to when to add the sugar and vanilla, to stabilizing tricks for hot weather. Read this tip-filled post before you start making homemade whipped cream, and you’ll be primed for success.
Once you’re ready to make whipped cream, decide what consistency you’re looking for in the final topping.
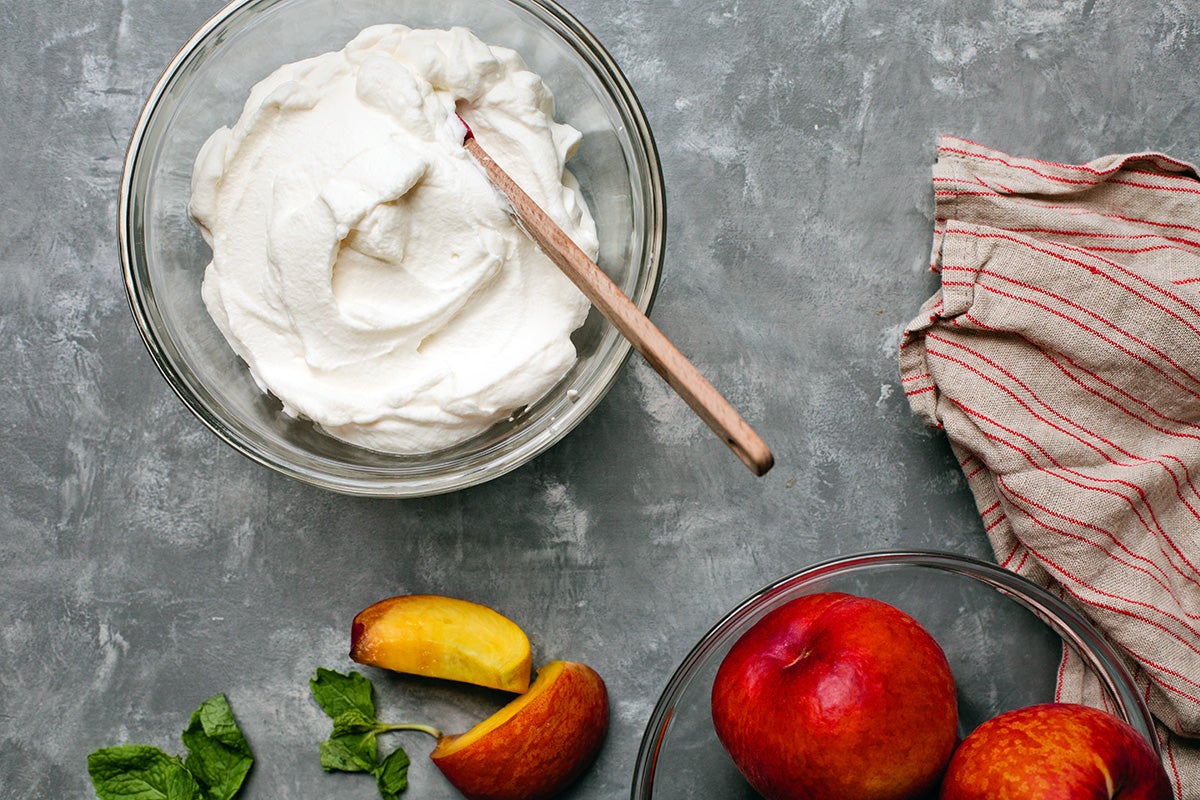
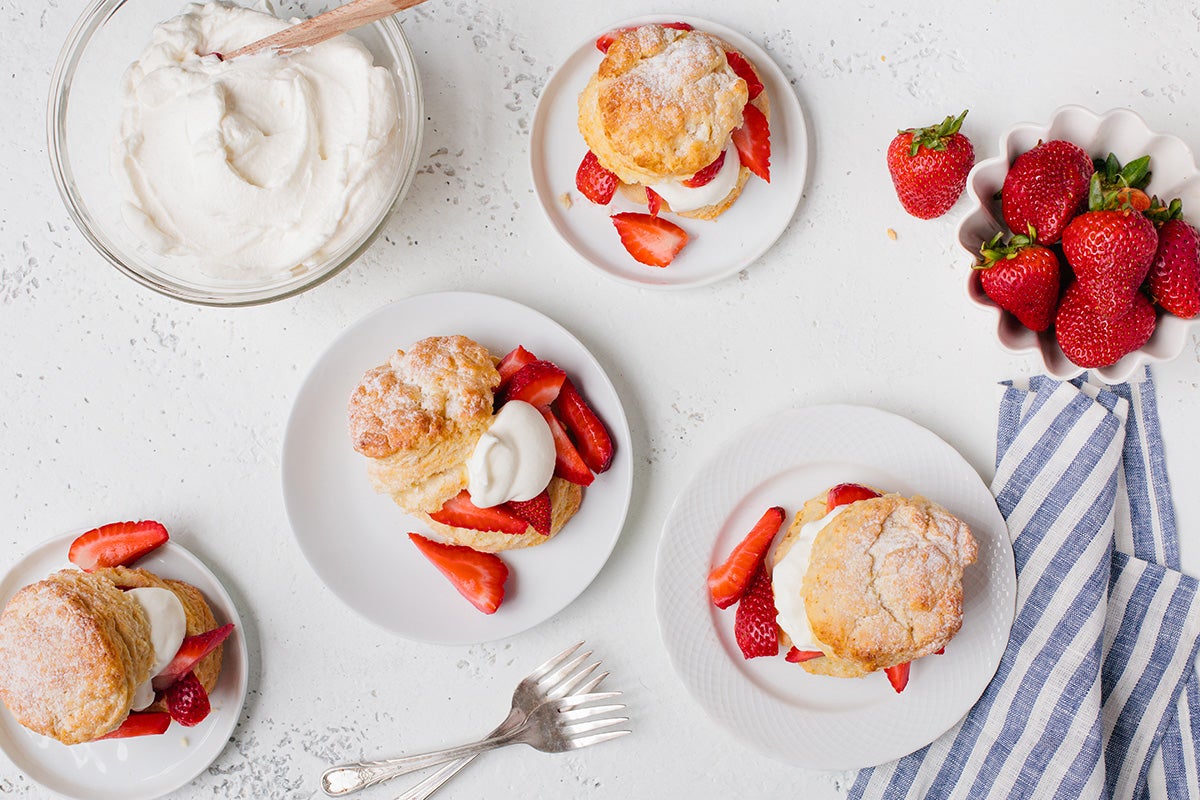
Some people like whipped cream with soft peaks that’s practically pourable – this can be especially nice for strawberry shortcakes.
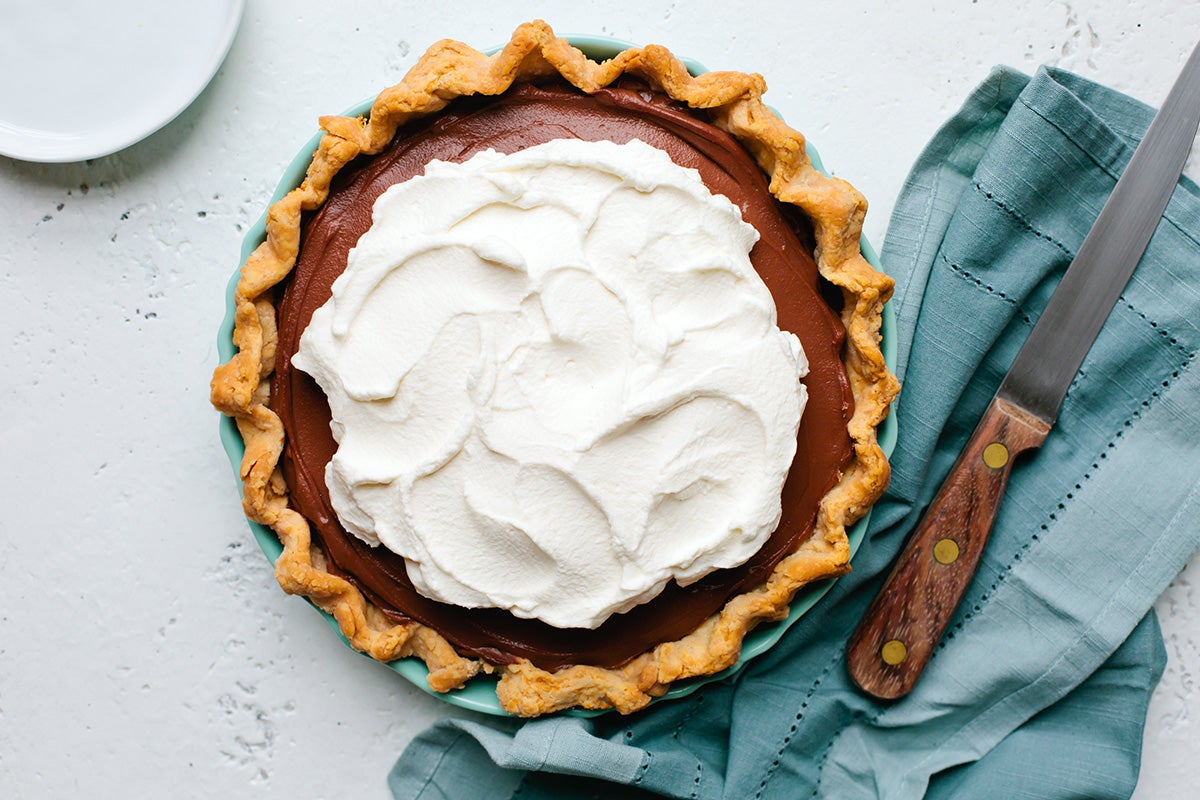
Other times you might want a relatively stiff whipped cream, say for spreading atop a chocolate cream pie that will be served in a few hours.
The final texture is up to you.
The key to achieving the right consistency is whipping the cream for an appropriate amount of time.
Exact timing will vary based on the quantity of cream, the machine (or tool) you use, the speed at which you whip, as well as the temperature of the cream and mixing bowl. However, soft peaks will always take less time to form than medium or stiff peaks.

Watch the cream carefully as the mixer is running at medium-high speed, stopping it periodically to check the consistency. As soon as the whisk starts to leave tracks in the cream, pay close attention; you'll soon see soft peaks.
Our Sift Magazine food editor, Susan Reid, encourages those who are new to homemade whipped cream to try whipping it by hand using a whisk for the first time. This will allow you to see the cream transform slowly in front of your eyes, and you'll be able to recognize the stages of whipped cream development.
Once your whipped cream has the texture you’re looking for, stop mixing and serve it as soon as you can.
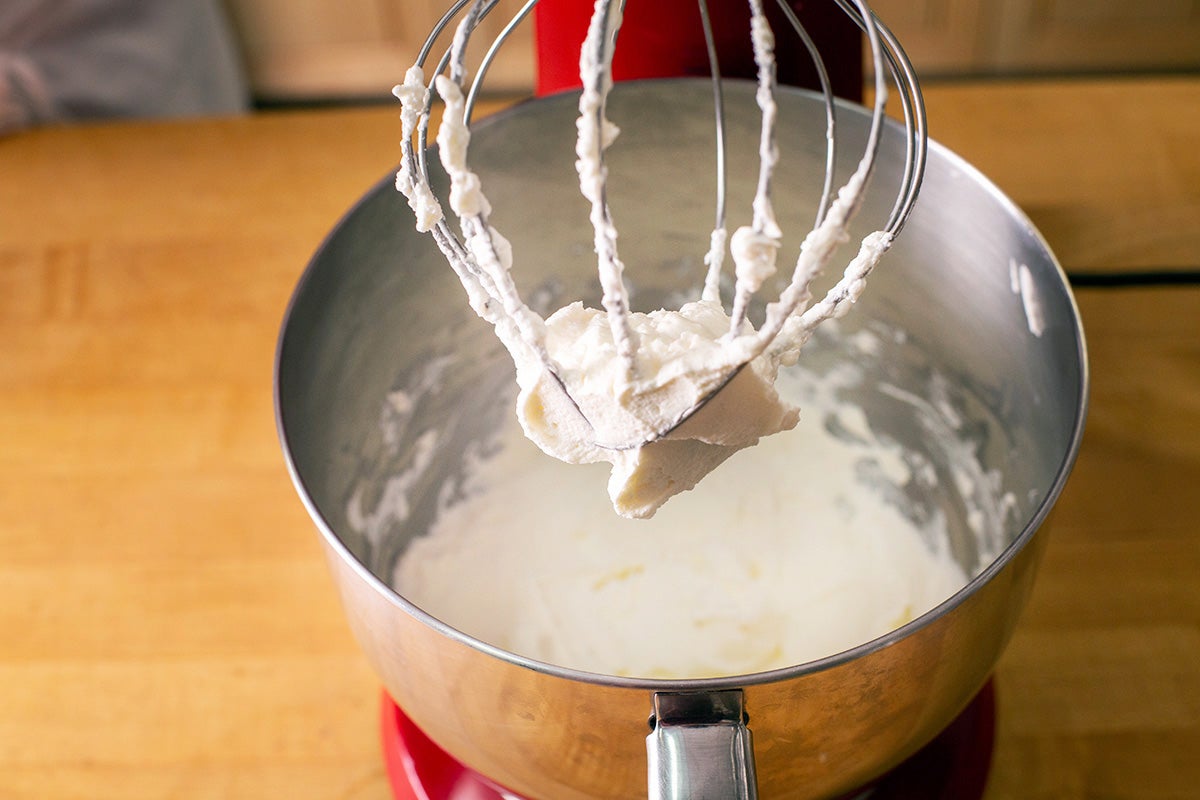
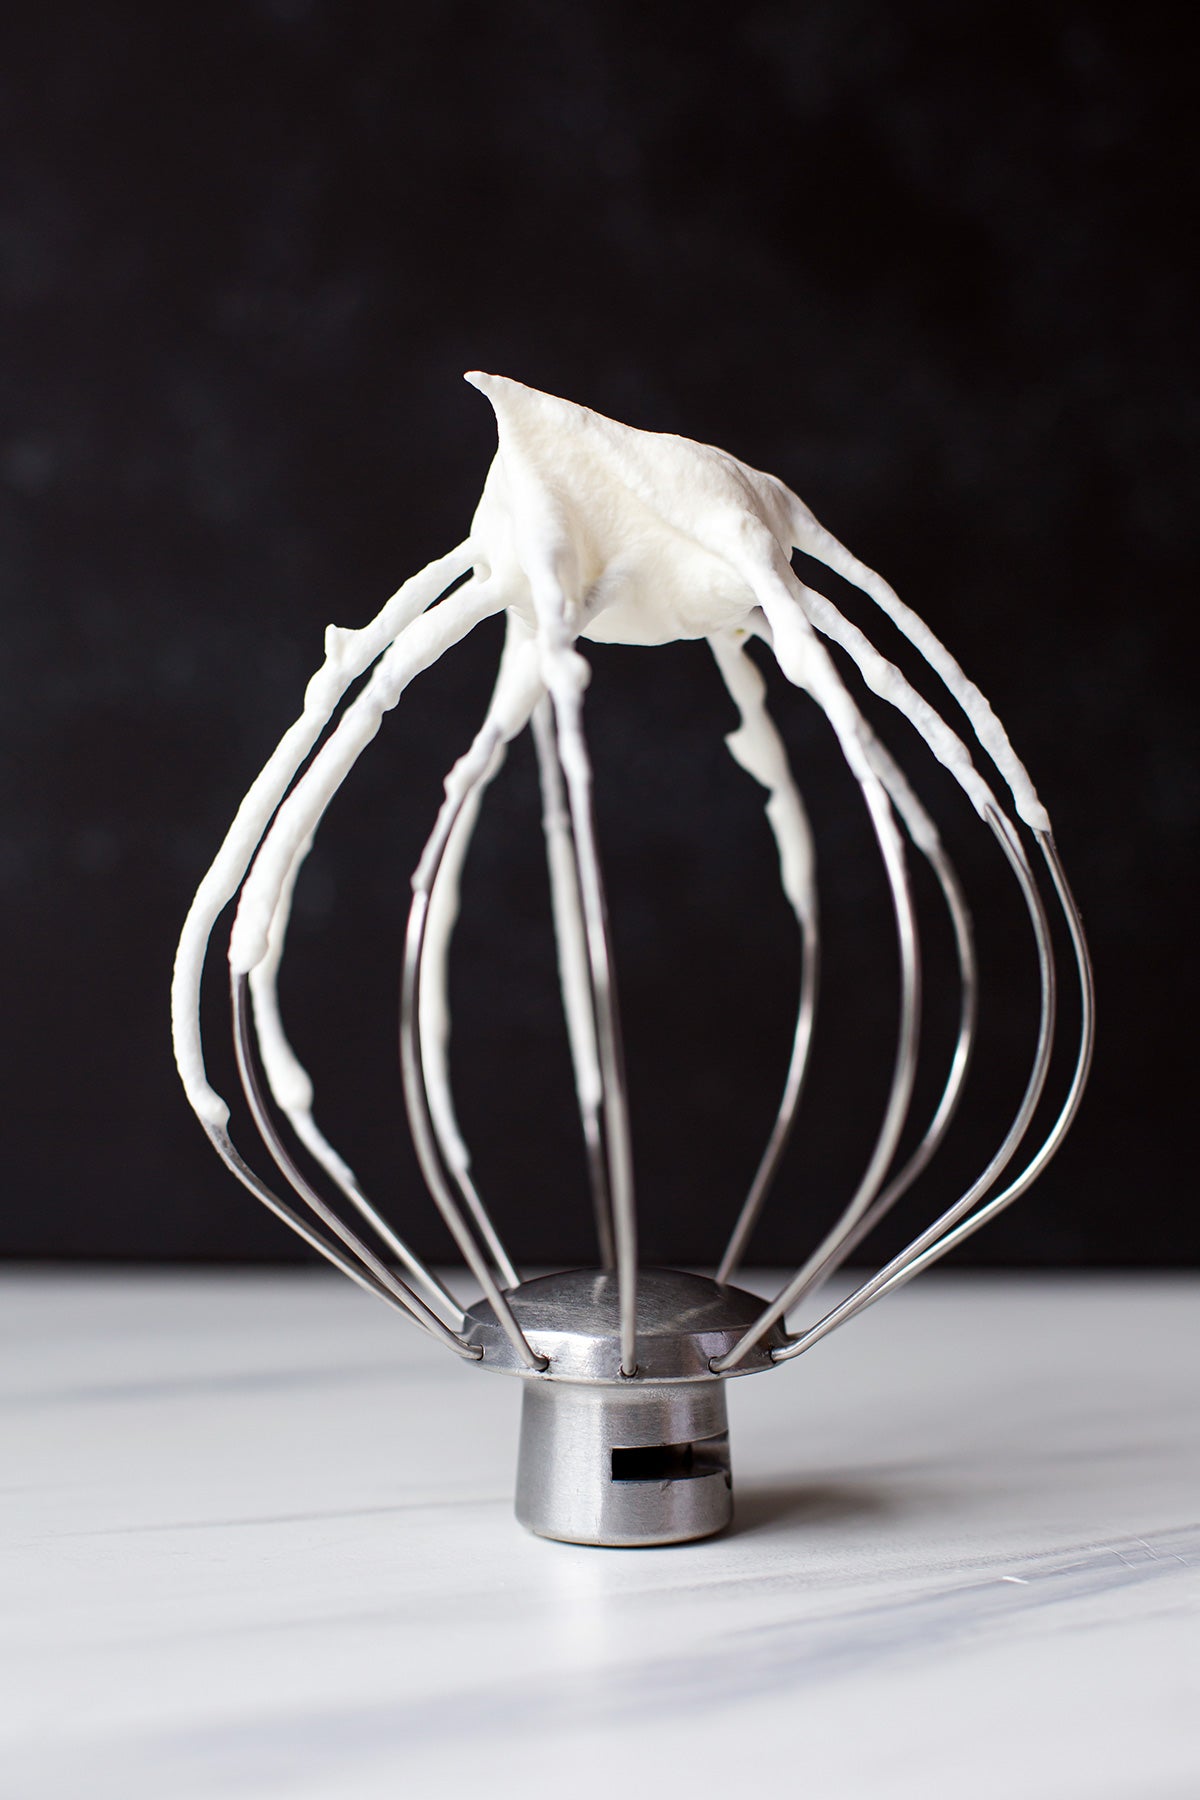
Fluffy, stiff peaks can turn into a dense, spreadable paste in just a few seconds.
It can feel like the cream takes forever to firm up. But once it reaches soft peaks, it progresses through the remaining stages rapidly. At this point, if you walk away from your mixer while it’s still running, you run the risk of overbeating your cream.
Avoid stepping away from your mixer while it’s running. But if you do, and you return to a bowl of slightly yellow, clumpy curds of cream — don't panic! There's no need to throw away the entire batch.
What makes whipped cream "break"? The stable foam mixture made up of milk fat and tiny air pockets passes its peak of stability. Too much mixing causes the structure of the foam to break down, and allows the air to escape.
At this point, you may feel like your whipped cream is ruined. We’re here to tell you to relax! You can fix it.
Most batches of overwhipped cream can be saved using this easy trick:
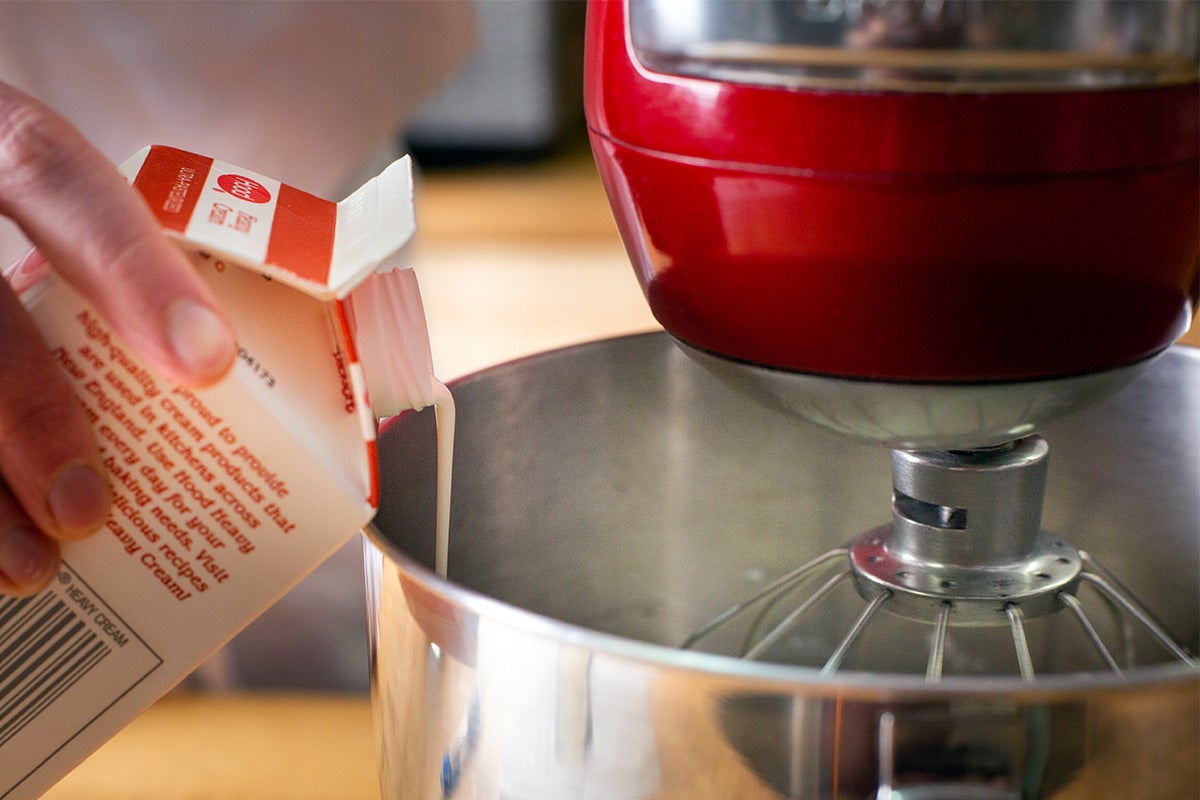
With the mixer running at low speed, slowly drizzle cold, unwhipped heavy cream into the mixing bowl. Keep adding cream until the broken whipped cream regains its fluffy texture.
How much cream do you need to add to the overwhipped batch until it starts to come together? Well, that depends on how overwhipped your cream is.
If you’ve just let the mixer go for about 10 to 20 seconds too long and you’re barely beginning to lose some loft, you may only need a tablespoon or two of cream to return it to a fluffy, cloud-like texture.
On the other hand, if the cream looks heavy and has deflated entirely, you may need to add an additional 25% to 50% of the original amount of cream until it comes back together.
For example, if you’ve started with 1/2 cup (113g) of heavy cream and accidentally end up with an unattractive clumpy spread instead of whipped cream, measure out 1/4 cup (57g) of cream and add it slowly, pausing to check the consistency every 30 seconds or so.
A few seconds at medium-high speed right at the end of mixing can help everything come together, but be sure not to overwhip your cream yet again!
While it’s easy to fix whipped cream that’s been beaten for a minute or two too long, not all overbeaten cream is salvageable. If you’ve left your mixer running for a significant amount of time past optimum, then you might need to come up with a different plan.
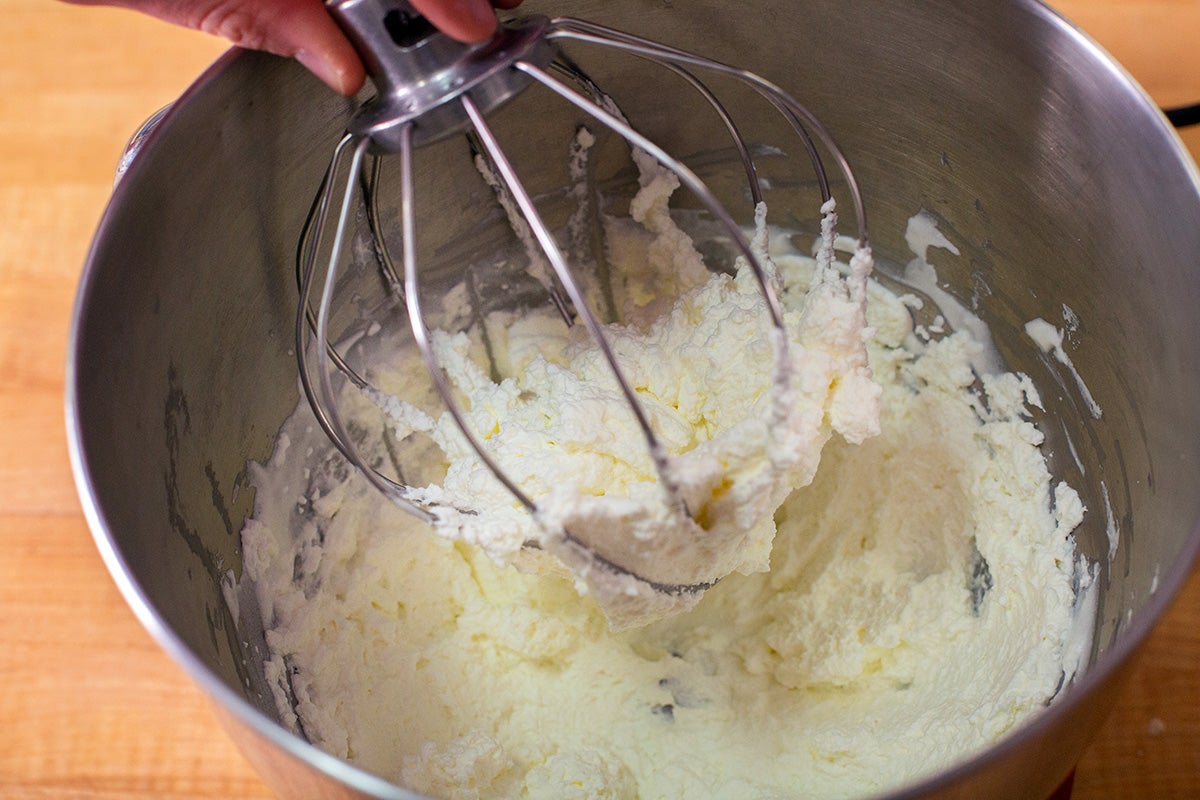
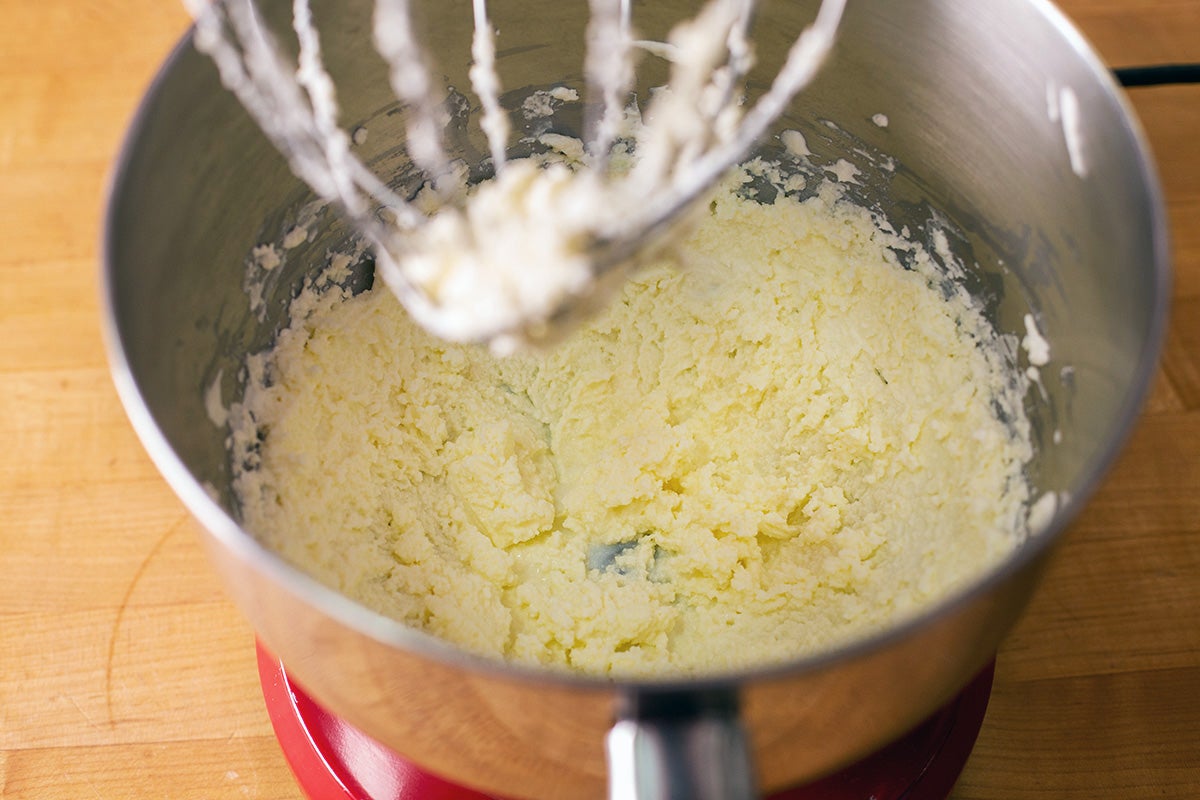
If the cream at the bottom of your bowl has a yellow hue and looks paste-like and almost spreadable, then you’re on your way to making butter.
At this point, you might as well embrace it and get excited about your homemade butter!
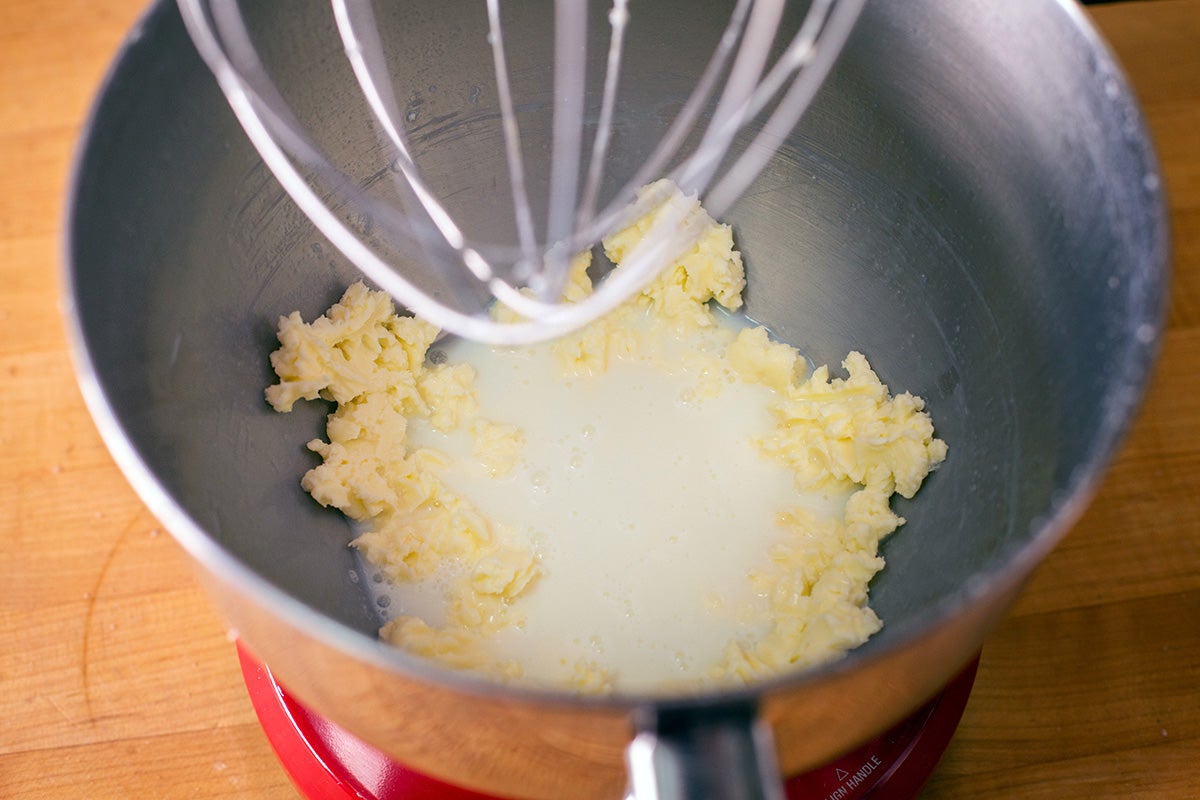
Continue beating your overwhipped cream until the butterfat starts to form solid clumps. You’ll notice a liquid that looks like watery milk starts to separate from the clumps of butter.
Beat the mixture a little longer until there’s a single mass. Pour off any of the liquid; this is essentially buttermilk. (You can use it in baking: try it in some of our favorite buttermilk recipes.)

Fold the chunk of butter over onto itself a few times until it starts to look smooth. Then knead the mass gently in an ice water bath or fold it under cool water to remove excess liquid.
You're done when there's no more milky liquid coming from the butter when you fold or mix it.
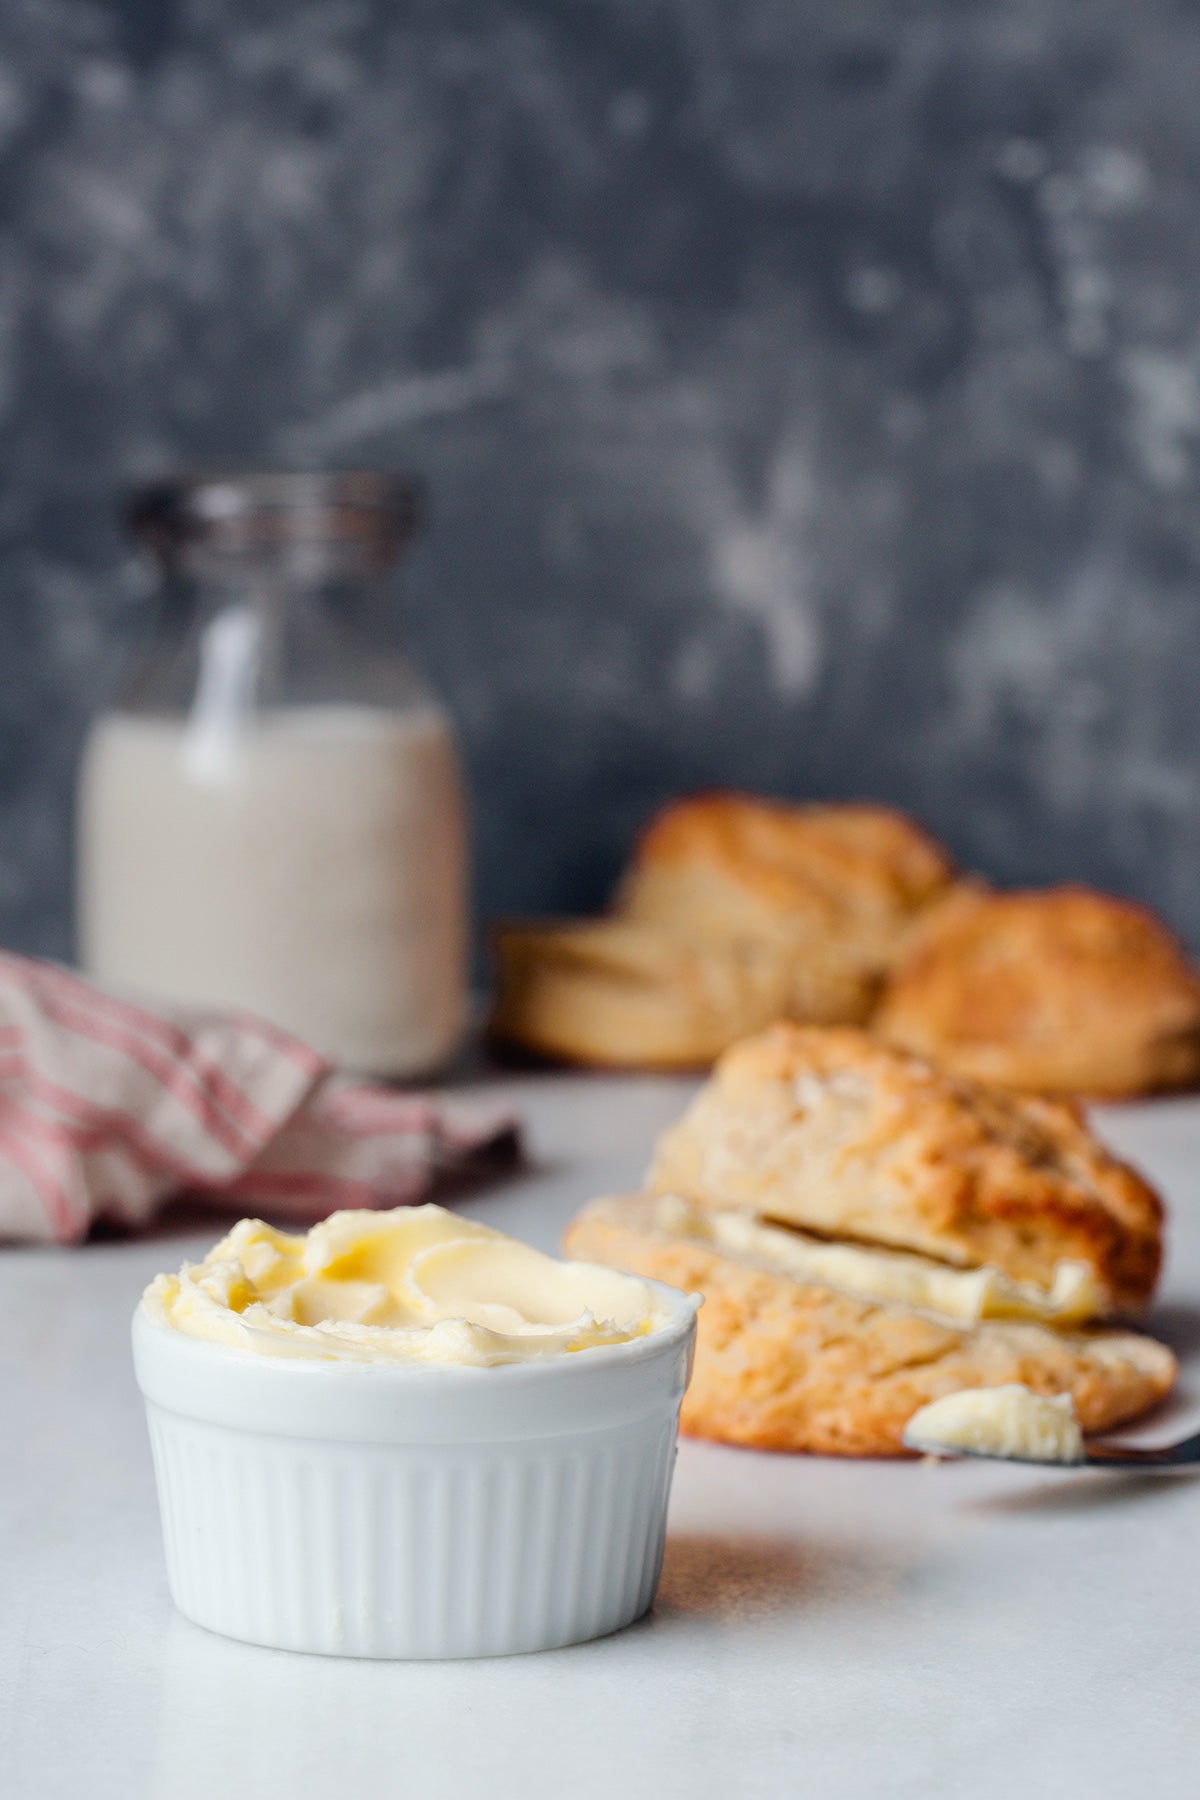
You can go ahead and use the freshly whipped soft butter as a creamy, decadent garnish for practically any baked good. You can even add a little salt or vanilla for flavor, if you like.
Refrigerate your butter, knowing that homemade butter has a much shorter shelf life than the store-bought variety; use it in about three to five days if possible. Otherwise, freeze it for up to a month.
Remember these tips for making perfect whipped cream — and how to overcome the challenge of overbeating:
Now that you know how to fix whipped cream, you’ll never need to fret if you let a batch mix a little too long. Bring it back to its lovely, luscious texture and serve your dessert with a smile!
(Or you can serve it with a pat of homemade butter instead!)
Tell us your favorite tips and tricks for fixing other culinary “disasters” in the comments, below.
Thanks to Jenn Bakos for taking the photographs for this post. Also, our thanks to Robyn Sargent, an instructor at our Baking School, for sharing the technique that was the inspiration for this post.